Heightmap Overlay
Revision as of 14:15, 2 April 2019 by Vincent@tygron.nl (talk | contribs)
Heightmap
- Main article: Heightmap (Overlay).
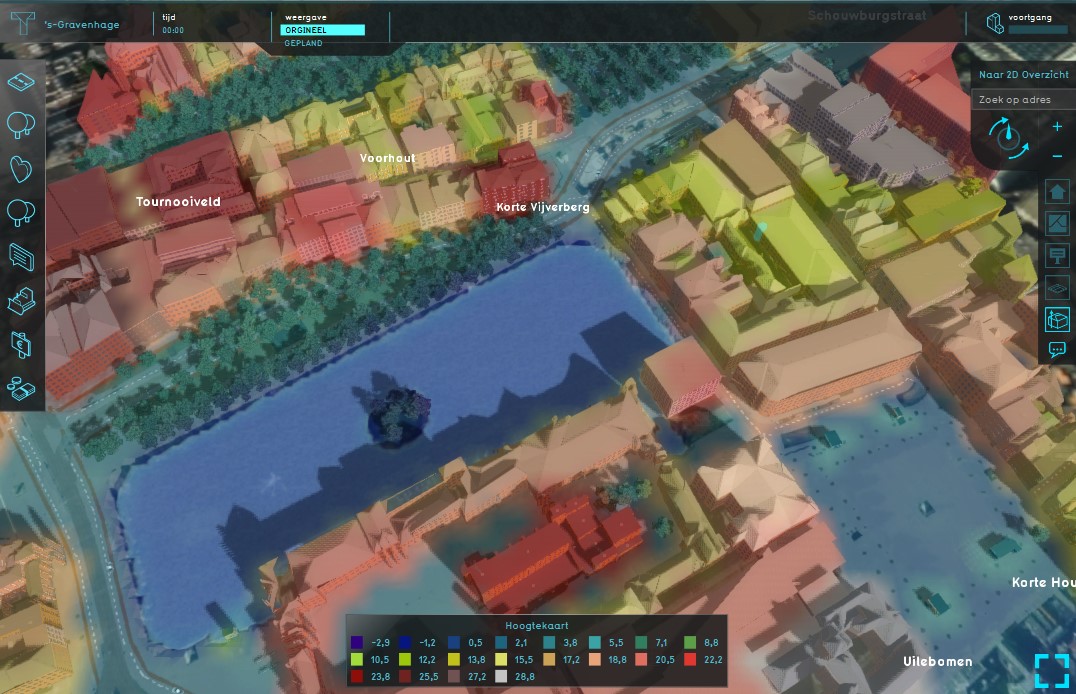
- This overlay displays the height of the terrain. The overlay becomes available for all stakeholders when added to a project.
What the Heightmap Overlay is
The Heightmap Overlay is an overlay that displays the height of the terrain. The overlay becomes available for all stakeholders when added to a project.
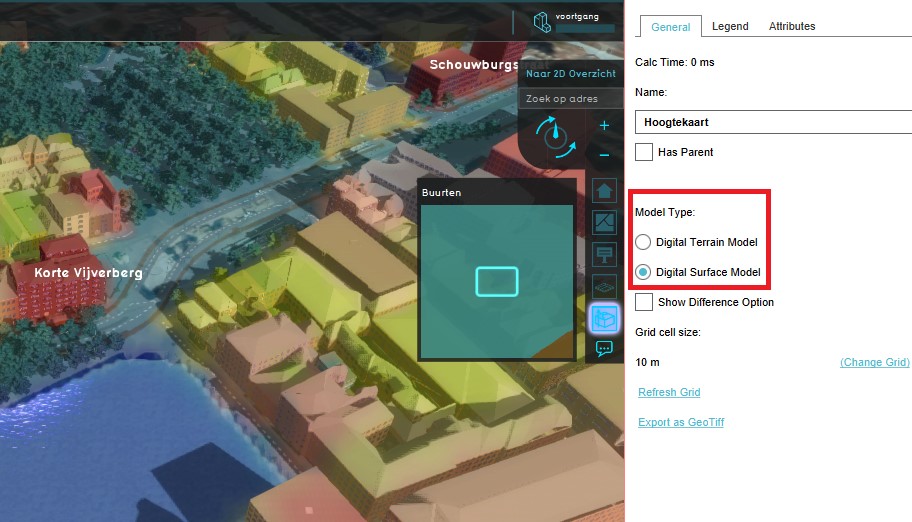
A model type for the overlay can be chosen in the right panel.
There exist two model types:
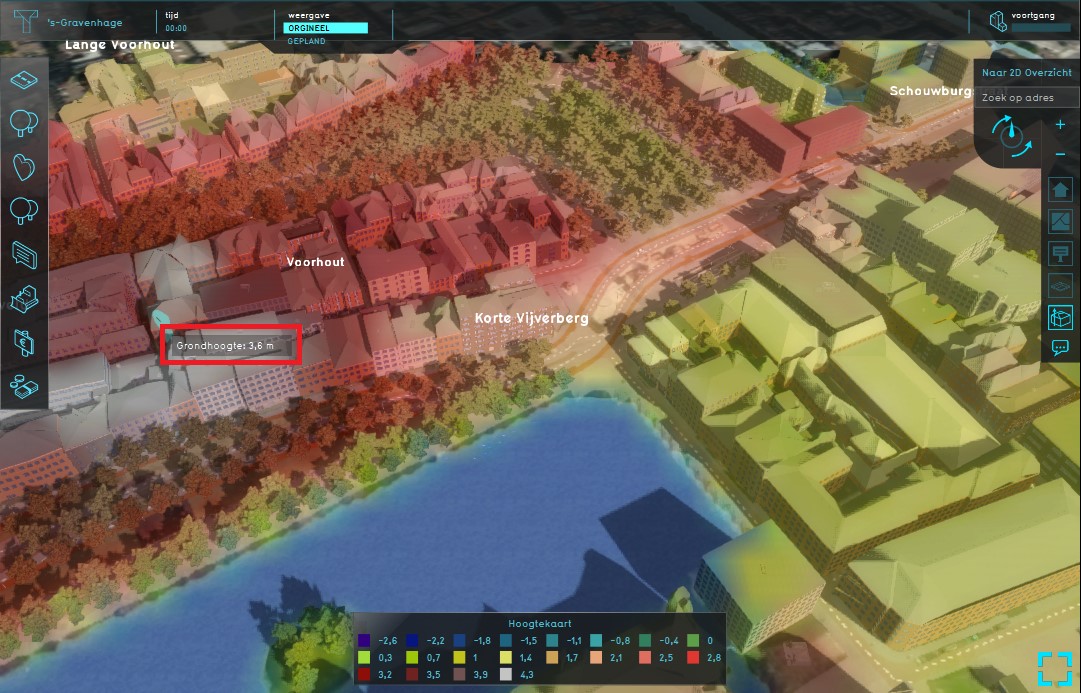
- - Digital Terrain Model type: displays the height of the terrain at the selected location on the map.
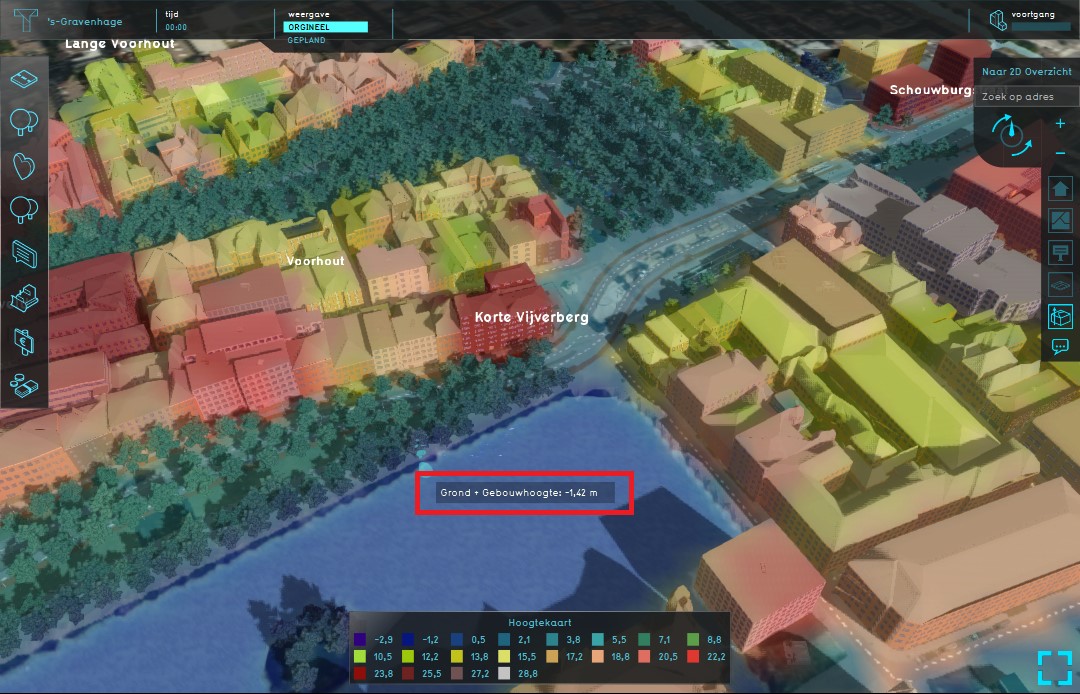
- - Digital Surface Model type: displays the height of the terrain and the height of the object that is located on the selected location on the map.
Additional information displayed in hover panel
When clicking on a specific location on the map, the hover panel displays additional information about the height of the terrain at that specific location.
When clicking on a specific location on the map, the hover panel displays additional information about the height of the terrain and the object that is located on that specific location.
Adding and removing
The Heightmap Overlay is not added by default when creating a new project.
How to add the Heightmap Overlay:
- Select in the editor 'Geo Data' from the ribbon
- Select 'Overlays' from the ribbon bar
- Select the Heightmap Overlay from the drop down menu
How to remove the Heightmap Overlay:
- Select in the editor 'Geo Data' from the ribbon
- Select 'Overlays' from the ribbon bar
- Select the Heightmap Overlay from the list of active overlays on the left panel
- Select 'remove' from the bottom of the left panel
- Confirm the removal in the pop up confirmation message


