Travel Distance Overlay
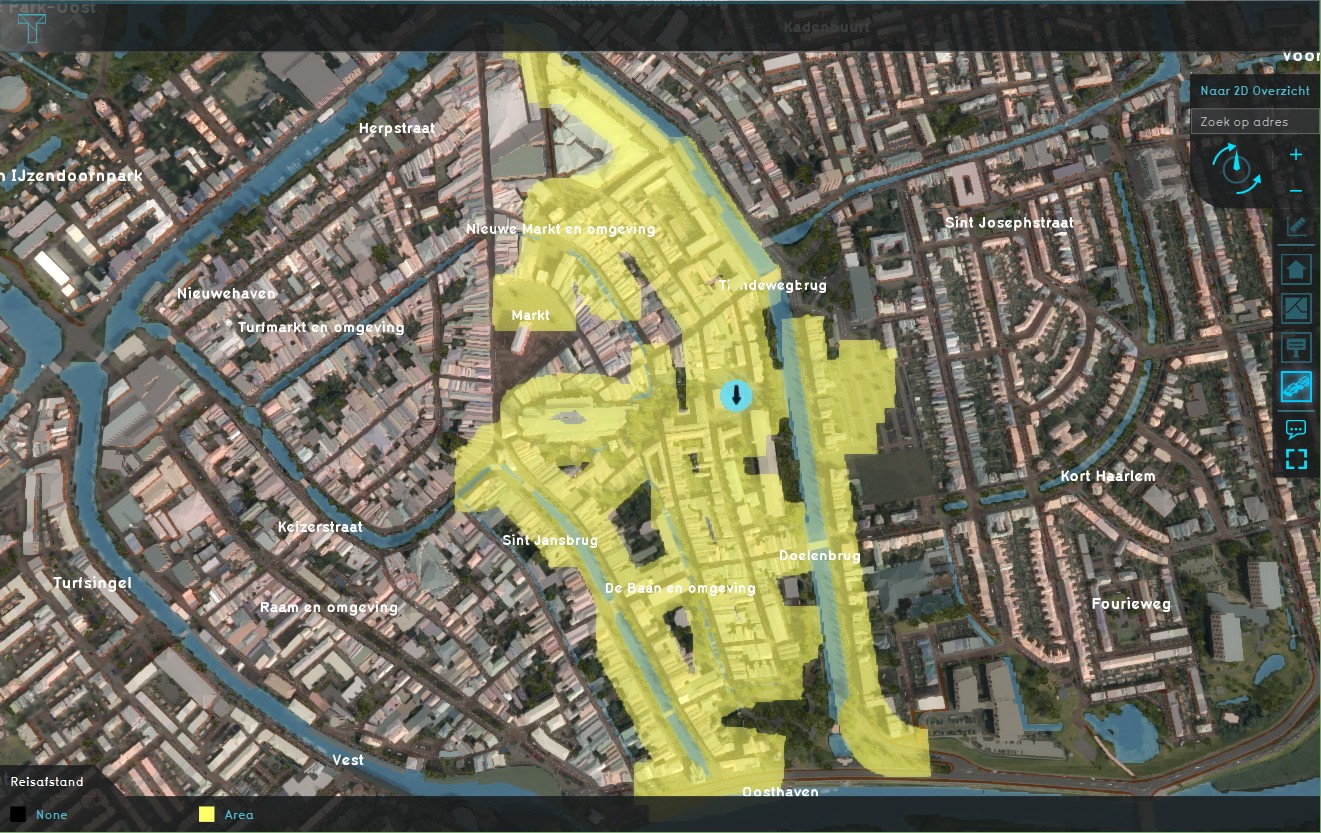
The Travel Distance Overlay is a grid overlay which shows a travel distance from a specific starting point (routing area). The traffic is split between motorized and pedestrian traffic, based on the road type (roads vs sidewalks). The overlay also uses a fill distance to fill up an area adjacent to the roadways, to connect constructions such as housing. The calculation model behind the overlay is based on the same algorithm as used in the Watershed Overlay.
The travel distance overlay can be used to visualise the travel distance from certain areas of interest (schools, shops, sports centers, etc), based on the road map in the project area. If we take a school as example, we can visualise which houses (and other buildings), within a range of 20m to a connecting sidewalk, are within a walking distance of 500m from the school of the example.
Keys
Attributes
Actions
The following actions are to be taken to work with a basic Travel Distance overlay. We will look at an example overlay based on a school and pedestrian traffic.
Creating a routing area
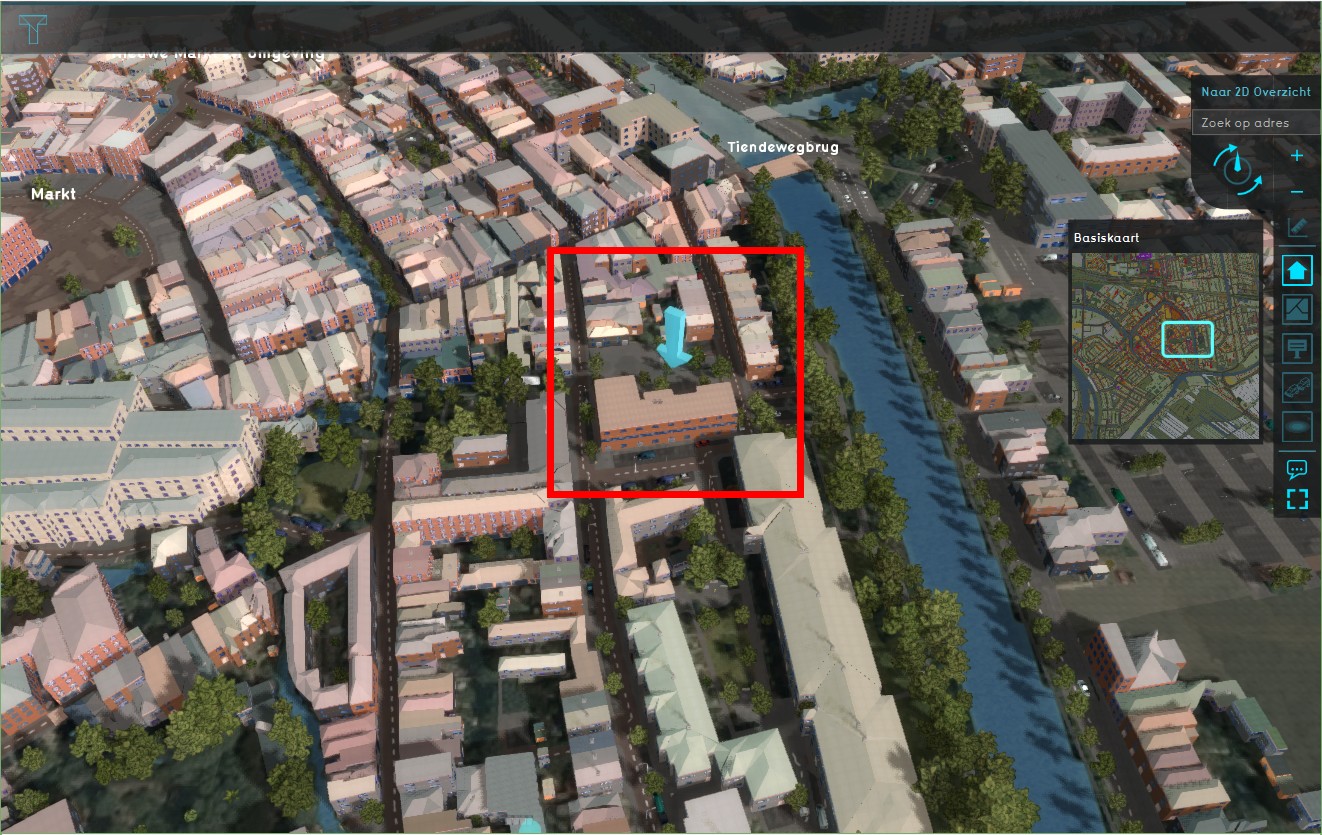
| 1 | Have a project loaded in the editor and decide the area of interest of the Travel Distance overlay, a school in our case. | |
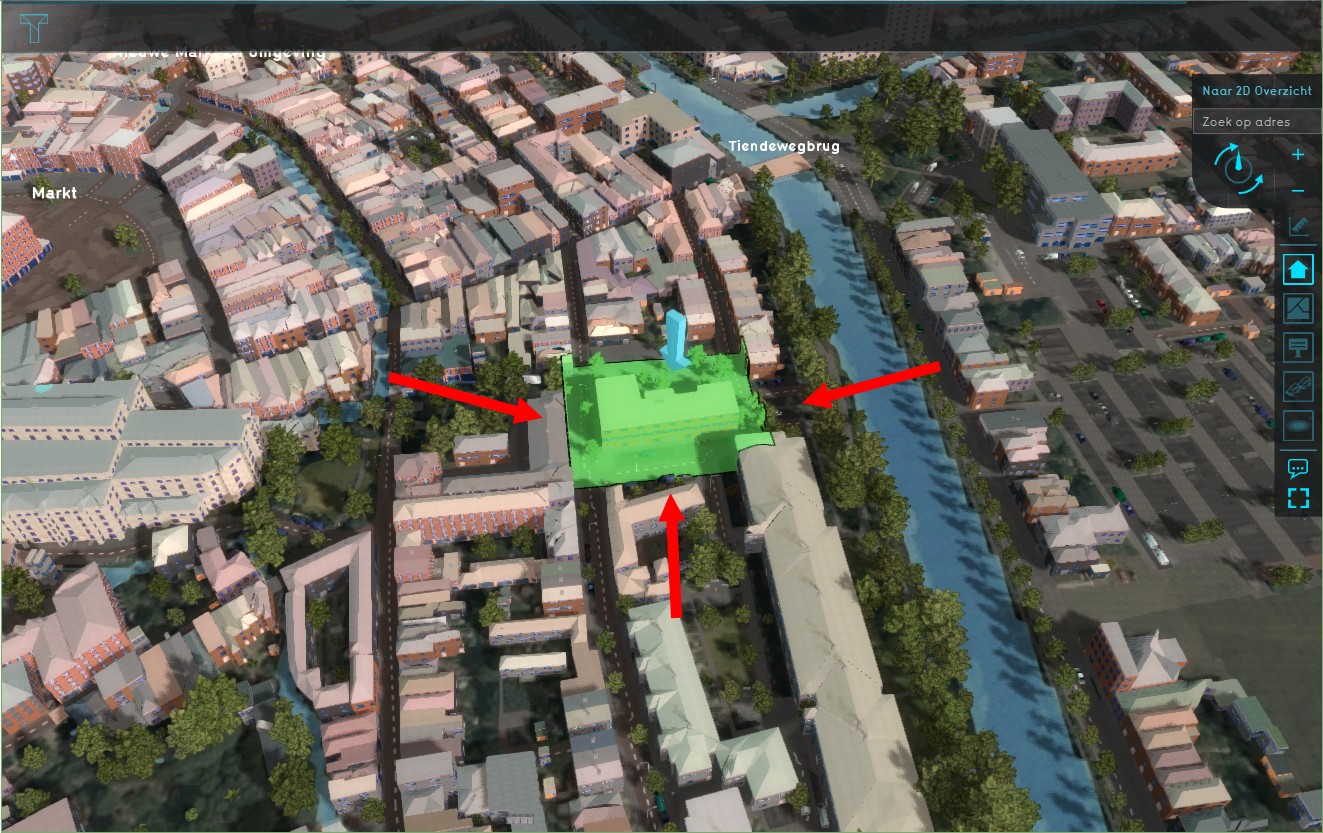
| 2 | Add an area and select to Adjust the area. Draw in the area around the school, ensuring that the area overlaps all adjacent roads. In our example the area overlaps with roads east, west and south of the school. Apply the selection. | |
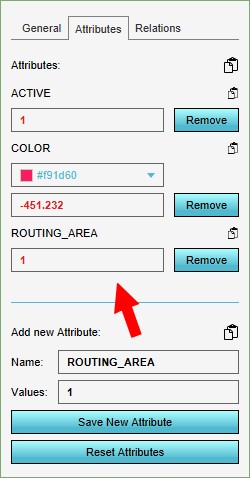
| 3 | Select the newly added area and select its attribute tab on the right side. Add on the bottom a new attribute ROUTING_AREA, with a value of 1. Save the new attribute. The Area color will be used for the overlay, so pick an appropriate color here too. |
Setting up the overlay
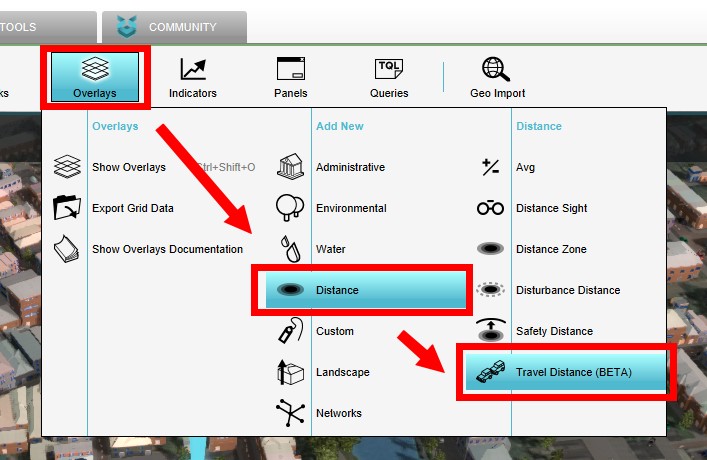
| 1 | Add a Travel Distance Overlay. Adjust the grid as desired, 1 meter will give a nice resolution in our example. | |
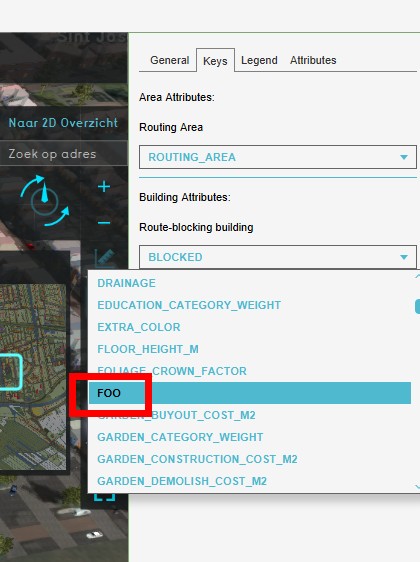
| 2 | On the Keys tab of the overlay, on the right side of the editor, the defaults keys ROUTING_AREA and BLOCKED are already filled in. In more advanced setups, added custom keys ('FOO') can also be selected in the drop down menu for each of these keys. | |
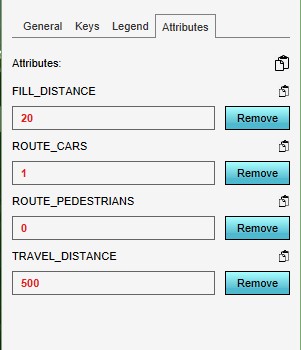
| 3 | on the Attribute tab the following attributes can be adjusted to fine tune the desired outcome on the overlay:
|
How-to's
