Camera: Difference between revisions
Jump to navigation
Jump to search
No edit summary |
|||
| (One intermediate revision by the same user not shown) | |||
| Line 25: | Line 25: | ||
You can switch between these walking modes by: | You can switch between these walking modes by: | ||
* Clicking on the [[File:camera_walk_icon.png]] icon in the [[navigation panel]]. | * Clicking on the [[File:camera_walk_icon.png]][[File:camera_walk_under_icon.png]] icon in the [[navigation panel]]. | ||
* Pressing the '''space''' key on your keyboard. | * Pressing the '''space''' key on your keyboard. | ||
| Line 37: | Line 37: | ||
{{Camera nav}} | {{Camera nav}} | ||
{{Editor ui nav}} | |||
Latest revision as of 12:19, 1 February 2024
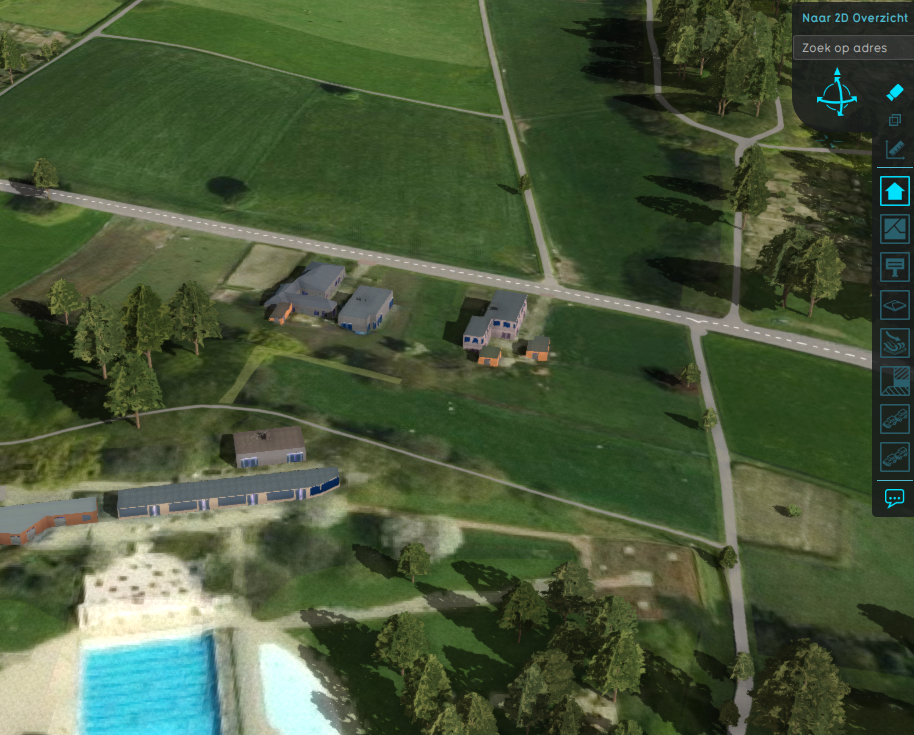
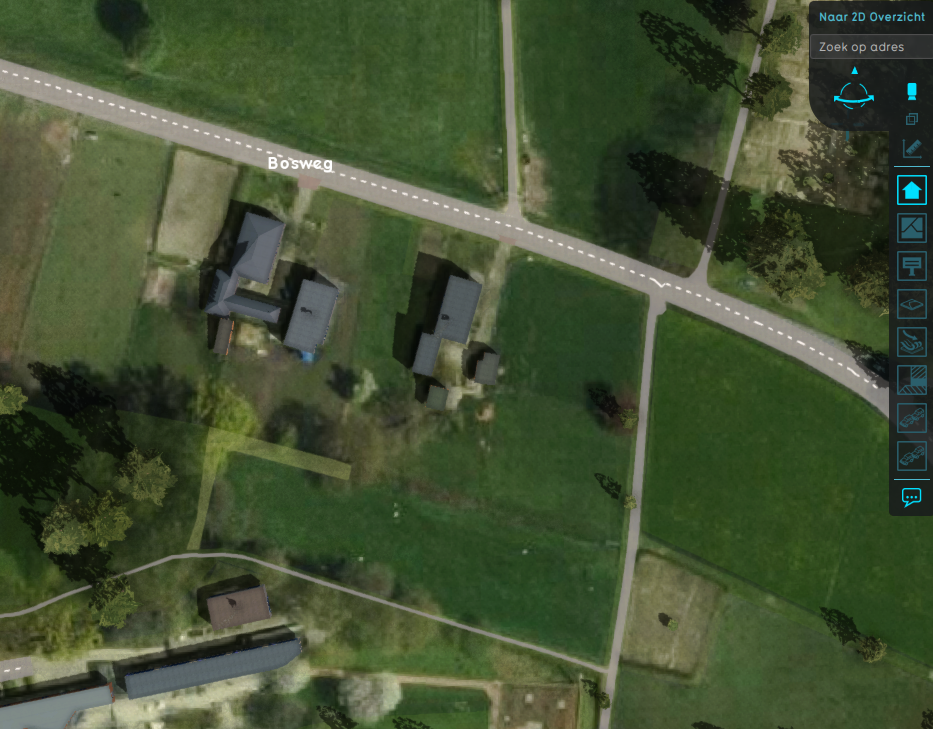
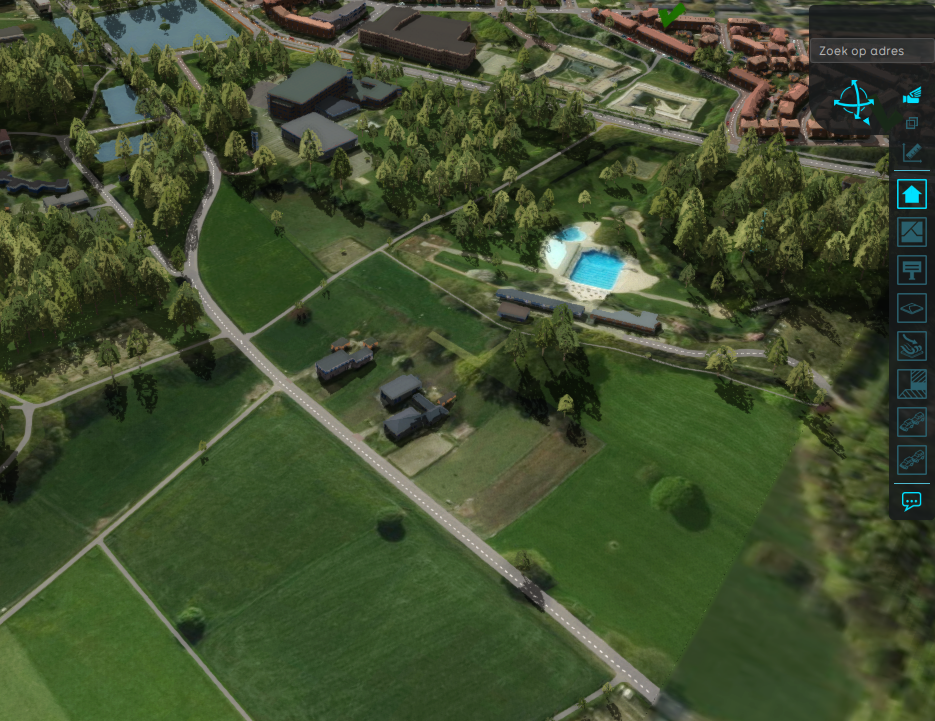
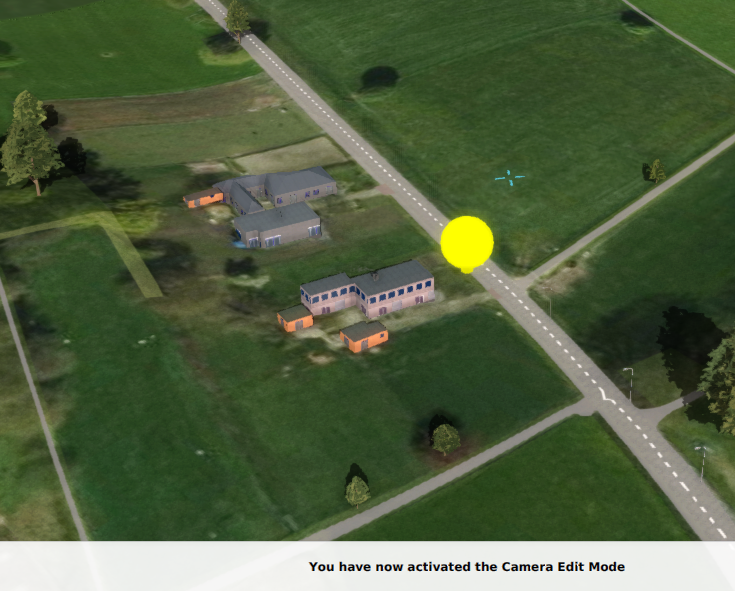
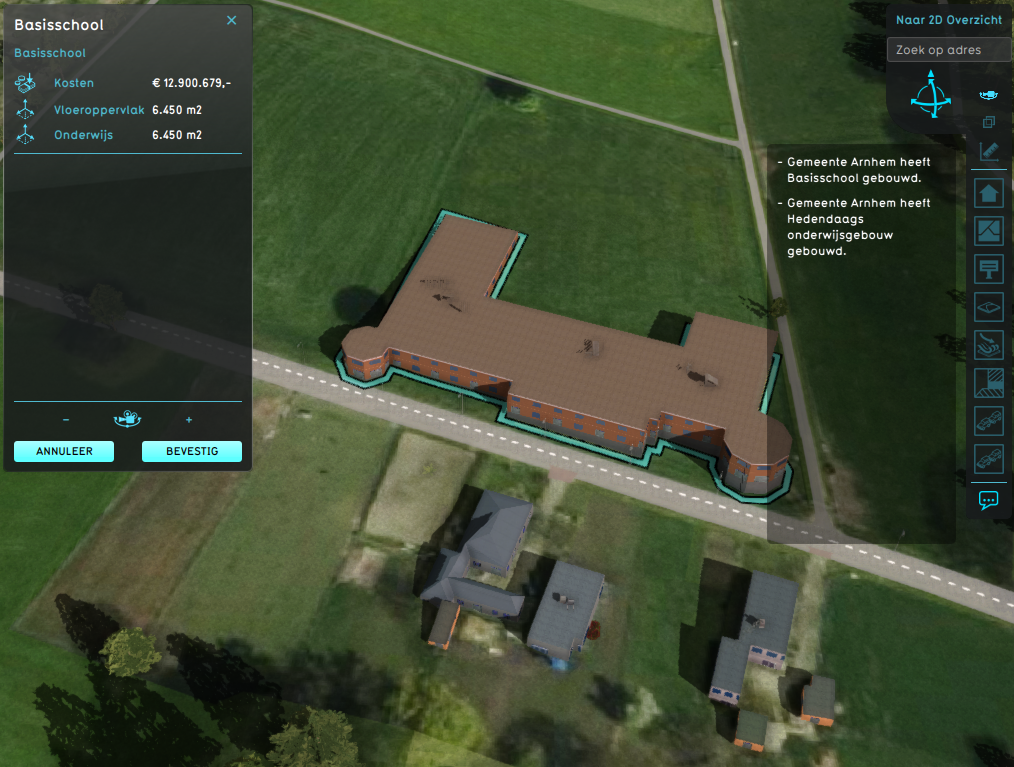
The Camera provides a particular view of project in the 3D Visualization. The user can choose between different camera modes. Each camera mode has a particular way of navigation controls attached to it.
The available camera modes are:
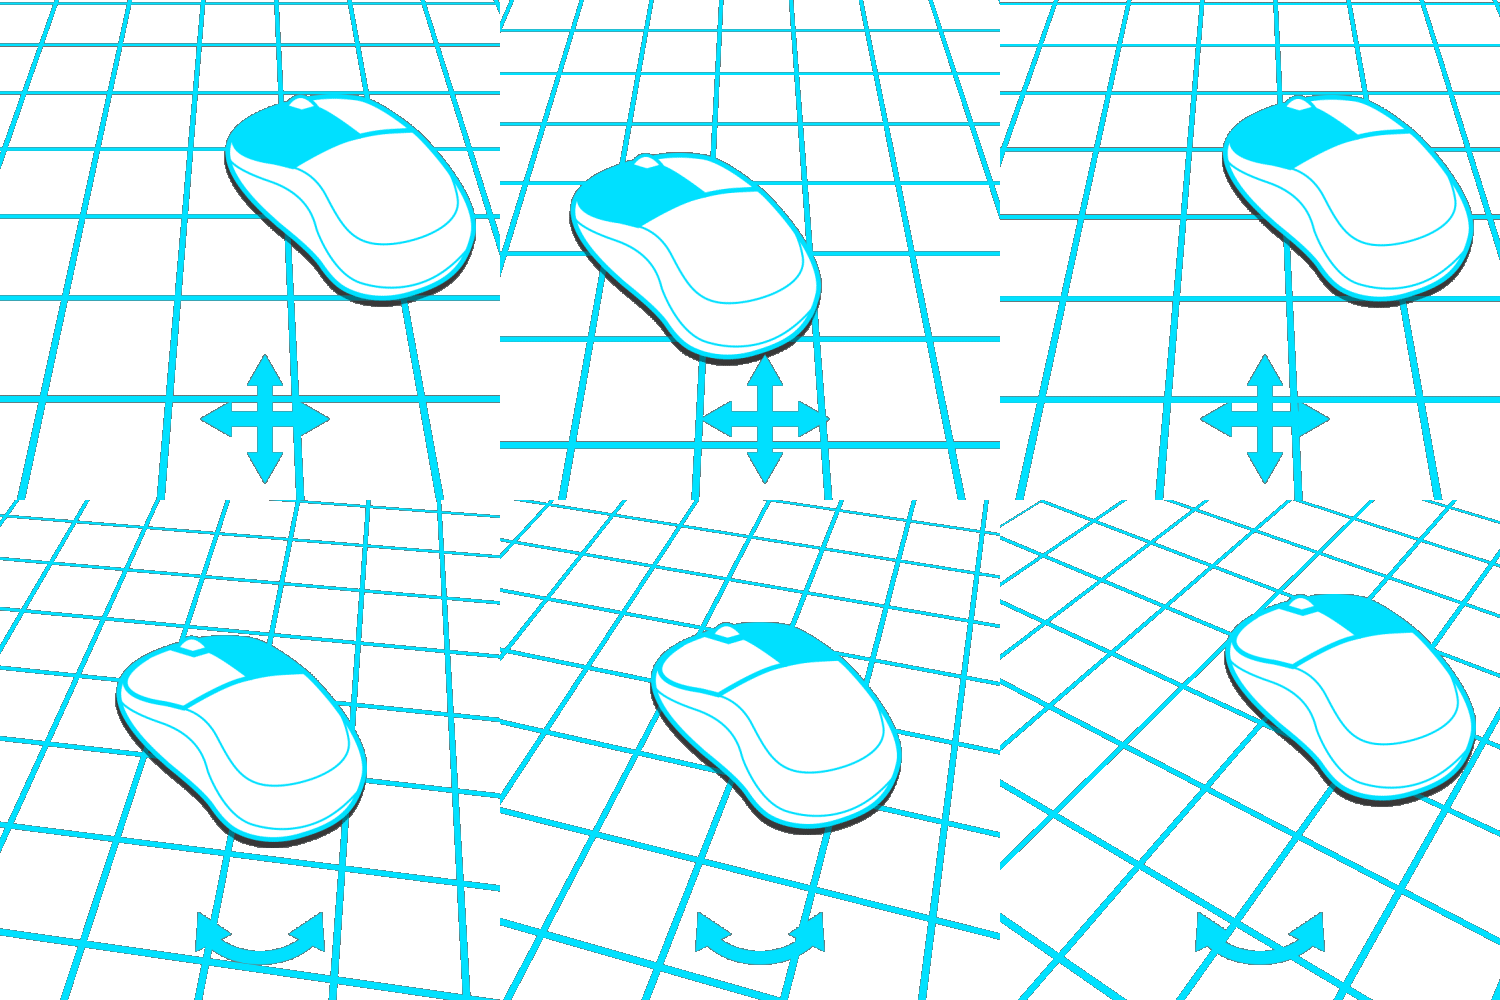
- Standard camera modes that you can control by using the mouse and allow interaction with the 3D Visualization.
- Walking camera modes that allow you to take a close look and walk through the 3D Visualization from the perspective of a person.
- Automatic camera modes that guide the user through the 3D Visualization along predefined paths.
Standard
The available standard camera modes are:
You can switch between these modes by clicking on the corresponding icon in the navigation panel: ![]()
![]()
![]()
Walking
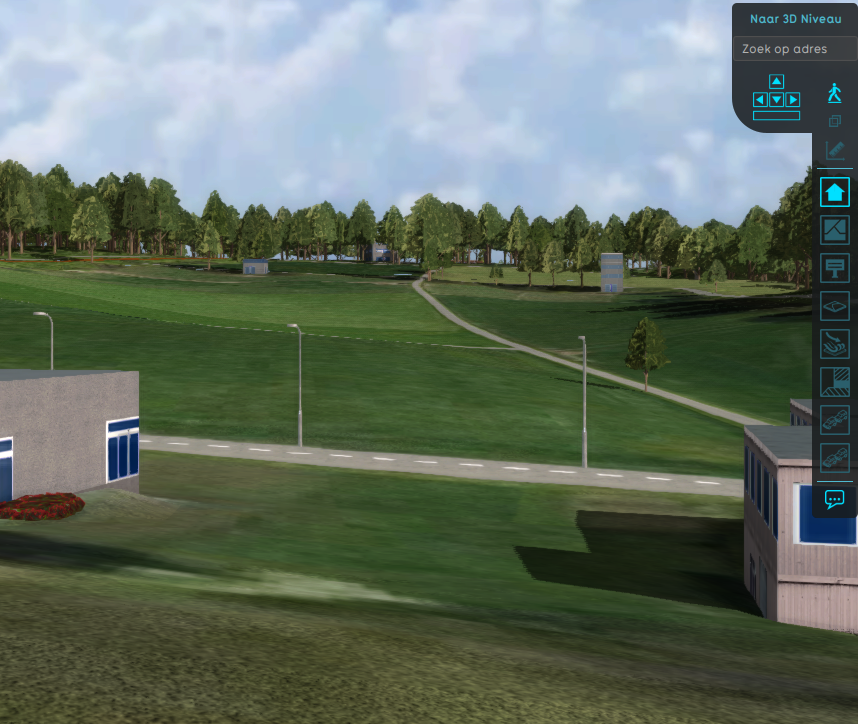
The available walking camera modes are:
Walking camera modes are accessed by continuously zooming in while in the standard camera modes. Zooming out from the walking camera modes allow you to return to the previously selected standard camera mode.
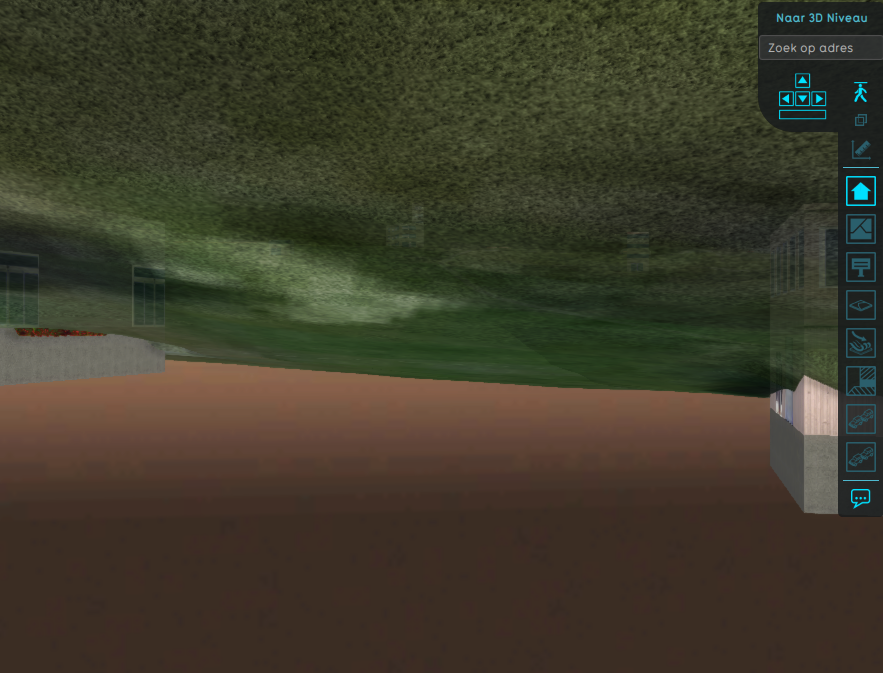
You can switch between these walking modes by:
- Clicking on the

 icon in the navigation panel.
 - Pressing the space key on your keyboard.
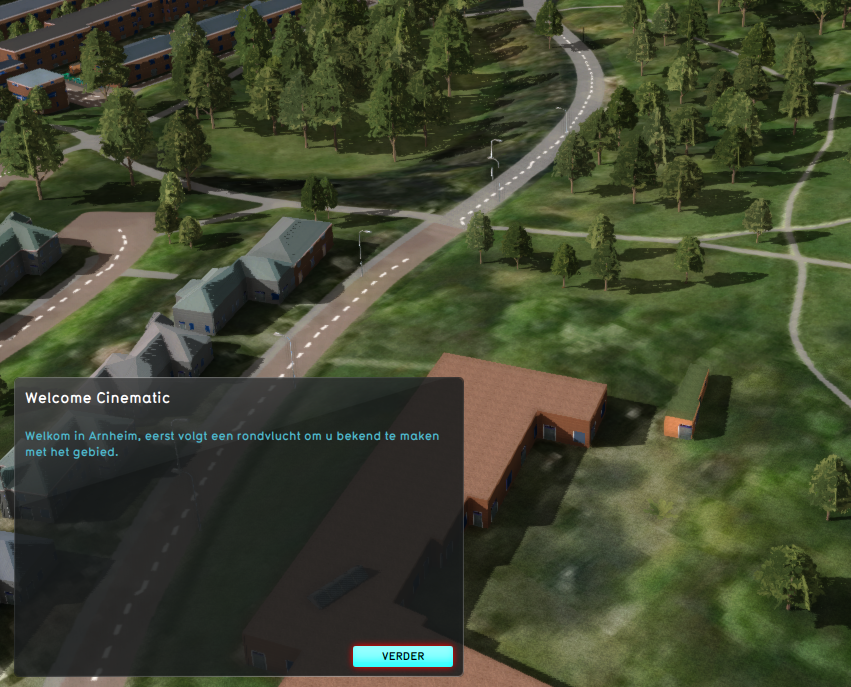
Automatic
The available automatic camera modes are:
