Underground Overlay: Difference between revisions
Jump to navigation
Jump to search
No edit summary |
|||
| Line 23: | Line 23: | ||
{{Editor steps|title=remove the Underground overlay|Select in the editor 'Geo Data' from the ribbon|Select 'Overlays' from the ribbon bar|Select the desired overlay from the list of active overlays on the left panel|Select 'remove' from the bottom of the left panel|Confirm the removal in the pop up confirmation message}} | {{Editor steps|title=remove the Underground overlay|Select in the editor 'Geo Data' from the ribbon|Select 'Overlays' from the ribbon bar|Select the desired overlay from the list of active overlays on the left panel|Select 'remove' from the bottom of the left panel|Confirm the removal in the pop up confirmation message}} | ||
{{Template:Overlay nav}} | |||
Revision as of 16:27, 1 April 2019
What the Underground Overlay is
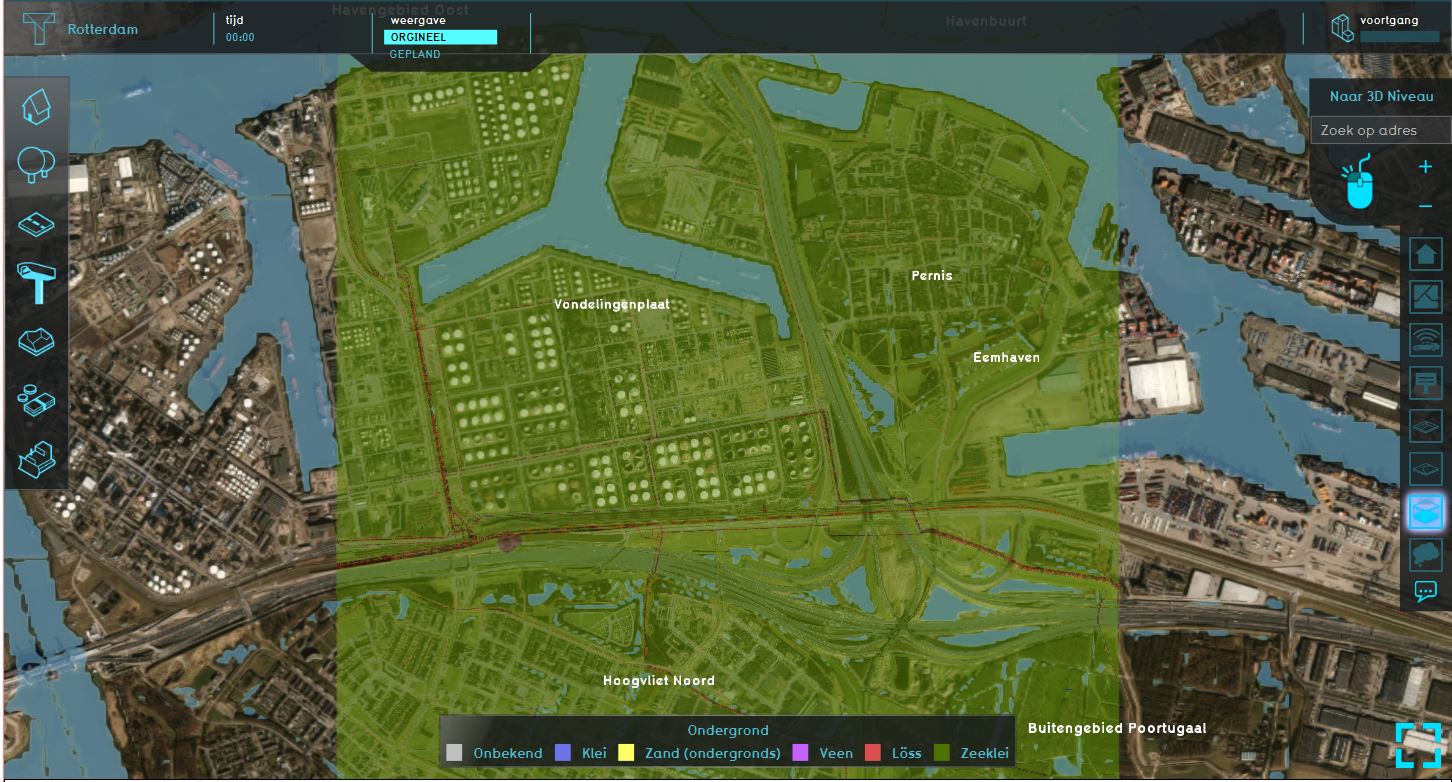
The Underground Overlay is an overlay which displays the Terrain types of the soil. These terrain types are based on FGR data and in the 2019.0.0 version of the Tygron Platform on BRO data.
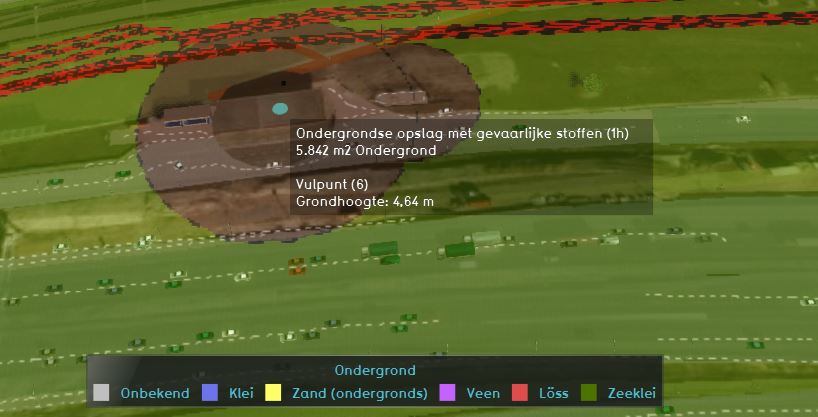
Additionally, the overlay displays underground objects from Risicokaart, such as cables, pipes and underground storage of hazardous substances.
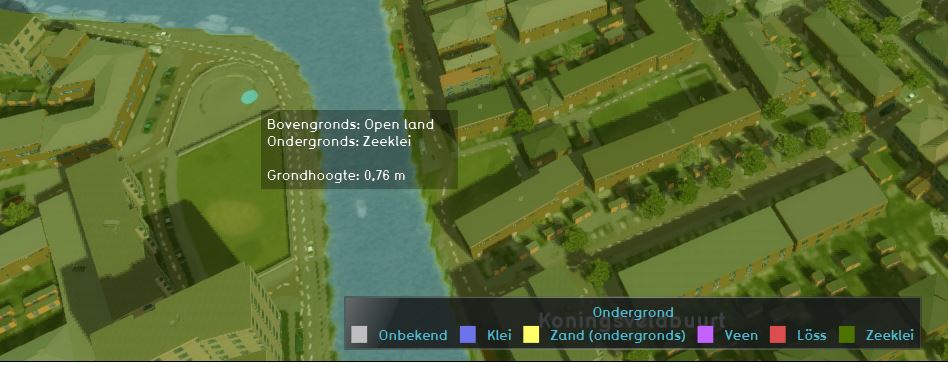
Additional information displayed in hover panel
When clicking on a specific location in the map, the hover panel gives additional information over the terrain type above ground and underground and the height.
When clicking on a specific object, the type of object and additional information is given.
Adding and removing
How to add the Underground overlay:
- Select in the editor 'Geo Data' from the ribbon
- Select 'Overlays' from the ribbon bar
- Select the Underground overlay from the drop down menu
How to remove the Underground overlay:
- Select in the editor 'Geo Data' from the ribbon
- Select 'Overlays' from the ribbon bar
- Select the desired overlay from the list of active overlays on the left panel
- Select 'remove' from the bottom of the left panel
- Confirm the removal in the pop up confirmation message


