Template Project
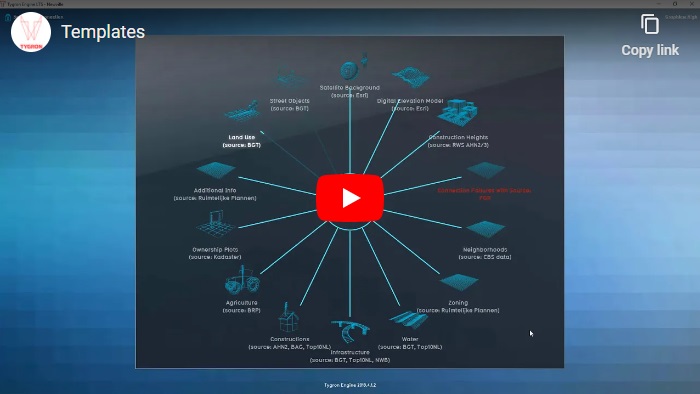
What is a template in the Tygron Platform
A template (project) contains a predefined generic structure that can be copied when creating a new project. This new project can have a location that differs from the template project upon which it is based. However, it will, for instance, contain the same Indicators and Actions. This can be convenient in cases of similar spatial issues at hand that occur at different locations that require different projects. Also, this functionality enables the user to develop elaborate predefined actions and custom indicators, which can then be easily applied to multiple areas/projects by simply using a template, saving the user a lot of time and effort in the long run.
Which elements are transferred to a new project
In a template project, elements that are not spatial, that is, not linked to a specific location, will be transferred to a new project.
Elements that are transferred to a new project
- Indicators
- Stakeholders
- Overlays and their settings, such as the grid size
- New functions/changes in function values
- New terrain types/changes in terrain types
- Globals
- Action menus
- New/changed Upgrade types
- WFS connections in the Geo Data Wizard
Elements that are not transferred to a new project
- These type of spatial objects are bound to a specific location in the template project and are therefore not migrated to other locations/projects.
- Measures are drawn at a certain location and, therefore, not applicable to other locations/projects.
- In a cinematic the camera has a specific location within the 3D world, which will not be applicable to other locations/projects.
- Panels which are position or are instances of panel templates, which will not be applicable to other locations/projects due to removed content items.
Special elements that need to be adjusted accordingly after creating a new project based on a template
- Overlays are transferred to a new project (they will be recalculated for the new project), as will the settings in the template project, such as the grid size. However, specific data that are imported and used for, for instance, the rainfall overlay, such as water level areas and weirs, are spatial data and are therefore not transferred to the new project. These datasets should therefore be imported manually into the new project. On the contrary, settings such as the length and duration of the rainfall event, are transferred from the template.
- The content of the panels is transferred to a new project, but their location must be reset.
How to create a template project
See below for the full list of steps for creating a template project. The steps are in short explained in this section.
To create a template project, start with a project that you want to use as a template for other projects.
Template settings
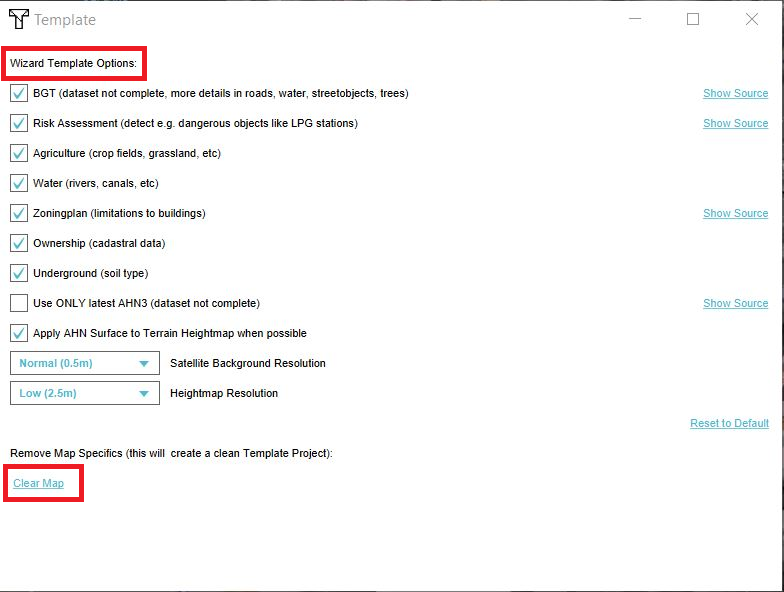
In the template settings screen, the data sources that should be used by default when using this template, can be set. For example AHN3 can be selected so that the AHN3 is always used when creating a project based on that template.
Clear map
The map needs to be cleared, so the project size will be small. This will ensure that the creation of a new project based on the template will be as fast as possible. The clear map option is a permanent setting and cannot be undone. Therefore, it is recommended to make a copy of your project by saving it under a different name.
Remove non-generic elements
When the map is cleared, remove elements that are non-generic, for example, stakeholder names. The stakeholder Municipality is named after the municipality belonging to the project area. If the template project is created for The Hague, the stakeholder is called Municipality The Hague. If you apply the template on a project in Amsterdam, the stakeholder will use the previous name combined with the new name, which will result in Municipality The Hague Amsterdam. Therefore, in the template project, remove the part where it says The Hague, so the stakeholder in the template project will be named just Municipality. This way the new name in the Amsterdam project will become Municipality Amsterdam.
Domain admin rights
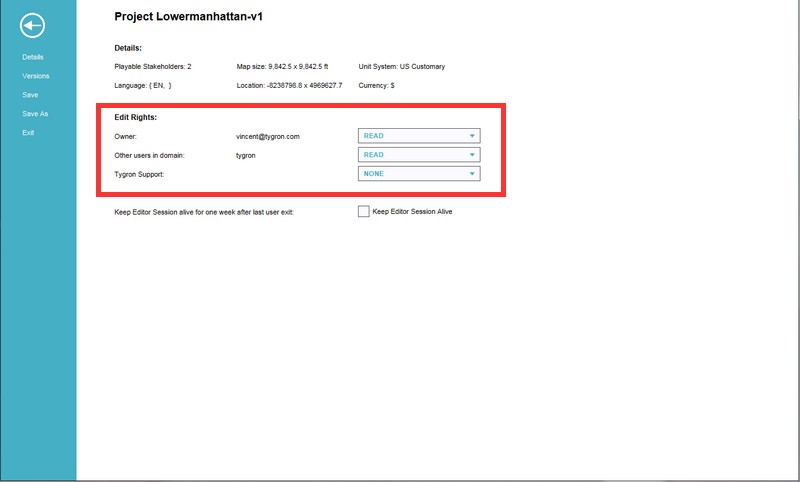
Setting a project as a template can only be done by users with Domain Administrator rights. When a project has been turned into a template project, the read and write permissions will change. This is to ensure that nobody accidentally edits the project template. The permissions will be set to either none or read, so the project cannot be edited anymore. By default only the creator can read the template and the template is not shared with other users within your domain. Please refer to the next paragraph on how to make templates available for a domain.
Below the list of steps for creating a new template project.
- Start with a project you want to use as a template
- Create a copy by saving the project under a different name
- Go in the Editor menu to Tools > Template > Template settings
- Set the desired data sources for new projects based on this template
- Clear map. Warning: this will remove the 3D world from your project, which cannot be undone (the reason for step 2).
- When the map is cleared, remove any elements that are non-generic
- Save and close the project
- Log in to the main menu (make sure you have domain-admin rights)
- Go to Options and select Projects
- Click on the check box named "Template" to mark the project as a template
Sharing your template with other users in a domain
When a project has been made a template project, the read and write permissions have been changed. This is to ensure that nobody accidentally edits the project. No write permissions remain (the project can no longer be edited and saved, unless the creator changes this) and only the creator can read the template by default. In order to change the read permissions, so that other users within the same domain can also make use of the template, the creator has to change the permissions of the original project in the Editor.
- Load in the Editor the template project to be shared with the domain
- Select "File" when in main view
- Select "Permissions"
- Change the entry for "Other users in domain" to "Read"
- Save project
Applying a template to a new project
When creating a new project based on a template project, follow the same steps as for creating a new project, but instead of selecting Empty project, select the template project in the project wizard. The image on the right shows an example where the user can select the Tygron Net template by clicking on the Use Tygron Net Template button).
How-to's
See Also


