How to import a breach with input area
A breach can be imported for a water calculation when using the configuration wizard of a Flooding Overlay.
- Prepare a GeoJSON file with the desired data for the breach, most importantly the breach height attribute.
- Ensure the GeoJSON file also contains the feature for the breach input area, and explicitly no value or a non-numeric value for its breach height attribute. See the tips for defining the areas below.
- Open the configuration wizard of the Flooding Overlay and continue to the step concerning breaches.
- Select the 'import' option. This will open the Geo data wizard.
- Follow the steps in the wizard. When finished, close the wizard. Now the breach and the input area have been imported.
- Make sure that the imported input area has an attribute for the Input Area Key.
- If it does not have one, add this attribute with a value.
- Select the breach
- For the breach input area, select the (other) imported area.
- The configuration wizard of the Flooding Overlay can now be closed as well.
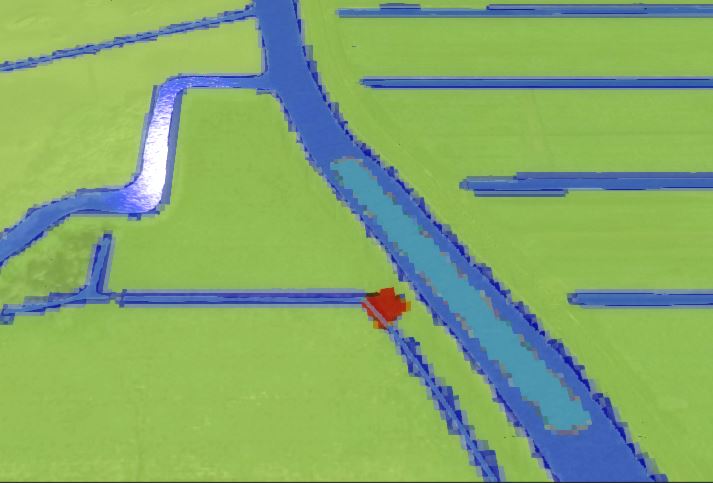
Since the breach is a local terrain height manipulation (red area in image), the internal breach area (light blue in image) should also be a small locally defined area, close to the breach.
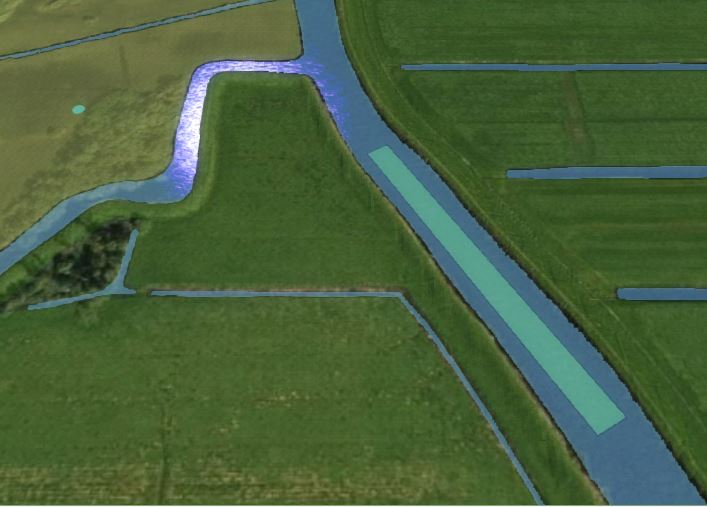
On the location of the internal area, the terrain height should be uniform. Therefore make sure the area is not too close to the edges of your waterway, since at the edges the terrain will be higher.


Notes
Breaches can also affect Water Overlays other than the Flooding Overlays.
Currently, it is only feasible to create a breach with an input area via the configuration wizard, requiring the Flooding Overlay specifically.
See also
For an example of the internal breach area, take a look at the Testbed Water Module project available in all domains.


