How to add a static traffic model: Difference between revisions
Jump to navigation
Jump to search
No edit summary |
No edit summary |
||
| (9 intermediate revisions by the same user not shown) | |||
| Line 1: | Line 1: | ||
''A static model | ''A static model remains constant even when changes are made to the [[project]].'' | ||
Use this model if you have a pre-defined scenario (e.g., for 2030) with specific traffic intensities. | |||
To upload the dataset, create a [[GeoJSON]] file of the data and make sure the features contain an attribute with the number of [[units]]/hour of a specific vehicle category. In this example, we will overwrite the NUM_CARS attribute of the | To upload the dataset, create a [[GeoJSON]] file of the data and make sure the features contain an attribute with the number of [[units]]/hour of a specific vehicle category. In this example, we will overwrite the [[Cars per hour (Function Value)|NUM_CARS]] attribute of the buildings with the corresponding values of the attribute from the GeoJSON file. | ||
During import, buildings intersected by the GeoJSON features are assigned the new traffic flow attributes. | |||
{{Editor location|Geo Import}} | {{Editor location|Geo Import}} | ||
{{Editor steps|title=add a Static Traffic Model using the Geo Data Wizard | {{Editor steps|title=add a Static Traffic Model using the Geo Data Wizard | ||
|Select the Geo Data header | |Select the Geo Data header | ||
|Select the Geo Import bar| | |Select the Geo Import bar | ||
Notice that a Geo Data Wizard window appears | |Notice that a Geo Data Wizard window appears | ||
|In the data wizard select the type 'Buildings'|Select the 'Import a GeoJSON file' option in step 1 | |In the data wizard select the type 'Buildings'|Select the 'Import a GeoJSON file' option in step 1 | ||
|Select the GeoJSON file you wish to add in step 1 | |Select the GeoJSON file you wish to add in step 1 | ||
|View the features of the selected GeoJSON file in step 2 | |View the features of the selected GeoJSON file in step 2 | ||
|Select the 'No Filtering' option in step 3 | |Select the 'No Filtering' option in step 3 | ||
|Select the option 'Only update existing | |Select the option 'Only update existing buildings with attributes' and the option 'Any Building' in step 4 | ||
|Ensure that the attribute NUM_CARS is activated in the list of attributes in step 5 | |Ensure that the attribute NUM_CARS is activated in the list of attributes in step 5 | ||
|Select 'Finish' in step 6}} | |Select 'Finish' in step 6}} | ||
| Line 26: | Line 26: | ||
File:Geo_data_5.jpg | 8. Select the 'No Filtering option' | File:Geo_data_5.jpg | 8. Select the 'No Filtering option' | ||
File:Geo_data_static.jpg| 9. Select the 'Only update existing building with attributes' and 'Any Building' options | File:Geo_data_static.jpg| 9. Select the 'Only update existing building with attributes' and 'Any Building' options | ||
File:Geo_data_8.jpg | 10. Select the | File:Geo_data_8.jpg | 10. Select the '''NUM_CARS''' attribute | ||
File:Geo_data_11.jpg| 11. Select 'Finish' | File:Geo_data_11.jpg| 11. Select 'Finish' | ||
</gallery> | </gallery> | ||
| Line 32: | Line 32: | ||
{{article end | {{article end | ||
|notes= | |notes= | ||
* You can import and map multiple traffic attributes, such as [[NUM_CARS]], [[NUM_TRUCKS]], [[NUM_VANS]] at the same time. | * You can import and map multiple traffic attributes, such as [[Cars per hour (Function Value)|NUM_CARS]], [[Trucks per hour (Function Value)|NUM_TRUCKS]], [[Vans per hour (Function Value)|NUM_VANS]] at the same time. | ||
* The attribute that you import is also allowed to hold an array of hourly traffic values. | * The attribute that you import is also allowed to hold an array of hourly traffic values. | ||
|seealso= | |seealso= | ||
*[[Traffic | *[[Traffic model]] | ||
|api=*[[Api session event editor building set attributes]] | |||
}} | }} | ||
[[Category:How-to's]] | |||
Latest revision as of 15:05, 15 July 2026
A static model remains constant even when changes are made to the project.
Use this model if you have a pre-defined scenario (e.g., for 2030) with specific traffic intensities. To upload the dataset, create a GeoJSON file of the data and make sure the features contain an attribute with the number of units/hour of a specific vehicle category. In this example, we will overwrite the NUM_CARS attribute of the buildings with the corresponding values of the attribute from the GeoJSON file. During import, buildings intersected by the GeoJSON features are assigned the new traffic flow attributes.
How to add a Static Traffic Model using the Geo Data Wizard:
- Select the Geo Data header
- Select the Geo Import bar
- Notice that a Geo Data Wizard window appears
- In the data wizard select the type 'Buildings'
- Select the 'Import a GeoJSON file' option in step 1
- Select the GeoJSON file you wish to add in step 1
- View the features of the selected GeoJSON file in step 2
- Select the 'No Filtering' option in step 3
- Select the option 'Only update existing buildings with attributes' and the option 'Any Building' in step 4
- Ensure that the attribute NUM_CARS is activated in the list of attributes in step 5
- Select 'Finish' in step 6
-
 4. Select 'Buildings' type
 -
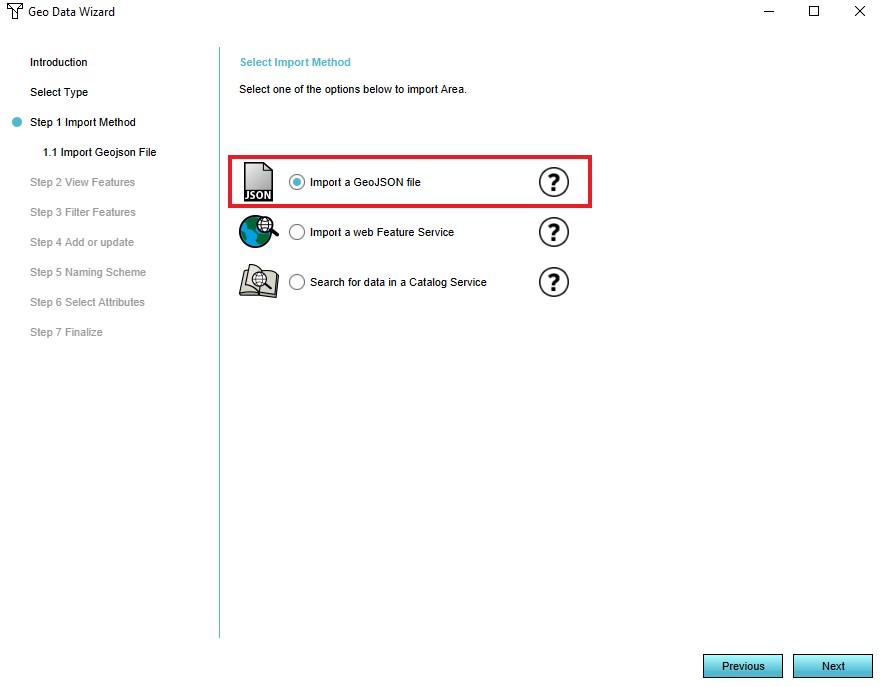 5. Select the 'Import a GeoJSON file option'
 -
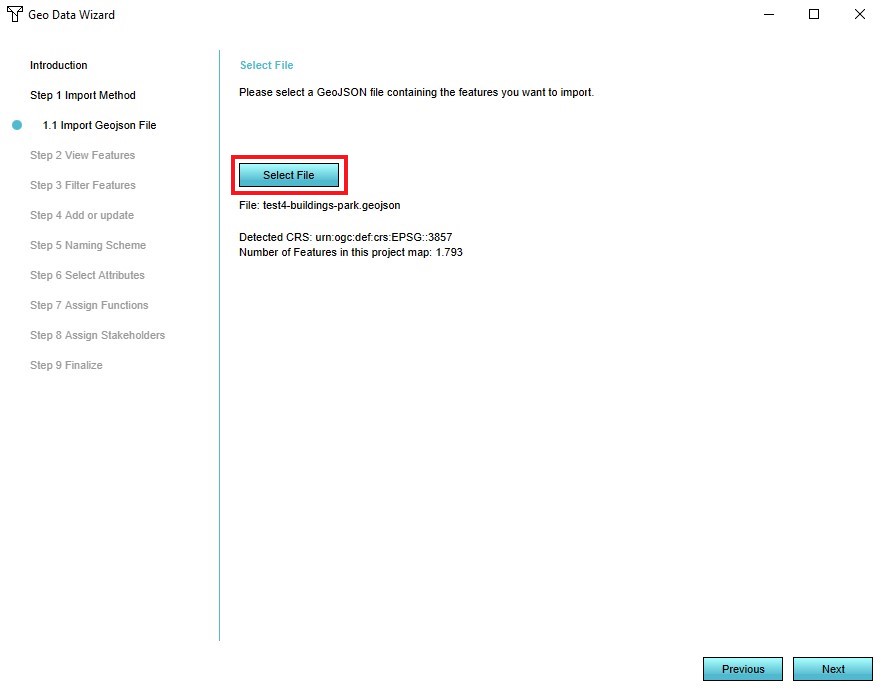 6. Select the GeoJSON file you wish to add
 -
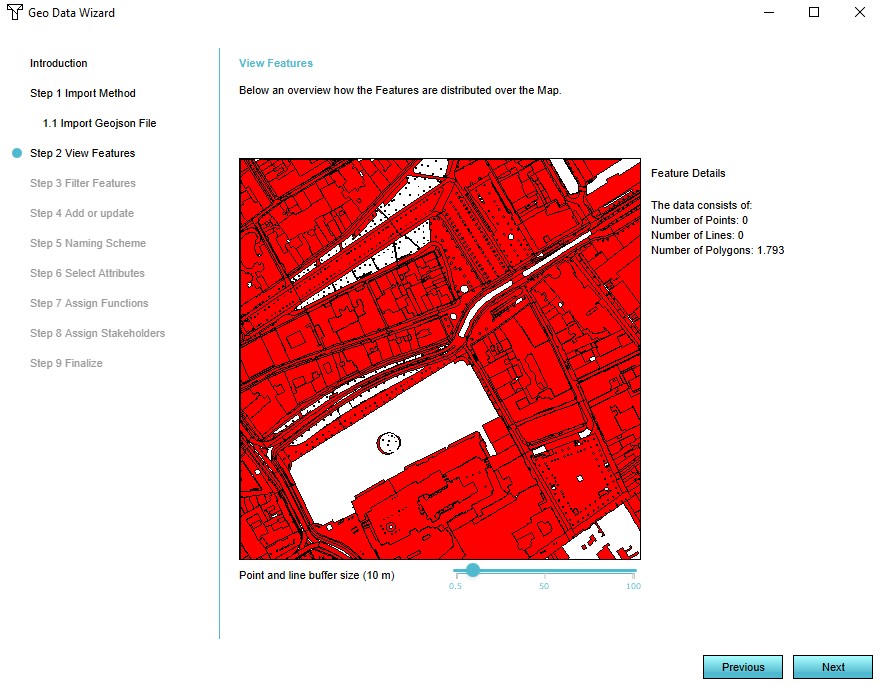 7. View the features of the selected GeoJSON file
 -
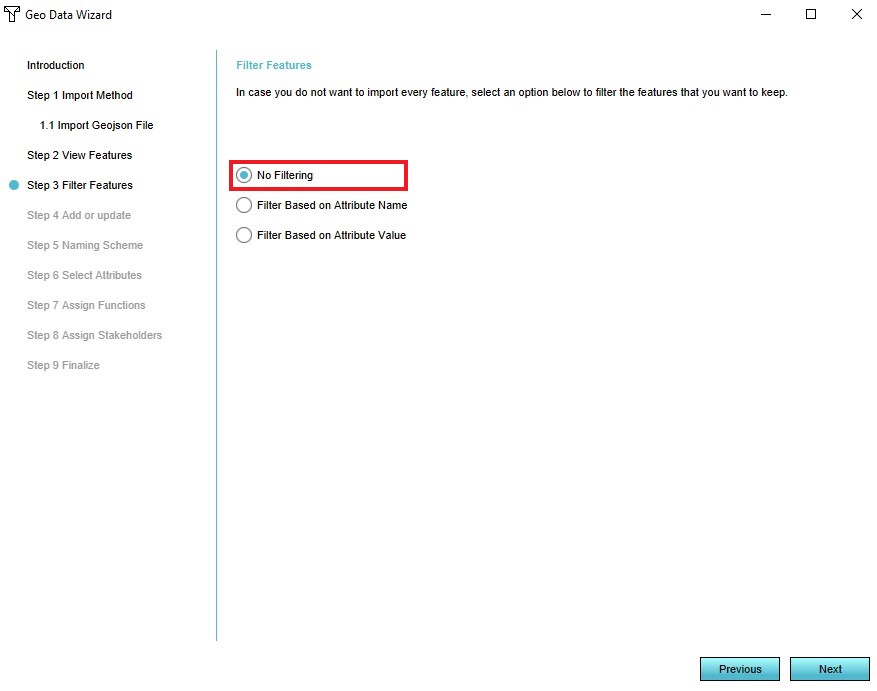 8. Select the 'No Filtering option'
 -
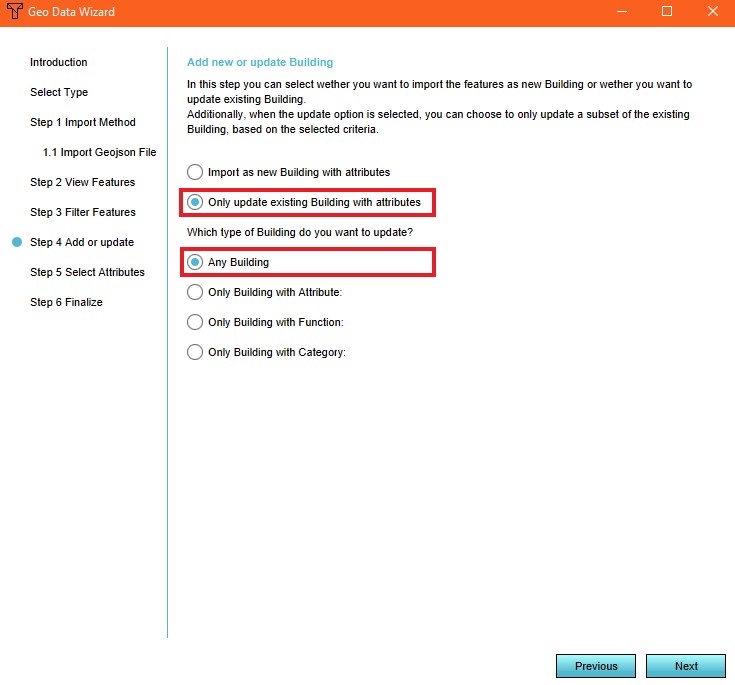 9. Select the 'Only update existing building with attributes' and 'Any Building' options
 -
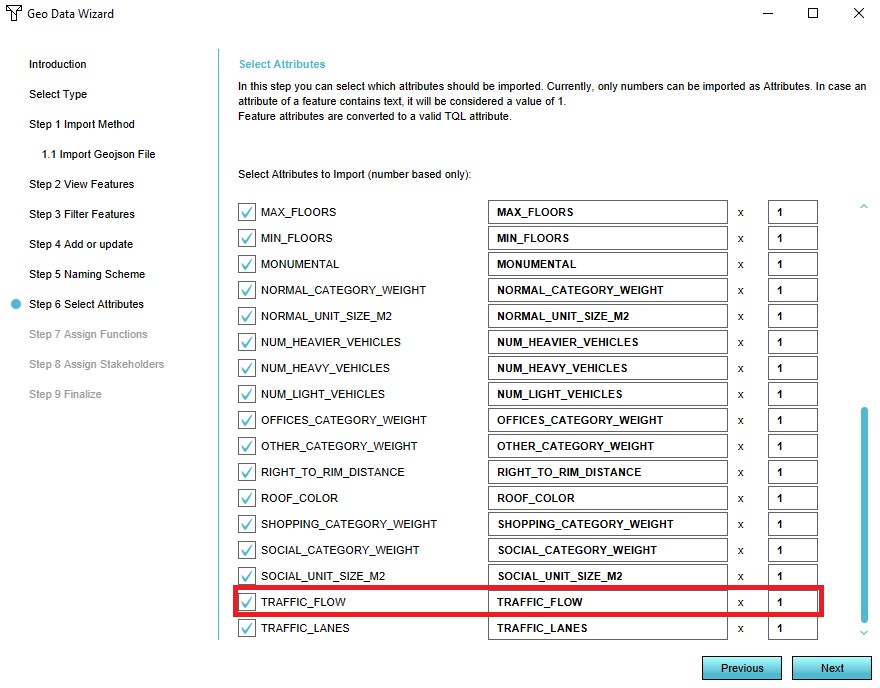 10. Select the NUM_CARS attribute
 -
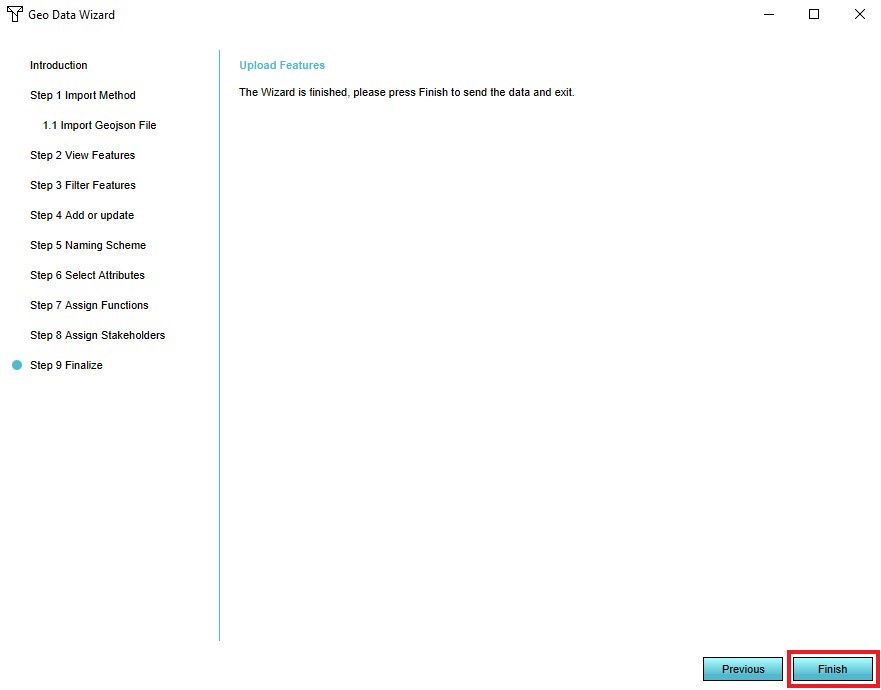 11. Select 'Finish'


Notes
- You can import and map multiple traffic attributes, such as NUM_CARS, NUM_TRUCKS, NUM_VANS at the same time.
- The attribute that you import is also allowed to hold an array of hourly traffic values.