How to add a Measure to the 3D Web Viewer
Jump to navigation
Jump to search
How to Add a Measure to the 3D Web Viewer:
- Load or create a project
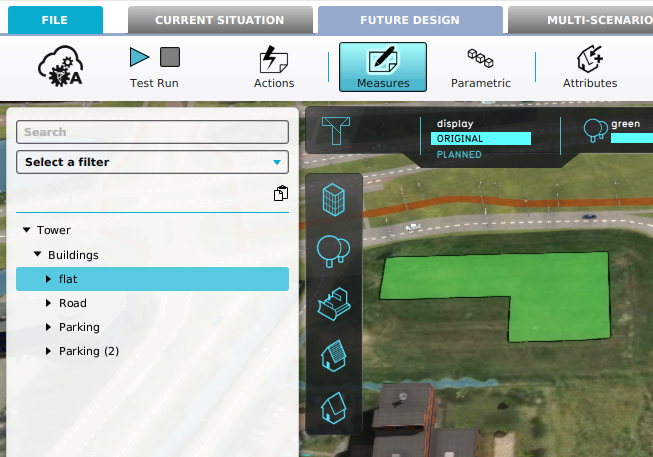
- From the Ribbon, select Future Design -> Measures to inspect the Measures in your project.
- Remember the name of an existing Measure, or create a new Measure.
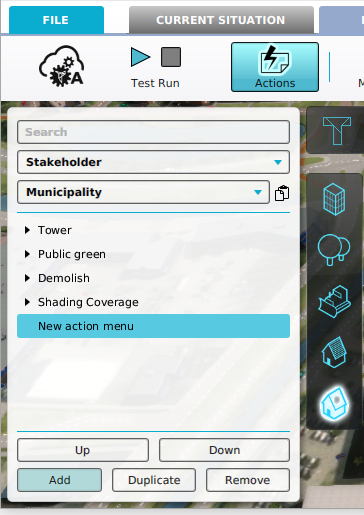
- Next, Select Actions.
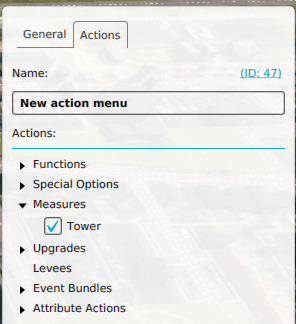
- Add a new Action Menu, and click on the Actions tab in its detail panel.
- Unfold the Measure section and select the recently created Measure.
- The Measure should now be available in the 3D Web Viewer.
- To verify this, click on 3D Web link on the top right part of the screen. This should the 3D Web Viewer in a browser.
- Alternatively, go to Tools -> Web Interface, Show 3D Map (Cesium). This should the 3D Web Viewer in a browser as well.
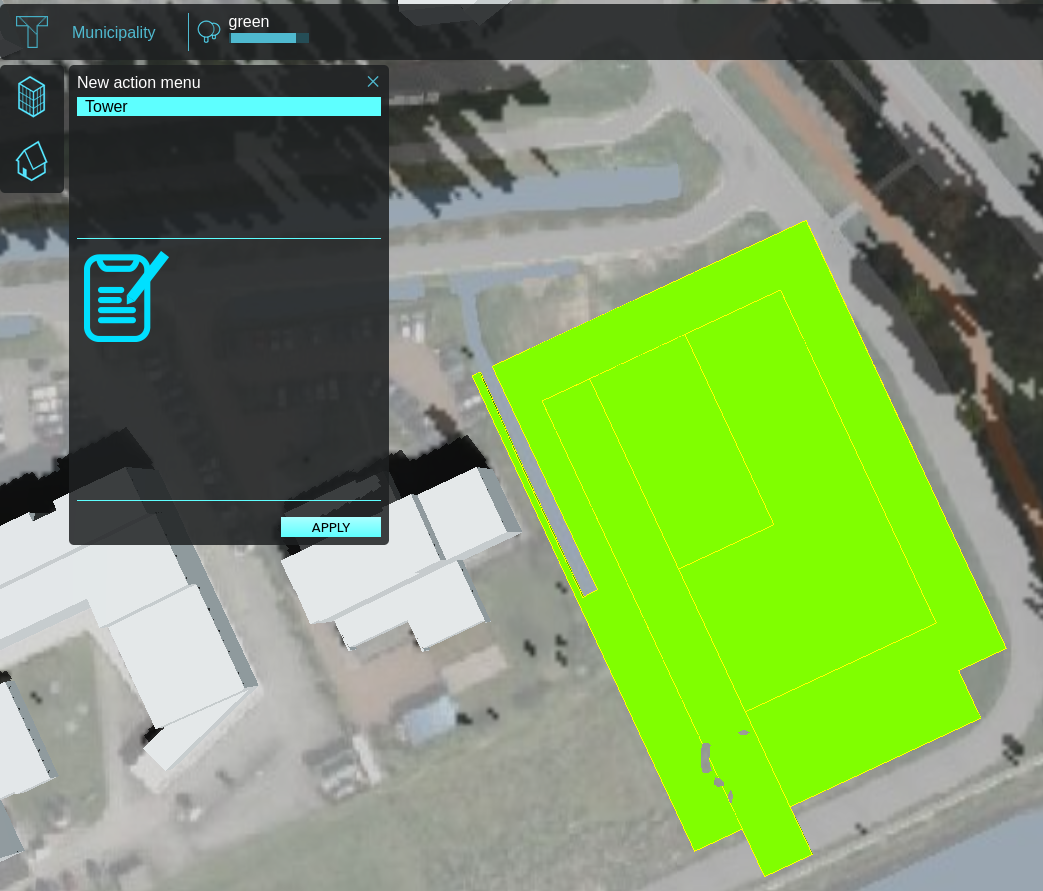
- In the 3D Web Viewer, click on the action menu icon. Selecting it will automatically select the Measure, moving the camera to its location.
- To activate the measure, click on the Apply button in the bottom right corner of the Action Menu.


