How to add a Measure to the 3D Web Viewer: Difference between revisions
Jump to navigation
Jump to search
No edit summary |
No edit summary |
||
| Line 1: | Line 1: | ||
{{Editor steps|title=Add a [[Measure]] to the [[3D Web Viewer]] | {{Editor steps|title=Add a [[Measure]] to the [[3D Web Viewer]] | ||
|video={{video|link=https://youtu.be/oXcTiBiDUw4|description=How to add a Measure to the 3D Web Viewer.}} | |||
|Load or create a project | |Load or create a project | ||
|From the [[Ribbon]], select [[Future Design]] -> [[Measures]] to inspect the Measures in your project. | |From the [[Ribbon]], select [[Future Design]] -> [[Measures]] to inspect the Measures in your project. | ||
Revision as of 13:01, 1 November 2023
How to Add a Measure to the 3D Web Viewer:
Watch the video: 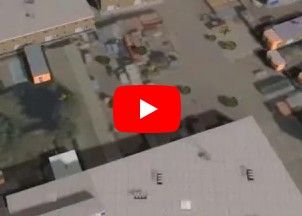
- Load or create a project
- From the Ribbon, select Future Design -> Measures to inspect the Measures in your project.
- Remember the name of an existing Measure, or create a new Measure.
- Next, Select Actions.
- Add a new Action Menu, and click on the Actions tab in its detail panel.
- Unfold the Measure section and select the recently created Measure.
- The Measure should now be available in the 3D Web Viewer.
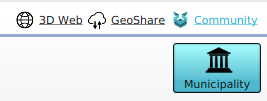
- To verify this, click on 3D Web link on the top right part of the screen. This should the 3D Web Viewer in a browser.
- Alternatively, go to Tools -> Web Interface, Show 3D Map (Cesium). This should the 3D Web Viewer in a browser as well.
- In the 3D Web Viewer, click on the action menu icon. Selecting it will automatically select the Measure, moving the camera to its location.
- To activate the measure, click on the Apply button in the bottom right corner of the Action Menu.
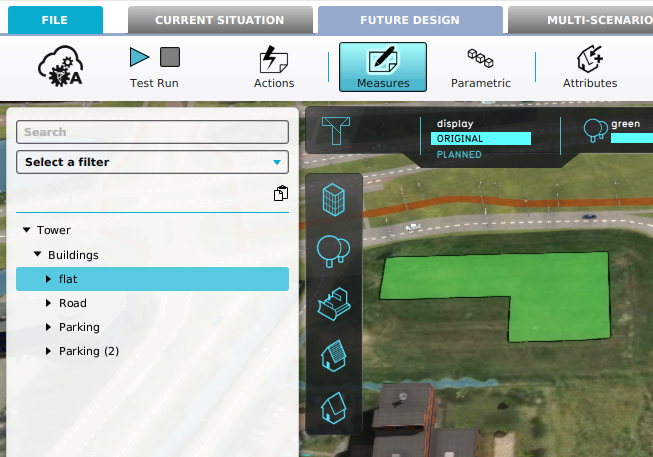
Inspecting the measures in a project.
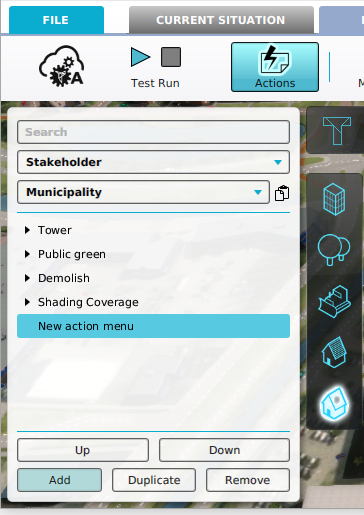
Adding an Action Menu.
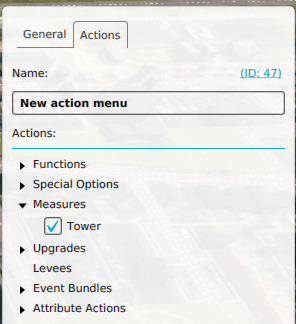
Adding a Measure to an Action Menu.
Opening the 3D Web Viewer in the browser.
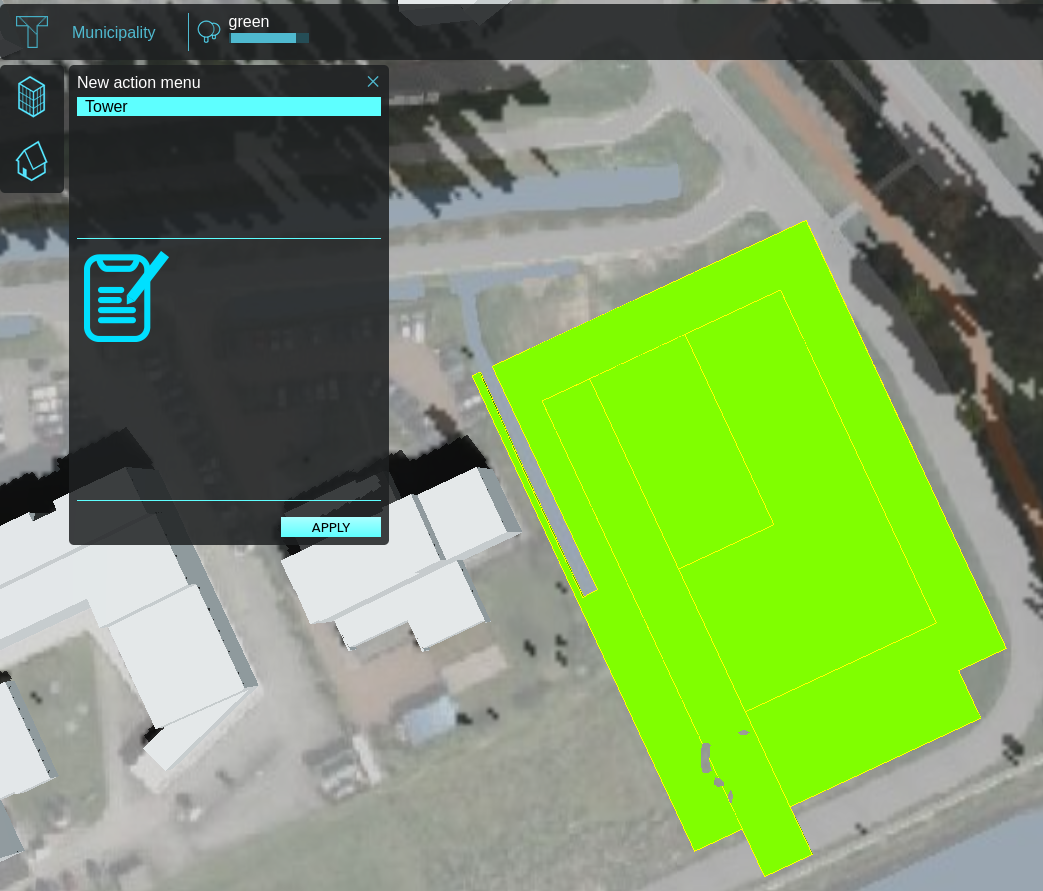
Activating a Measure in the 3D Web Viewer.


