Visualize levee breach from water body outside project area use case (Water Overlay)
In this scenario we want to simulate a levee breach near an adjacent water body, but in this case, the water body is not fully in 3D in the project. For example, if your project is of a part of Flevoland and you don't want to create a project of the whole IJsselmeer, you can simulate the flooding by the IJsselmeer. In this scenario you would not want to have the breach connected to the water body, since we are not going to import the water level of this water body. This means the water body will not have a water level and thus the flooding will go to the lowest point which is probably to the water body and not the land.
In the steps here, the breach area is drawn in the Editor. It is also possible to import a GeoJSON file with the location of the breach.
- In the Editor go to GEO Data --> Areas
- Add a new area by clicking in the bottom left corner.
- Select the newly created area (named Area) and give it a fitting name on the right
- Zoom in to the location where you want to have the breach and click on the Adjust area button
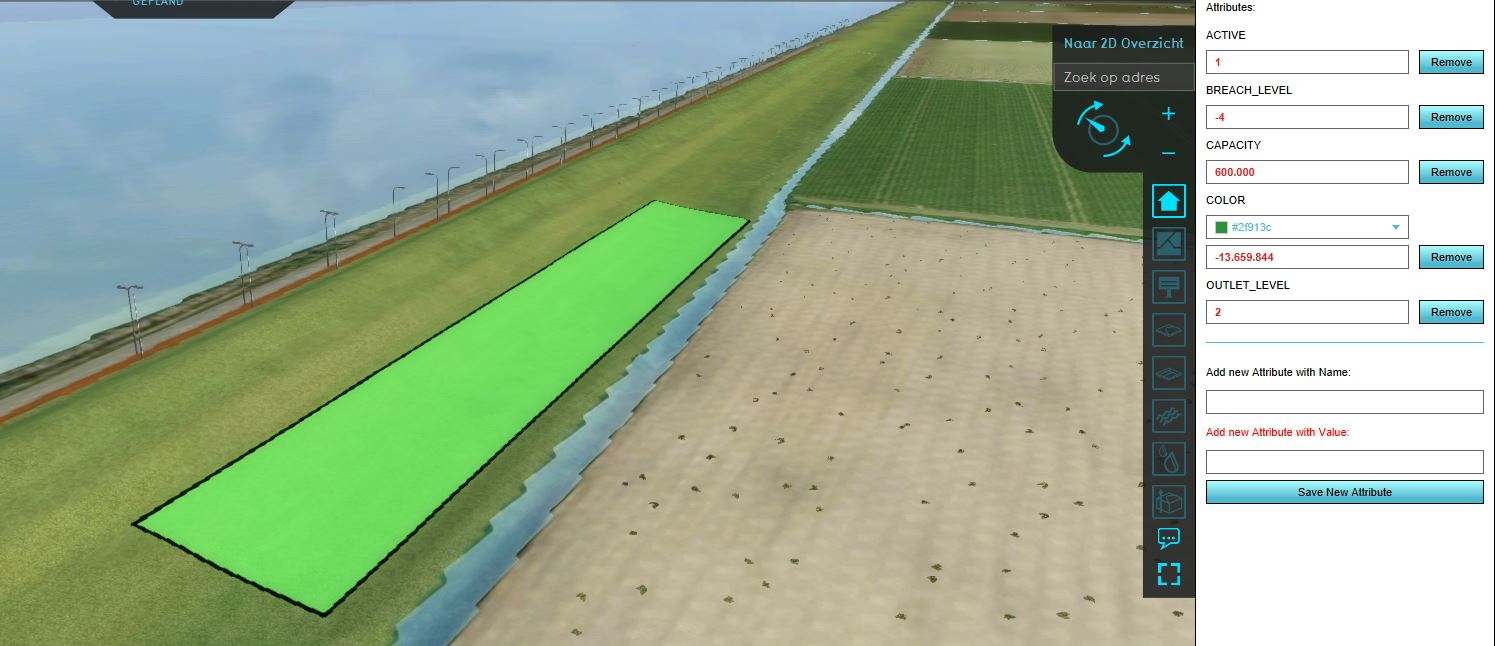
- Select the location of your breach and click on Apply settings. Make sure the breach is not connected to the water body and ideally draw it on the inside of the dike.
- Go to the tab attributes and add the breach floor attribute and the outlet capacity. The outlet capacity is the volume of the waterbody. Also add either the outlet Q or the outlet level to determine how much water will flow through the breach.
- Then follow the steps above to configure the flooding.
- In step 2.2 when you import the water level areas, don't import the water level area for the large water body near your breach area.
- Finish the Wizard and refresh the Overlay.
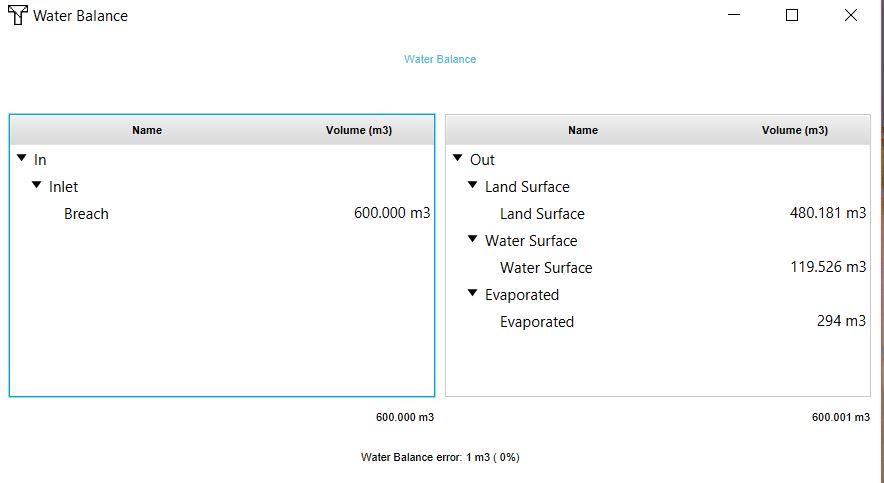
- After the flooding is calculated, check the Water Balance to get more insight in your scenario.

