How to import a GeoTIFF to change the elevation model: Difference between revisions
Jump to navigation
Jump to search
No edit summary |
No edit summary |
||
| Line 1: | Line 1: | ||
If you have your own DTM, it can be used to (partially) replace the DEM generated by the {{software}}: | If you have your own DTM, it can be used to (partially) replace the DEM generated by the {{software}}: | ||
<youtube>XPTU037nBHA</youtube> | |||
{{Editor steps|title=import terrain height data | {{Editor steps|title=import terrain height data | ||
|Create a DTM in GeoTIFF format | |Create a DTM in GeoTIFF format | ||
|Go to the [[Current Situation]] tab, hover over the Terrain button and click Select Elevation GeoTIFF | |Go to the [[Current Situation]] tab, hover over the Terrain button and click Select Elevation GeoTIFF | ||
Revision as of 12:34, 24 November 2023
If you have your own DTM, it can be used to (partially) replace the DEM generated by the Tygron Platform:
How to import terrain height data:
- Create a DTM in GeoTIFF format
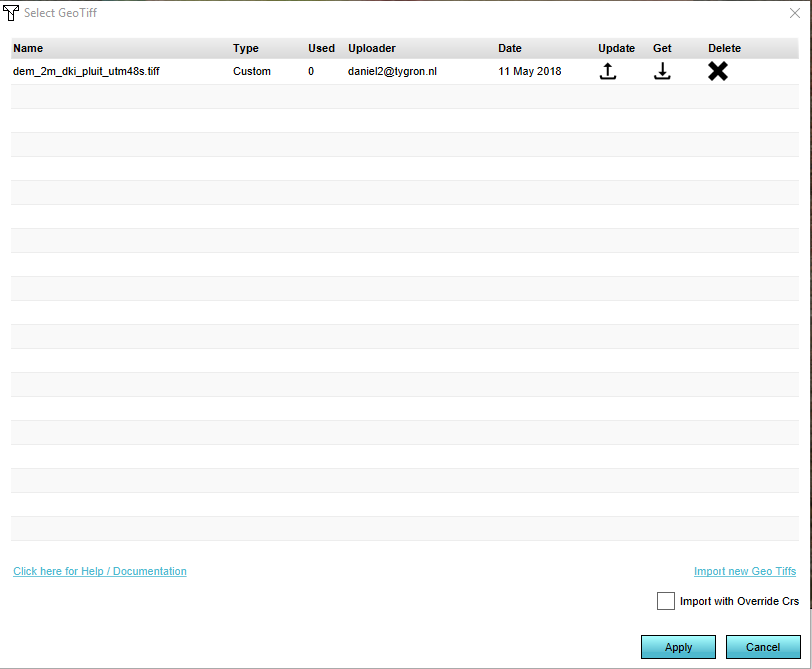
- Go to the Current Situation tab, hover over the Terrain button and click Select Elevation GeoTIFF
- In the panel that pops up click on Import new GeoTIFFs
- Locate the GeoTIFF on your harddrive and select Open
- After the GeoTIFF is uploaded and shown in the list, select apply.
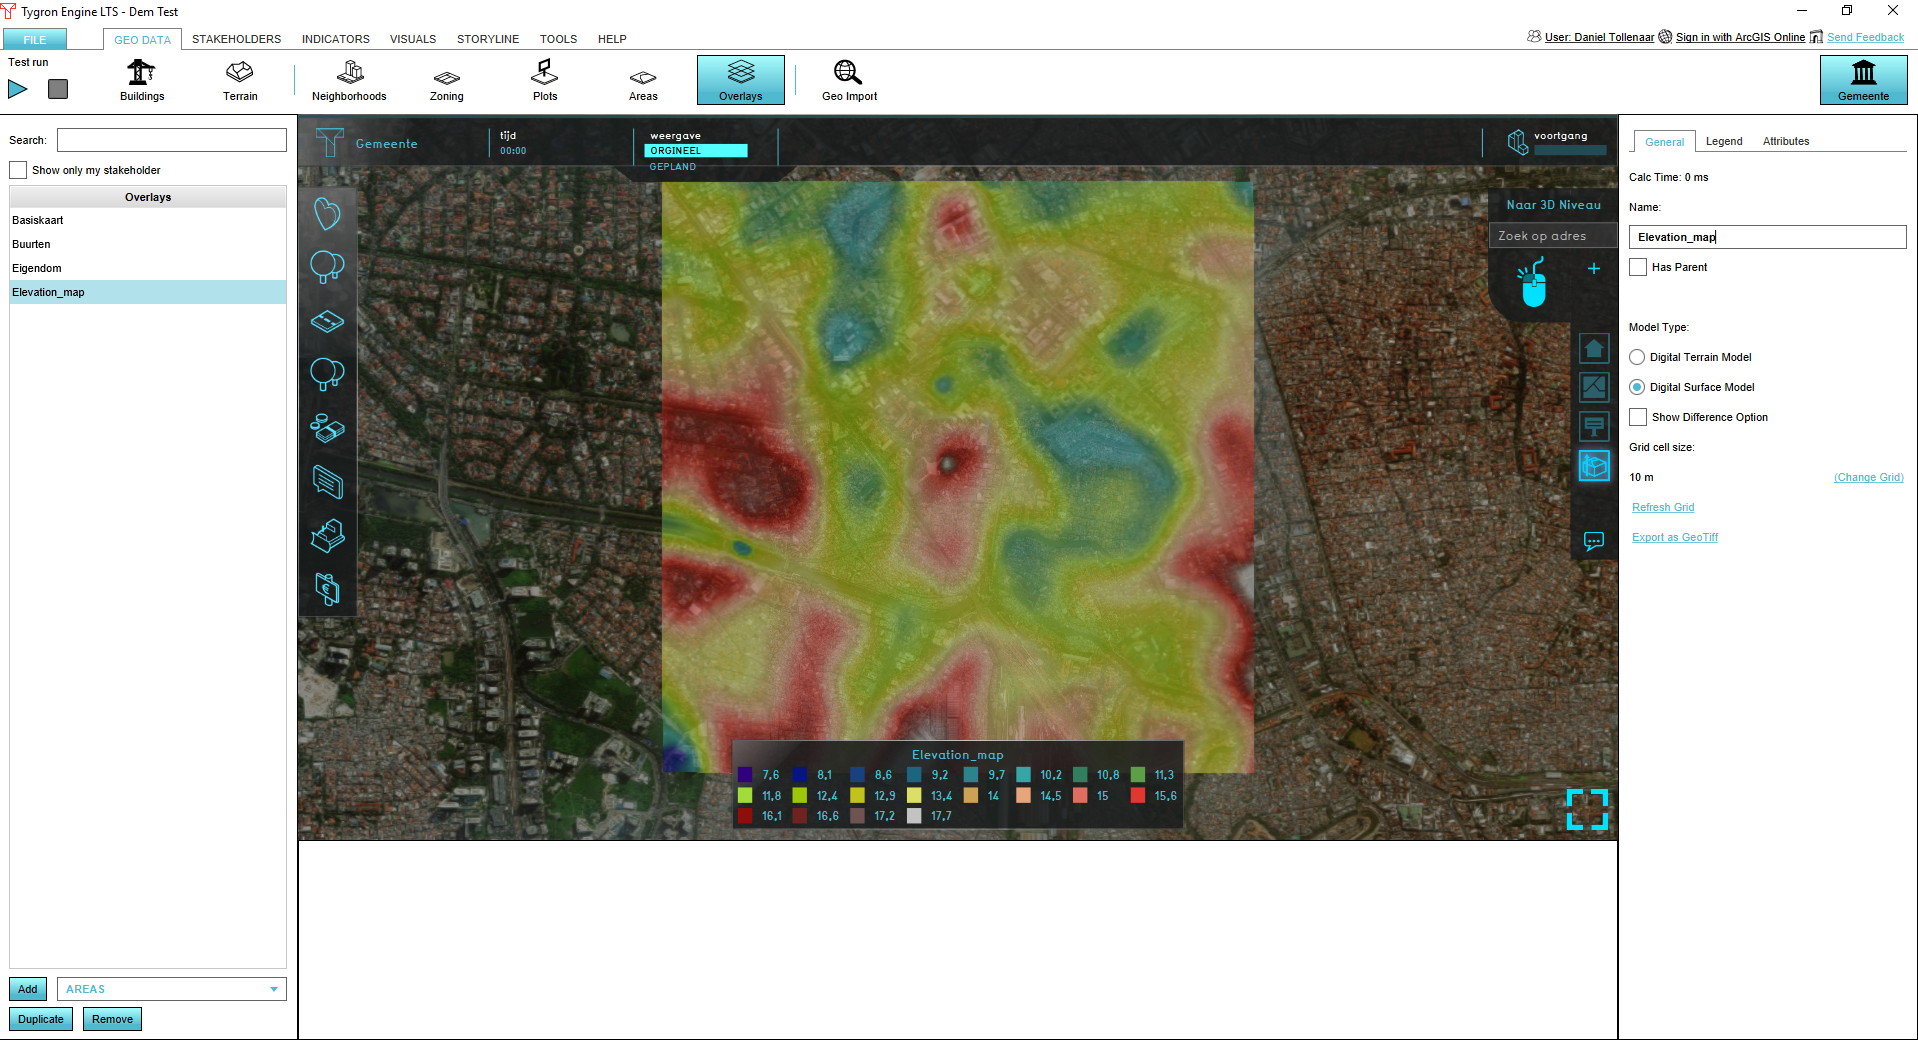
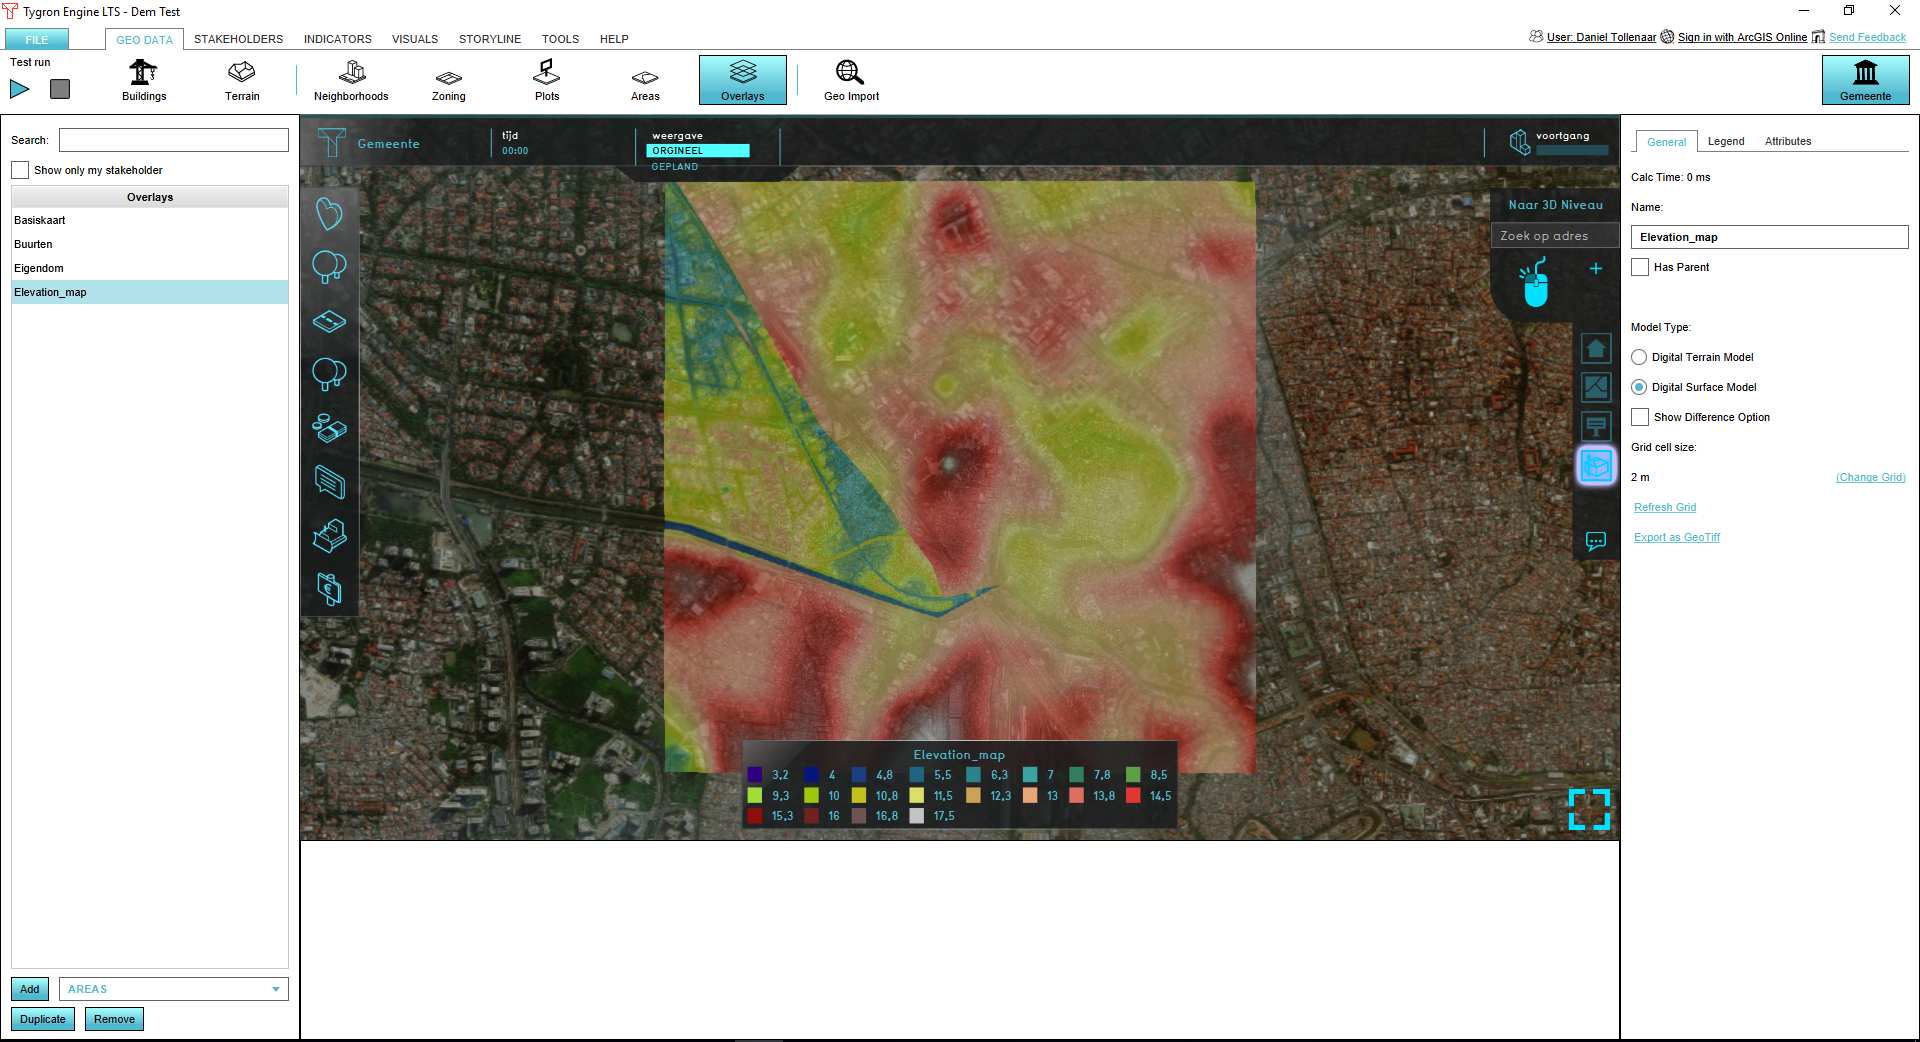
- Your original DTM is replaced by the GeoTIFF where the GeoTIFF data overlapped with the project area.
Notes
- It is possible to select multiple GeoTIFFs and then clicking on Apply to apply them at once.
- If you want to partially replace the original DEM, create a DTM with nodata values where the original DEM should be used.


