How to import a GeoTIFF to change the elevation model: Difference between revisions
Jump to navigation
Jump to search
(Created page with "If you have your own DTM, it can be used to (partially) replace the DEM generated by the {{software}}: {{Editor steps|title=import terrain height data |Create a DTM in GeoTiff...") |
No edit summary |
||
| (13 intermediate revisions by 4 users not shown) | |||
| Line 1: | Line 1: | ||
If you have your own DTM, it can be used to (partially) replace the DEM generated by the {{software}}: | If you have your own DTM, it can be used to (partially) replace the DEM generated by the {{software}}: | ||
<youtube>XPTU037nBHA</youtube> | |||
{{Editor steps|title=import terrain height data | {{Editor steps|title=import terrain height data | ||
|Create a DTM in | |||
|Go to | |Create a DTM in GeoTIFF format | ||
|In the | |Go to the [[Current Situation]] tab, hover over the Terrain button and click Select Elevation GeoTIFF | ||
|Locate the | |In the panel that pops up click on Import new GeoTIFFs | ||
|After the | |Locate the GeoTIFF on your harddrive and select Open | ||
|Your original DTM is replaced by the | |After the GeoTIFF is uploaded and shown in the list, select apply. | ||
|Your original DTM is replaced by the GeoTIFF where the GeoTIFF data overlapped with the project area. | |||
}} | }} | ||
<gallery | <gallery widths=250px> | ||
File:Select_GeoTiff.PNG|Select the GeoTIFF you want to use and click on Apply | |||
File:Elevation_org.PNG|Orignal DTM | |||
File:Elevation_replaced.PNG|Partially replaced DTM | |||
</gallery> | </gallery> | ||
== | {{article end | ||
|notes= | |||
* This operation is considered irreversible. Changes to the [[elevation model]] overwrite the [[Height sector|terrain heights data]] directly. It is advised to create a [[Version Control|new version]] if you ever want to revert back to the original elevation model. | |||
* It is possible to select multiple [[GeoTIFF]]s and then clicking on Apply to apply them at once. | |||
* If you want to partially replace the original DEM, create a DTM with nodata values where the original DEM should be used. | |||
* The effected change is a single operation, not a permanent connection. After performing this operation, if new versions of the GeoTIFFs are uploaded, the [[Project]]'s [[elevation model]] is not modified automatically. | |||
|seealso= | |||
* [[Height map]] | |||
* [[Height sector]]s | |||
* [[Elevation model]] | |||
* [[Elevation GeoTIFF]] | |||
|howtos= | |||
* [[How to adjust the height map with a Combo Overlay]] | |||
}} | |||
[[Category:How-to's]] | |||
Latest revision as of 14:51, 1 February 2024
If you have your own DTM, it can be used to (partially) replace the DEM generated by the Tygron Platform:
How to import terrain height data:
- Create a DTM in GeoTIFF format
- Go to the Current Situation tab, hover over the Terrain button and click Select Elevation GeoTIFF
- In the panel that pops up click on Import new GeoTIFFs
- Locate the GeoTIFF on your harddrive and select Open
- After the GeoTIFF is uploaded and shown in the list, select apply.
- Your original DTM is replaced by the GeoTIFF where the GeoTIFF data overlapped with the project area.
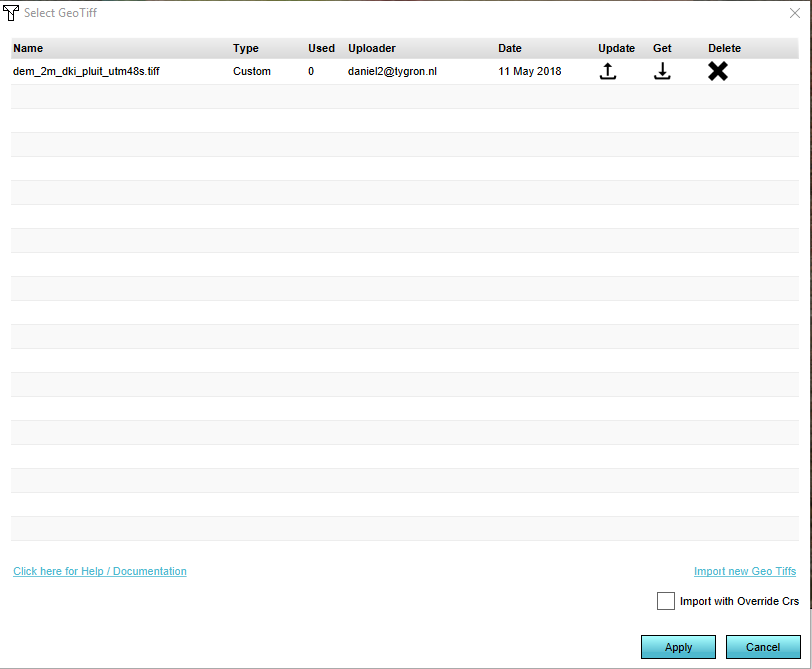
Select the GeoTIFF you want to use and click on Apply

Orignal DTM
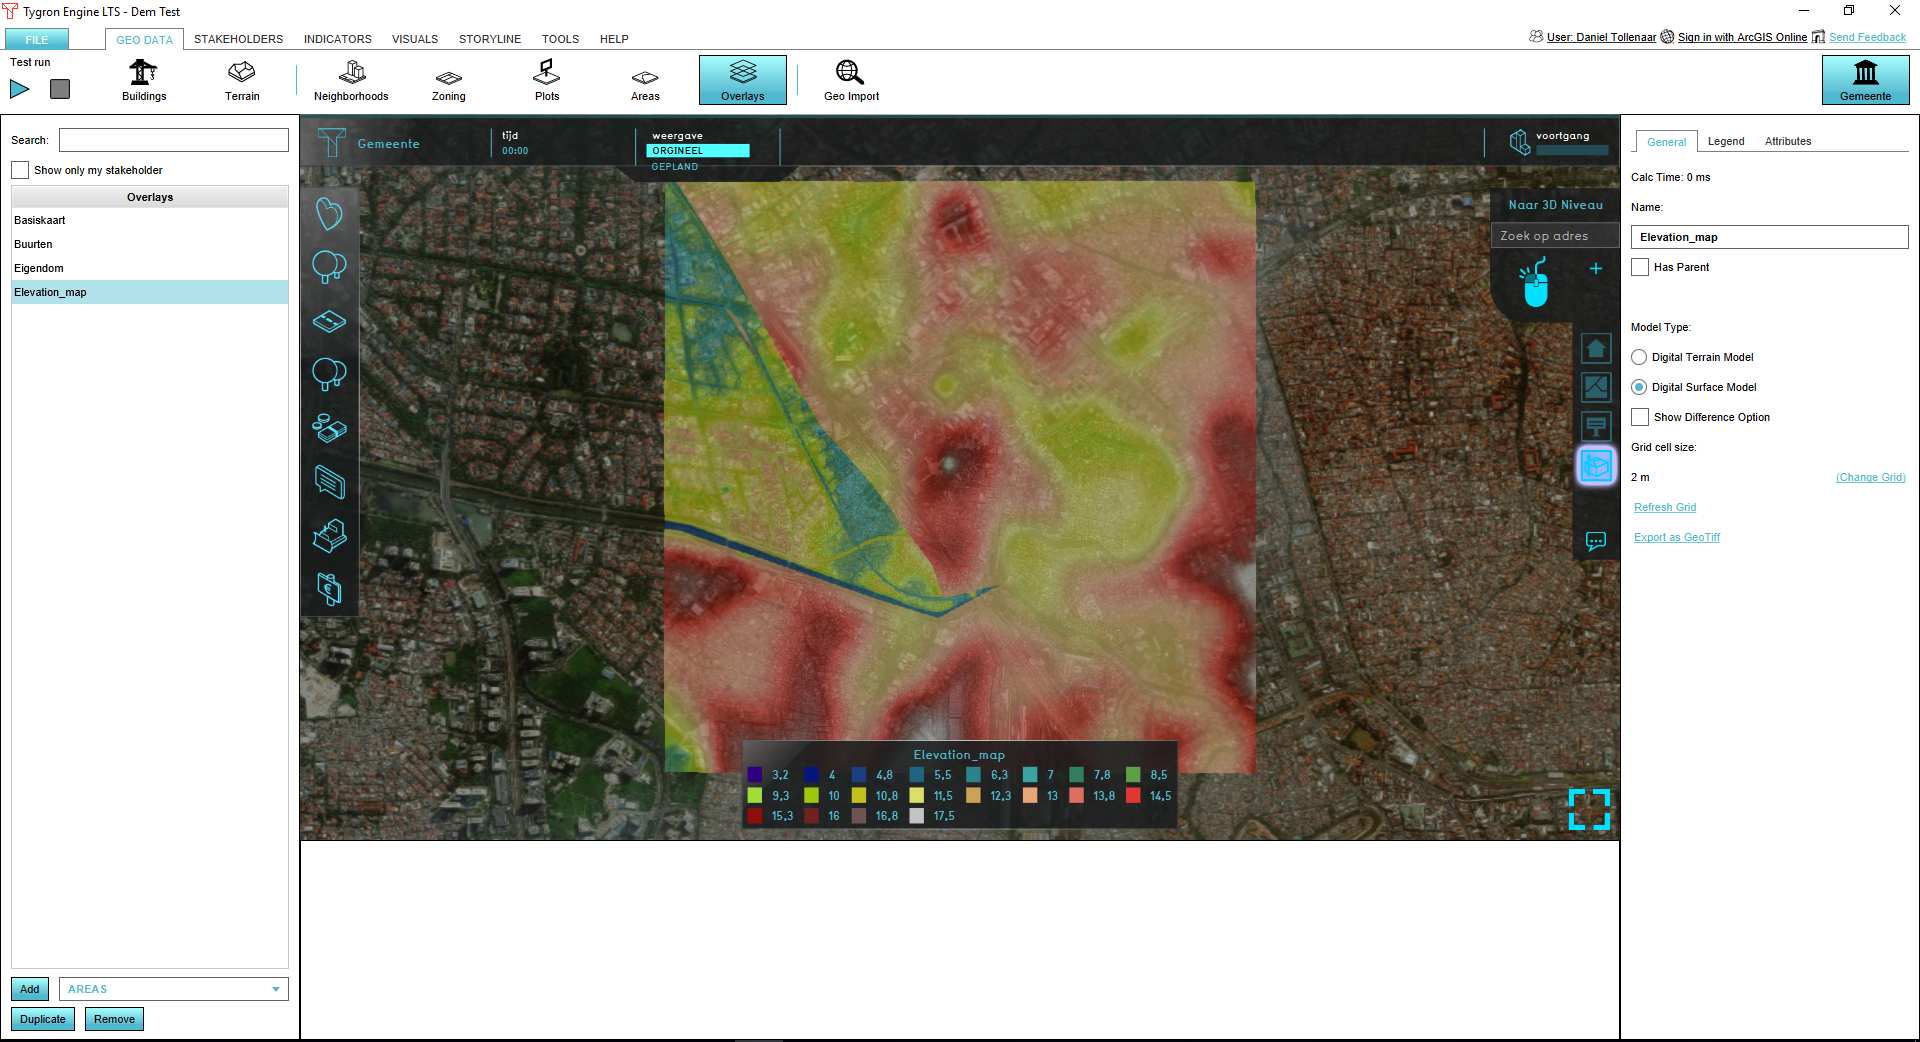
Partially replaced DTM


Notes
- This operation is considered irreversible. Changes to the elevation model overwrite the terrain heights data directly. It is advised to create a new version if you ever want to revert back to the original elevation model.
- It is possible to select multiple GeoTIFFs and then clicking on Apply to apply them at once.
- If you want to partially replace the original DEM, create a DTM with nodata values where the original DEM should be used.
- The effected change is a single operation, not a permanent connection. After performing this operation, if new versions of the GeoTIFFs are uploaded, the Project's elevation model is not modified automatically.