How to add and configure hydraulic structures (Water Overlay): Difference between revisions
No edit summary |
|||
| Line 27: | Line 27: | ||
{{Editor location|Buildings}} | {{Editor location|Buildings}} | ||
{{Editor steps|title=import a hydraulic structure| | {{Editor steps|title=import a hydraulic structure | ||
|After adding a [[Water Overlay]], open the [[Water Overlay Wizard]] from the right panel. | |||
|Click ''Next'' until you are at the step that represents the hydraulic structure you want to import. | |||
|Click the second option to import the structure and start the [[Geo Data Wizard]] by clicking on the blue import button. | |||
|Proceed by following the steps as stated on the [[Geo Data Wizard]] page. | |||
|In the last stap, select the attribute names that represent the [[Overlay key]]s. | |||
}} | |||
<gallery> | <gallery> | ||
File: | File:Import_weirs.PNG|3. Select ''Import Geo Data''. | ||
File: | File:Assign_keys.PNG|5. Connect the attributes to the [[Overlay key]]s. | ||
</gallery> | </gallery> | ||
Revision as of 11:09, 25 March 2021
Hydraulic structures can be manually drawn in a project or imported if you have a file with the structures and their locations. It is also possible to export the structures. Read below for the steps.
Manually add and remove hydraulic structures
- From the Buildings dropdown select "Add Building".
- Name your new building.
- Click Change Function.
- Select (1) the correct category > (2) the desired function > (3) click Apply.
- Click Draw Area.
- Select (1) one or more grid cells on the map for the desired location of the new building > (2) Apply Selection.
- In the Configuration Wizard of the Flooding Overlay at (1) the corresponding step > select (2) the new building > (3) Next.
- Finally, test the new hydraulic structure by updating the overlay and running the simulation.
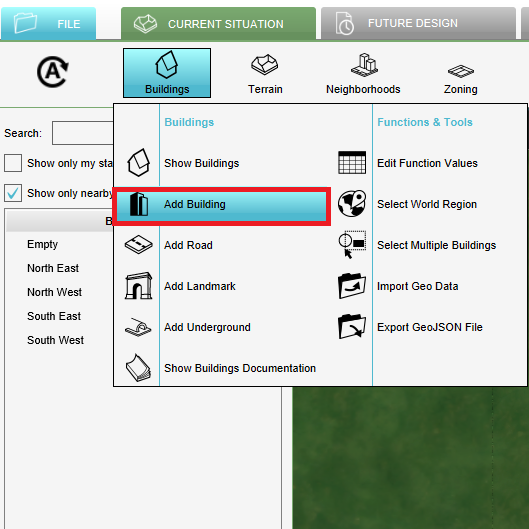
1. Select Add Building.
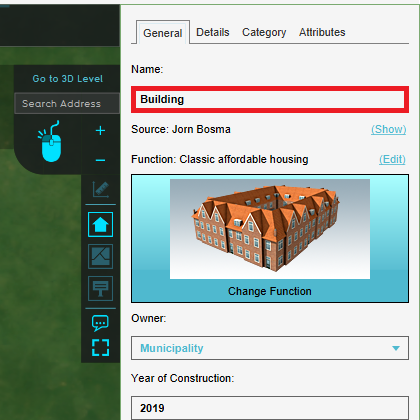
2. Name your new building.
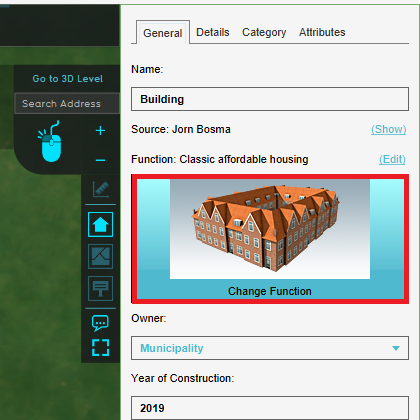
3. Click Change Function.
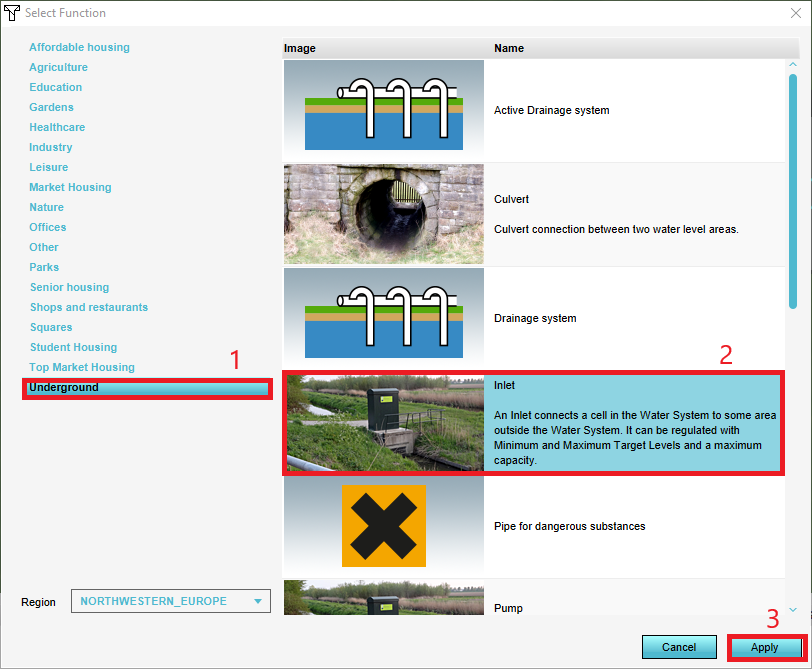
4. Select (1) the correct category > (2) the desired function > (3) click Apply.
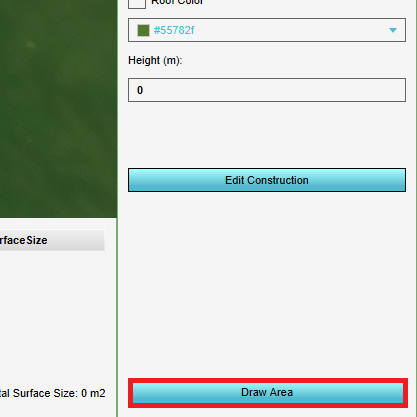
5. Click Draw Area.
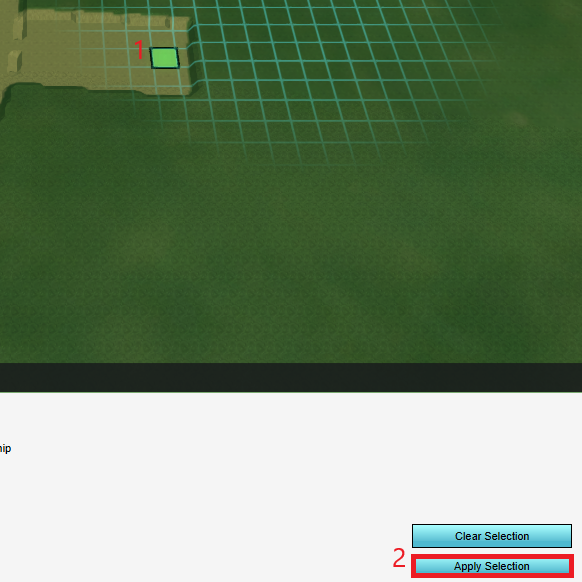
6. Select (1) one or more grid cells on the map for the desired location of the new building > (2) Apply Selection.
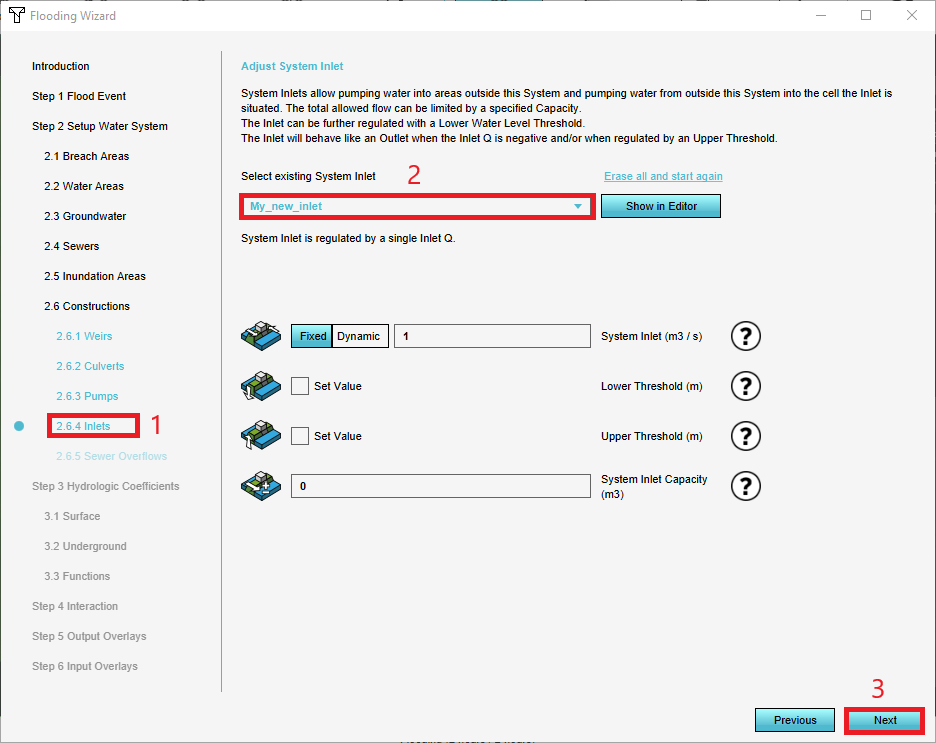
7. In the Configuration Wizard of the Flooding Overlay at (1) the corresponding step > select (2) the new building > (3) Next.
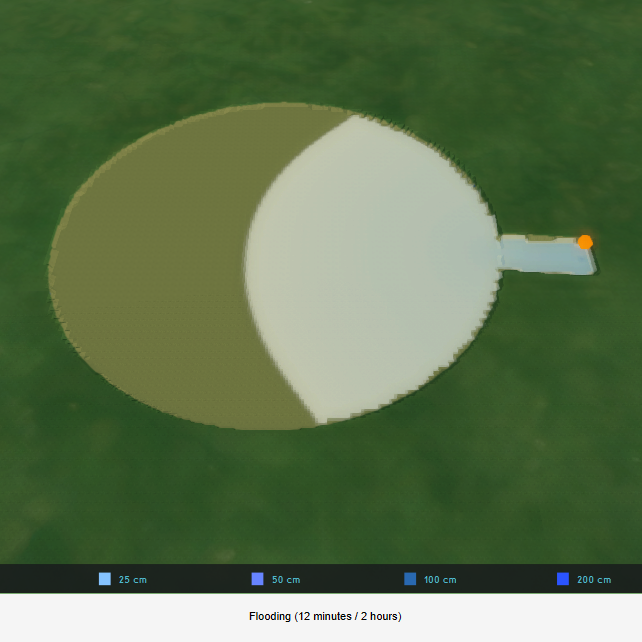
8. Finally, test the new hydraulic structure by updating the overlay and running the simulation.


- From the Buildings dropdown select "Show Buildings".
- Select (1) the building you whish to remove > (2) Remove > (3) Yes.

1. Select Show Building.
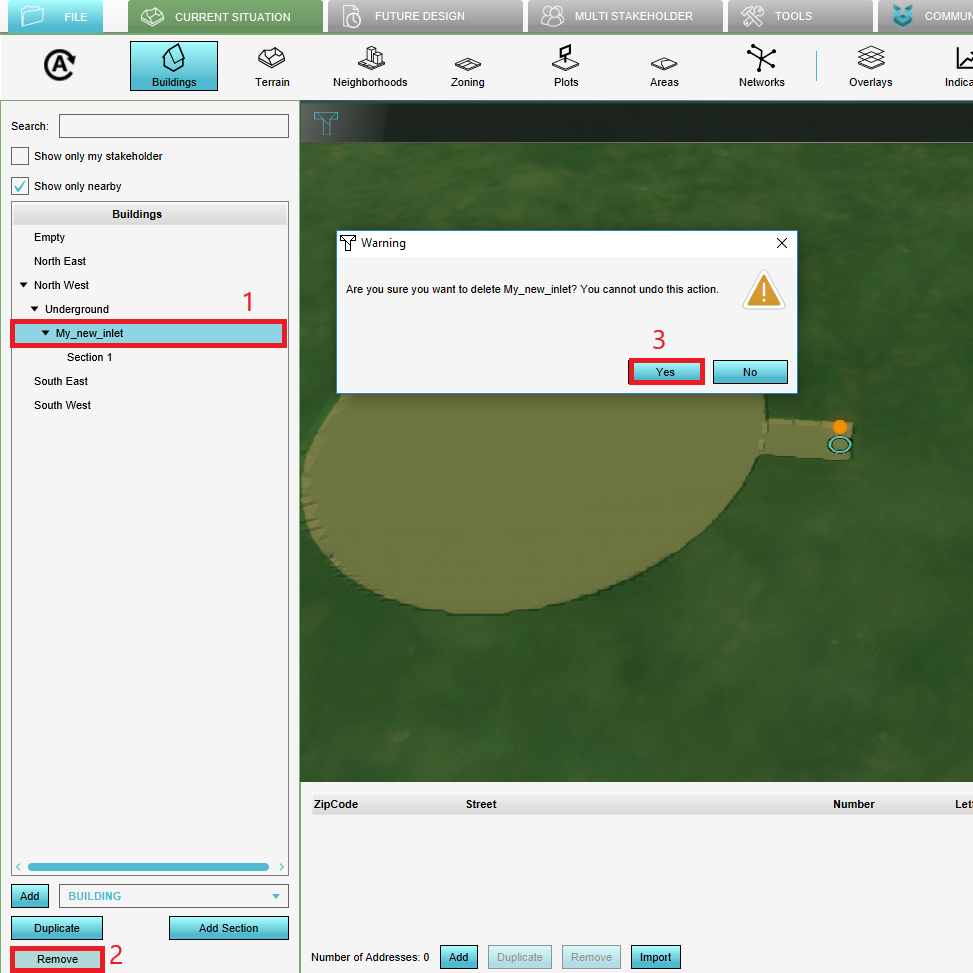
2. Select (1) the building you wish to remove > (2) Remove > (3) Yes.


Import and export hydraulic structures
- After adding a Water Overlay, open the Water Overlay Wizard from the right panel.
- Click Next until you are at the step that represents the hydraulic structure you want to import.
- Click the second option to import the structure and start the Geo Data Wizard by clicking on the blue import button.
- Proceed by following the steps as stated on the Geo Data Wizard page.
- In the last stap, select the attribute names that represent the Overlay keys.
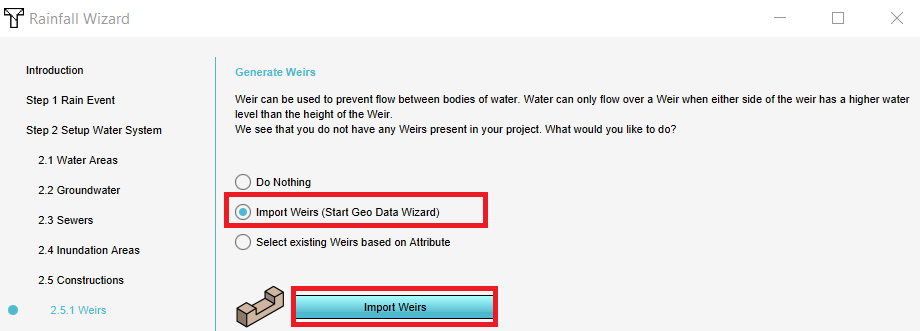
3. Select Import Geo Data.
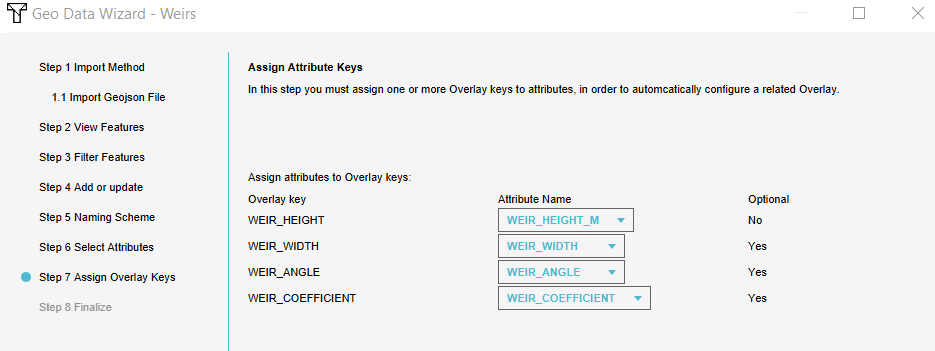
5. Connect the attributes to the Overlay keys.
- From the Buildings dropdown select "Export GeoJSON File".
- (1) Filter on the building type you wish to export > (2) click Export.
- Proceed by going through the subsequent steps.
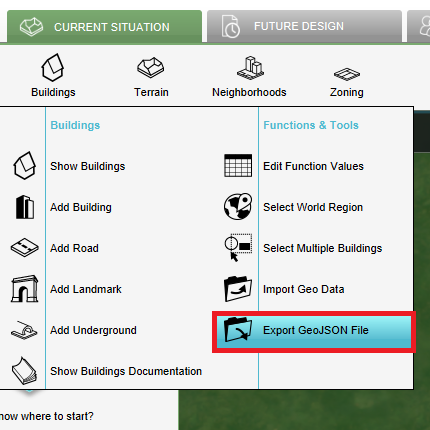
1. Select Export GeoJSON File.
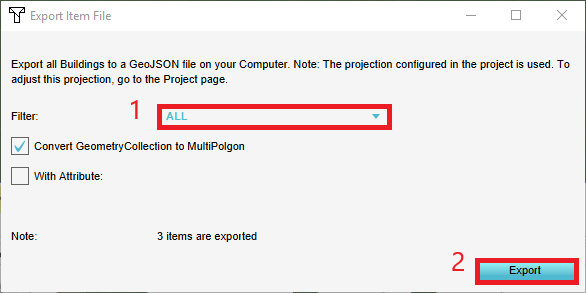
2. (1) Filter on the building type you wish to export > (2) click Export.

