How to add a GeoTIFF to a measure
Revision as of 11:28, 3 February 2023 by Hedi@tygron.com (talk | contribs)
Adding a geotiff to a measure is for instance very useful if you want to evaluate different scenario’s of your height map (e.g. to evaluate the impact of a wadi on indundation or the impact of a sound walls on noise pollution) in your project.
How to add a GeoTIFF to a measure:
- Add a measure and select it.
- In the lower left of the interface, click on the button Add Tiff Spatial.
- Move to the Tiff Spatial detail panel in the right of the interface and click the Add Tiff button.
- The GeoTIFF selection panel now opens.
- If you want to import new GeoTIFFs from your computer or from the GeoShare, you can now do so.
- Once done importing, select one or more GeoTIFFs and confirm.
- The selected GeoTIFFs should now show up in the Tiff Spatial detail panel.
- Notice the checkbox below named "Calculate Area from Tiffs automatically".
- If you want to manually restrict the area where this Tiff Spatial is applied to, uncheck this option. Next,click on the button below the checkbox to manually draw an area for the Tiff Spatial. The Tiff Spatial 's GeoTIFFs will only be applied for that area when activating this measure.
- Otherwise, the MultiPolygon for the Tiff Spatial is automatically calculated by the Tygron Platform once the GeoTIFF changes are send to the server. This calculation might take a while depending on the amount and complexity of GeoTIFFs supplied.
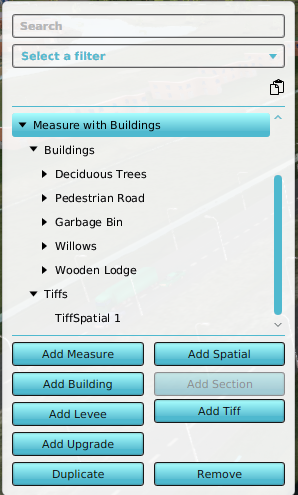
The measure panel with a TiffSpatial.
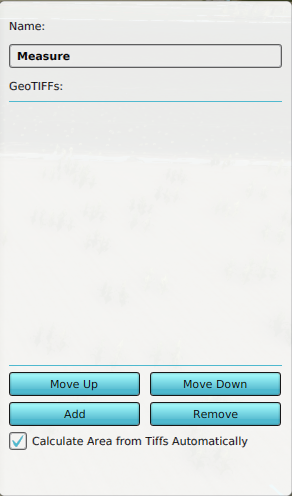
The spatial detail panel with automatic calculation checked.
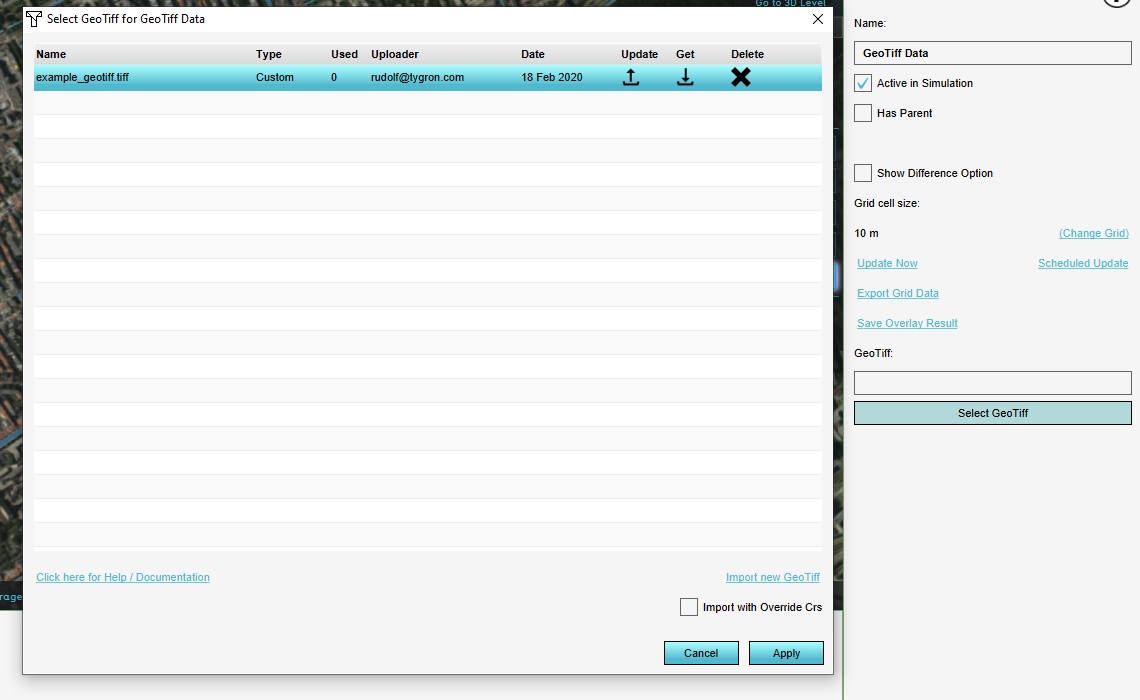
Select one or more GeoTIFFs in the GeoTIFF selection panel.
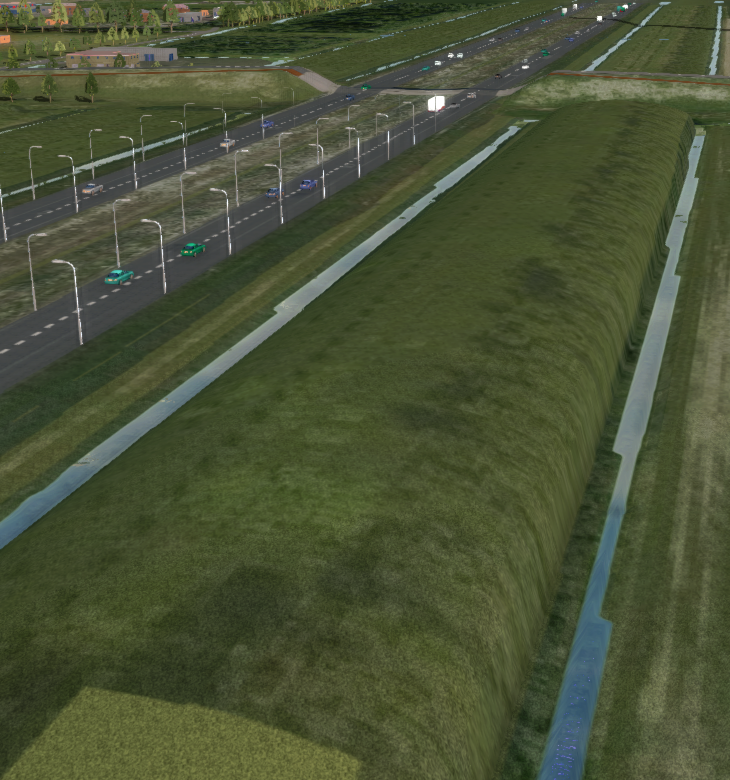
The situation before applying the measure. It is almost flat.
The situation after applying the measure. It is now raised and curved.
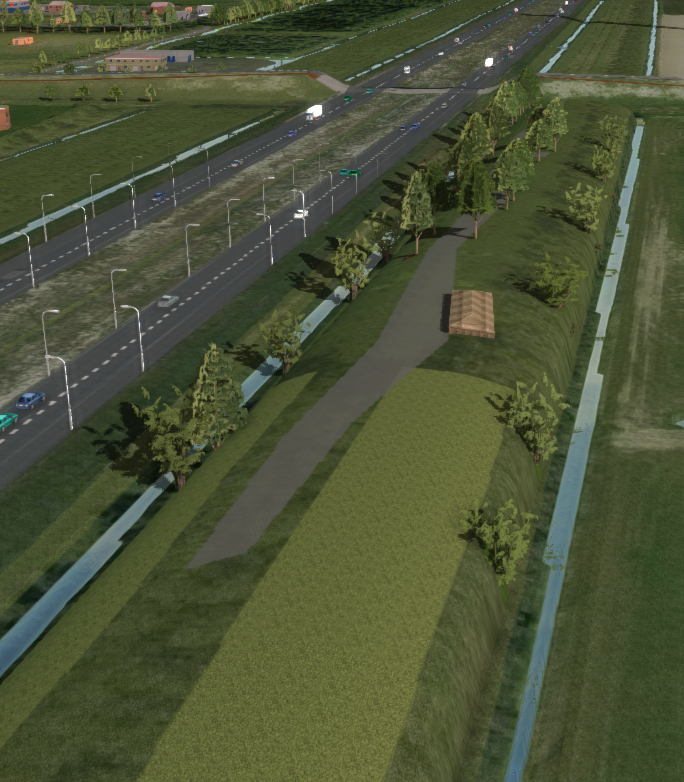
The situation when adding buildings on top of the TiffSpatial.


Notes
- You can add more than one GeoTIFF to a TiffSpatial of a measure.
- Multiple GeoTIFFs can be selected by using shift and ctrl in the GeoTIFF selection panel.
- You can manually provide the MultiPolygon for which the GeoTIFFs are applied.
- You can practise this using the Demo_Dxf_Import_Project DXF demo project