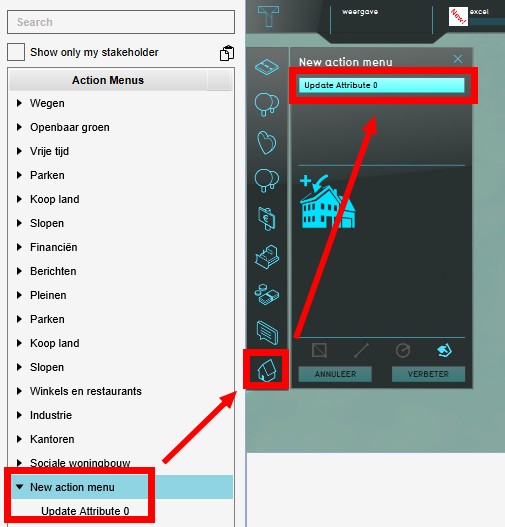
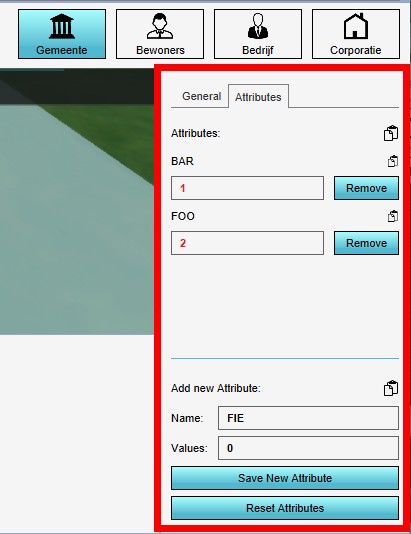
How to add an Attribute Action to your project
Revision as of 12:24, 16 July 2020 by Vincent@tygron.nl (talk | contribs) (Created page with "== Adding Attribute Actions to a project == ''Editor → Future Design (Ribbon tab) → Attributes (Ribbon bar) → Add Attribute Ac...")
Adding Attribute Actions to a project
Editor → Future Design (Ribbon tab) → Attributes (Ribbon bar) → Add Attribute Action (Dropdown menu)
Attribute Actions can be added to you project.
How to add Attribute Actions to a project:
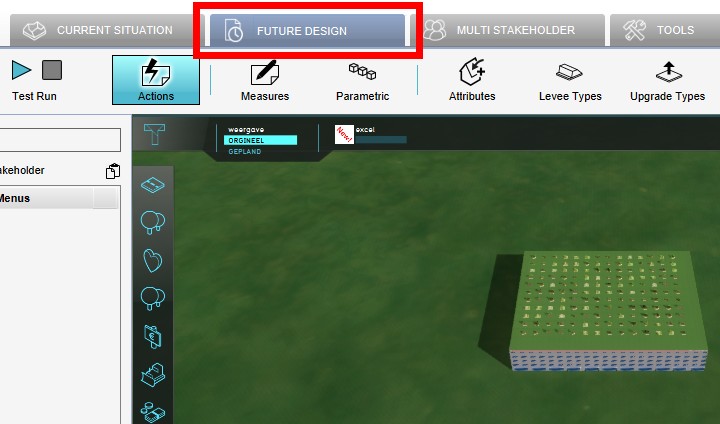
- In the editor, select the Future Design tab
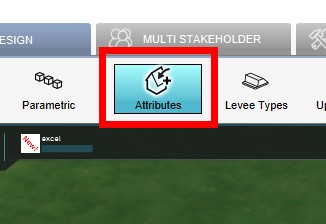
- Select Attributes
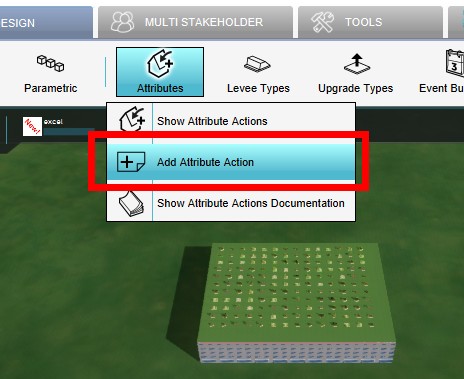
- From the dropdown menu, select Add Attribute Action
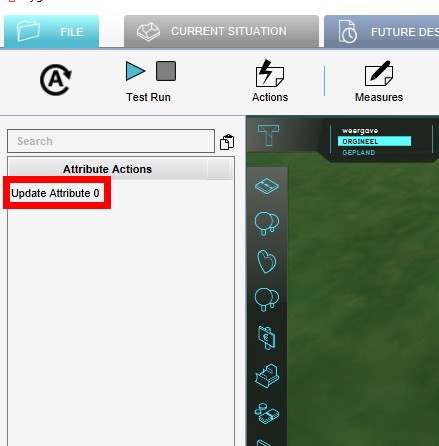
- The new Attribute Action now appears in the Left Panel
How to add an Attribute Action to an Action Menu:
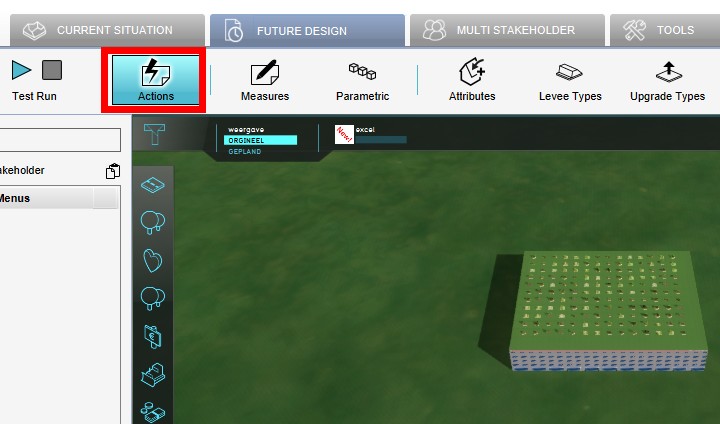
- In the editor, select the Future Design tab
- Select Actions
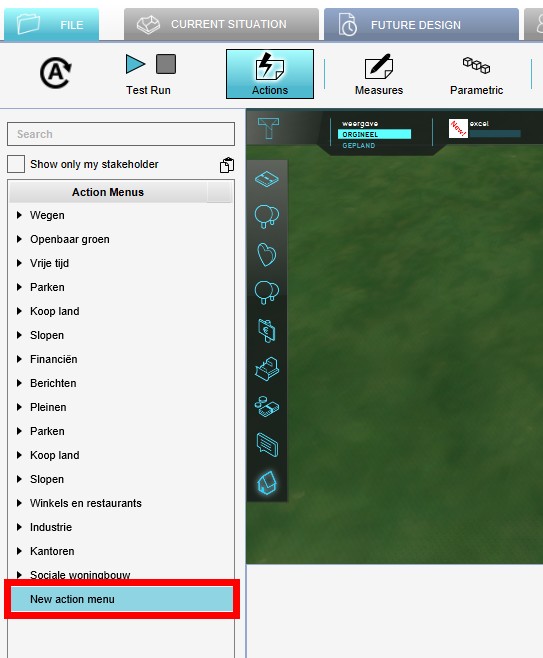
- Add a new, or select an existing Action Menu on the Left Panel
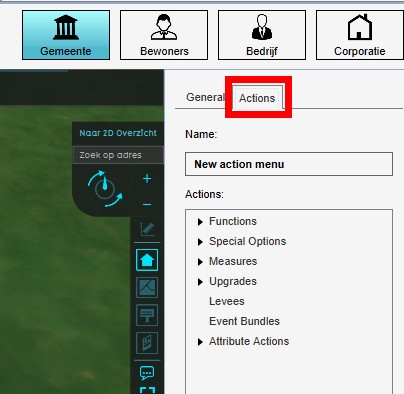
- Select the Actions tab on the Right Panel
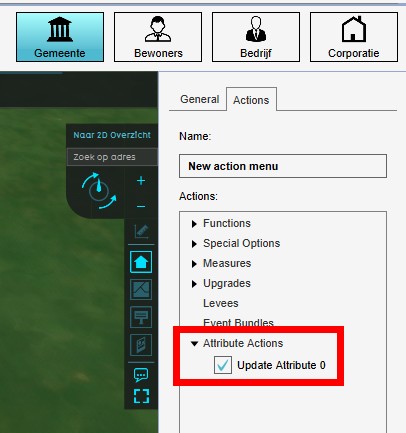
- Click on the Attribute Actions entry, and check the desired Attribute Action
- Now the newly added Attribute Action is available in the selected Action Menu
How to change Attribute Actions in a project
Editor → Future Design (Ribbon tab) → Attributes (Ribbon bar) → Show Attribute Actions (Dropdown menu) → Select Attribute Action to edit (Left Panel) → Adjust values of selected Attribute Action (Right Panel)
How to edit an Attribute Action or its values:
- In the editor, select the Future Design tab
- Select Attributes
- Select the desired Attribute Action from the available Attribute Actions on the Left Panel
- On the Right Panel you can now edit the Attribute Action by changing, adding or removing attribute/ value pairs
