How to import a foliage height GeoTIFF: Difference between revisions
Jump to navigation
Jump to search
No edit summary |
No edit summary |
||
| (One intermediate revision by one other user not shown) | |||
| Line 1: | Line 1: | ||
<youtube>wYH1-6j3op4</youtube> | |||
{{Editor steps|title=import a foliage height GeoTIFF | {{Editor steps|title=import a foliage height GeoTIFF | ||
|Add the [[Heat_stress_(Overlay)|Heat Stress overlay]]. | |Add the [[Heat_stress_(Overlay)|Heat Stress overlay]]. | ||
|Open the Configuration Wizard. | |Open the Configuration Wizard. | ||
| Line 30: | Line 32: | ||
* For the tutorial on configuring the [[DPRA_Heat_Module|default heat stress overlay]], see the [[Tutorial_Heat_Overlay_(Heat_Overlay)|heat stress overlay tutorial]]. | * For the tutorial on configuring the [[DPRA_Heat_Module|default heat stress overlay]], see the [[Tutorial_Heat_Overlay_(Heat_Overlay)|heat stress overlay tutorial]]. | ||
}} | }} | ||
[[Category:How-to's]] | |||
Latest revision as of 15:24, 30 January 2024
How to import a foliage height GeoTIFF:
- Add the Heat Stress overlay.
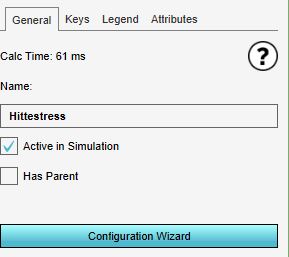
- Open the Configuration Wizard.
- Choose the DPRA model.
- Proceed and in step 3 choose Use a foliage height GeoTIFF.
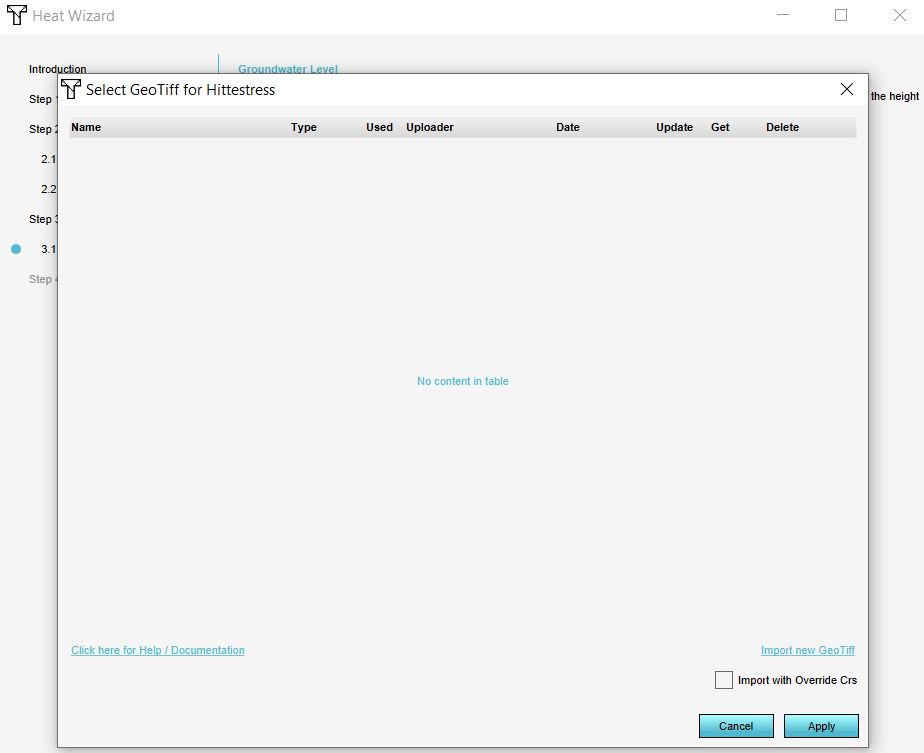
- In step 3.1 choose select a foliage height GeoTIFF.
- Click on the Import button.
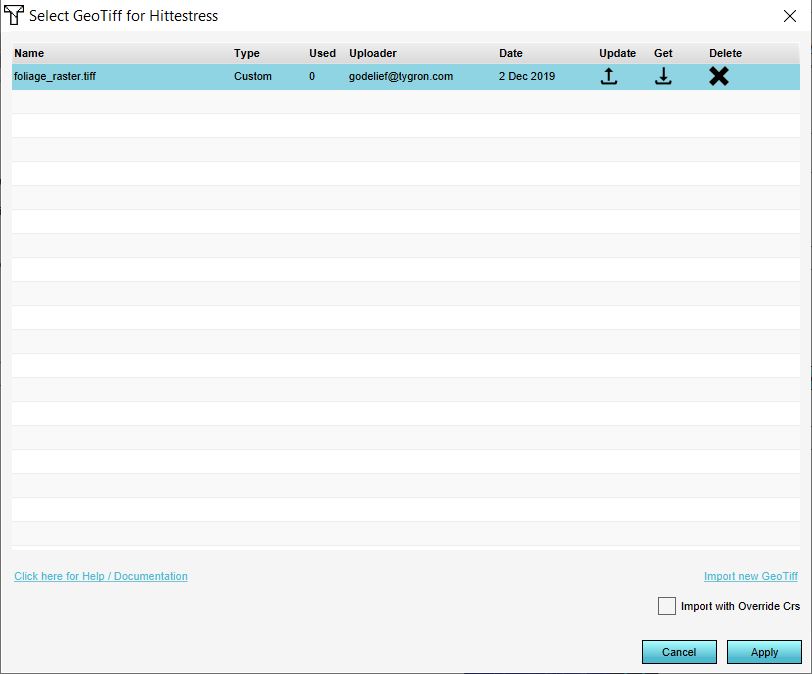
- In the new panel that pops up, import your GeoTIFF. When the file is uploaded, click on the Apply button.
- Proceed with the Heatstress Configuration Wizard.
Notes
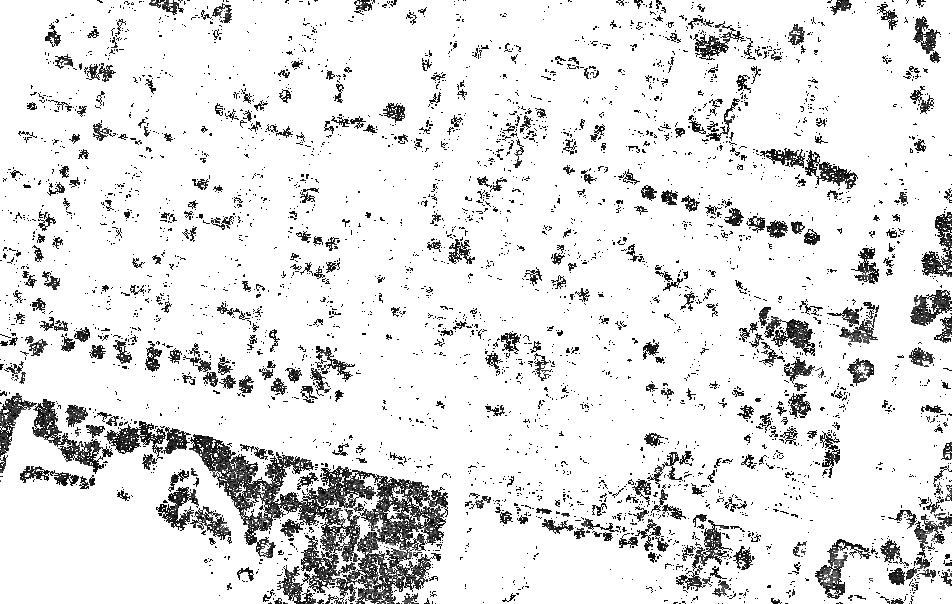
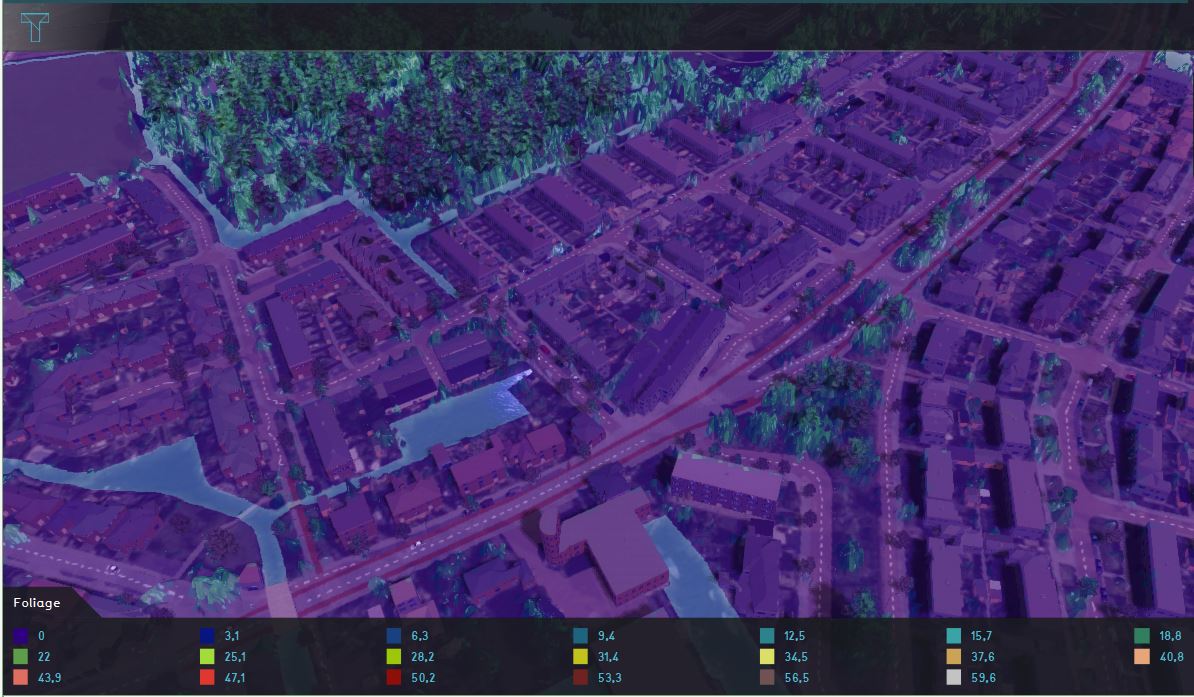
- The GeoTIFF needs to contain the foliage height, relative to the terrain height. Use a value of 0, <0 or a nodata value for the pixels where there is no foliage.
- The height of the already present tree Buildings are ignored when choosing to import and use the foliage height GeoTIFF.
See also
- See also the Foliage height calculation model to know more about how the foliage height is used in the DPRA heat module.
- For the tutorial on configuring the default heat stress overlay, see the heat stress overlay tutorial.
