How to take a Screenshot
Revision as of 12:37, 30 January 2023 by Frank@tygron.nl (talk | contribs) (Created page with "{{Editor location|Screenshot}} {{Editor steps|title=take a Screenshot | Select in the editor 'Tools' from the ribbon | Select 'Screenshot' from the ribbon bar | Select the 'Take a Screenshot now' option | Notice that a screenshot has been taken }} <gallery> File:Tools_bar.jpg|200px|Select the Tools header in the Editor File:Screenshot_bar.jpg|200px|Select the Screenshot ribbon bar File:Take_screenshot.jpg|200px|Select the 'Take a Screenshot Now' option </gallery> File...")
How to take a Screenshot:
- Select in the editor 'Tools' from the ribbon
- Select 'Screenshot' from the ribbon bar
- Select the 'Take a Screenshot now' option
- Notice that a screenshot has been taken
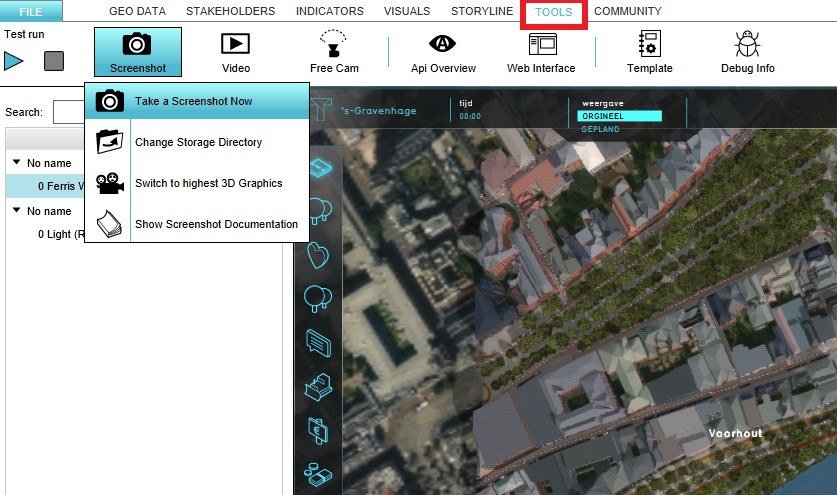
Select the Tools header in the Editor
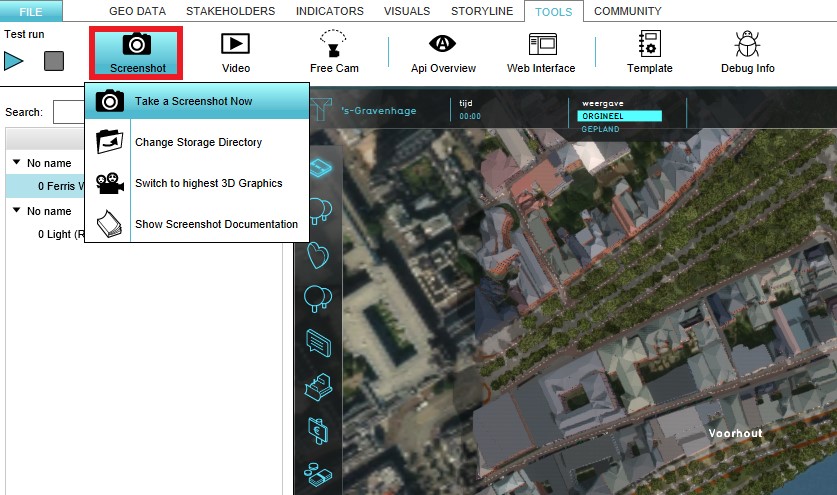
Select the Screenshot ribbon bar
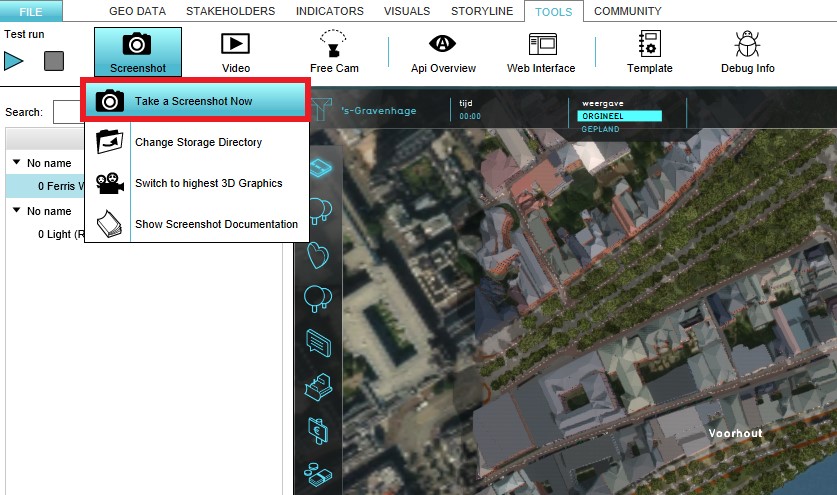
Select the 'Take a Screenshot Now' option


The directory where the screenshot is saved is displayed in the bottom panel of the screen. This directroy can be changed by selecting the 'Change Storage Directory' option in the Screenshot ribbon bar.

The 3D Graphics can also be modified in the Tygron Platform. To modify the 3D Graphics the 'Switch to Highest 3D Graphics' option should be selected that can also be found in the Screenshot ribbon bar.
{{article end |seealso=