How to import a time sequence with a CSV: Difference between revisions
Jump to navigation
Jump to search
(Created page with "{{Editor steps|title=|In the Water Overlay Wizard, check the ''Multi'' checkbox.|Click on the ''Set Values'' button for the specific attribute you have a CSV file for....") |
No edit summary |
||
| Line 1: | Line 1: | ||
{{Editor steps|title=|In the [[Water Overlay Wizard]], | {{Editor steps|title=|In the [[Water Overlay Wizard]], go to step 2 and find the [[Construction]] you would like to enter a time sequence for.|Click on the ''Dynamic'' button for the desired attribute.|In the new panel that pops up, click on Import CSV }} | ||
<gallery mode=nolines> | <gallery mode=nolines> | ||
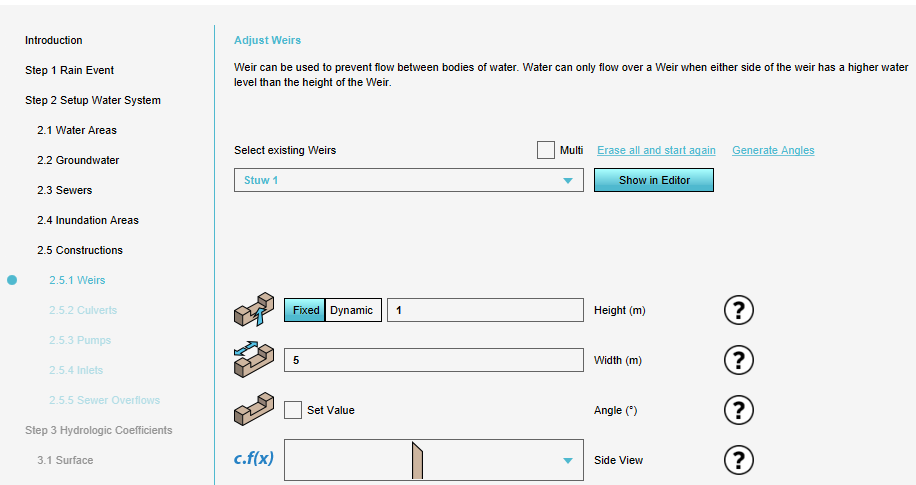
File: | File:Step_1_csv_time_sequence.PNG | ||
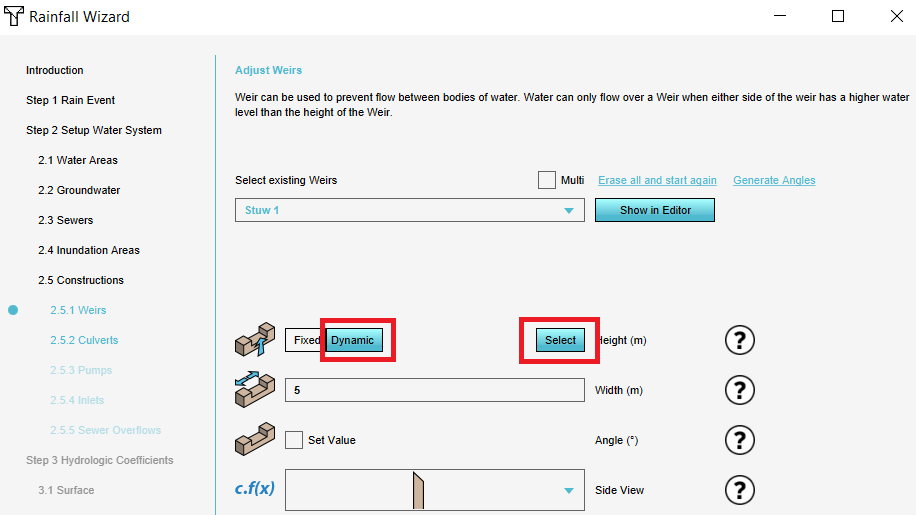
File: | File:Dynamic_csv.PNG | ||
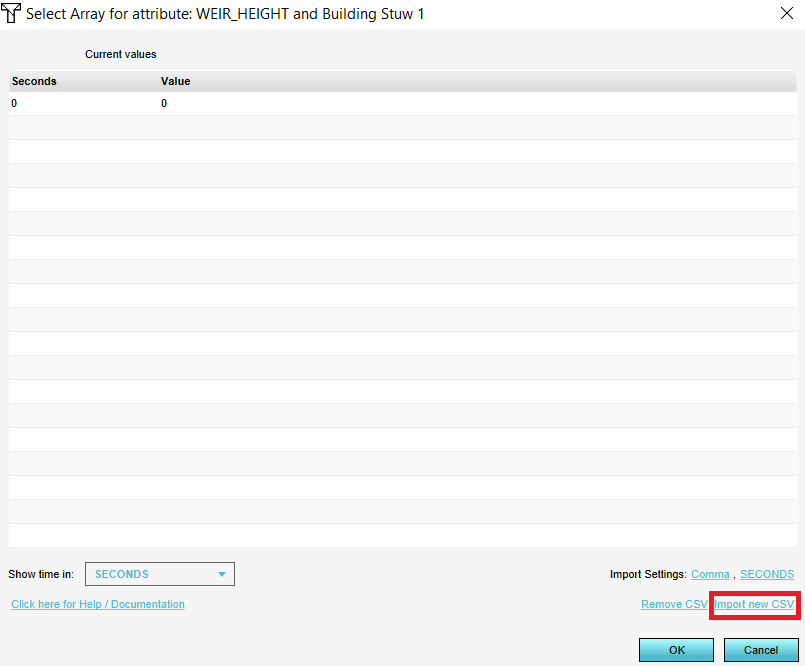
File: | File:Import_new_csv.PNG | ||
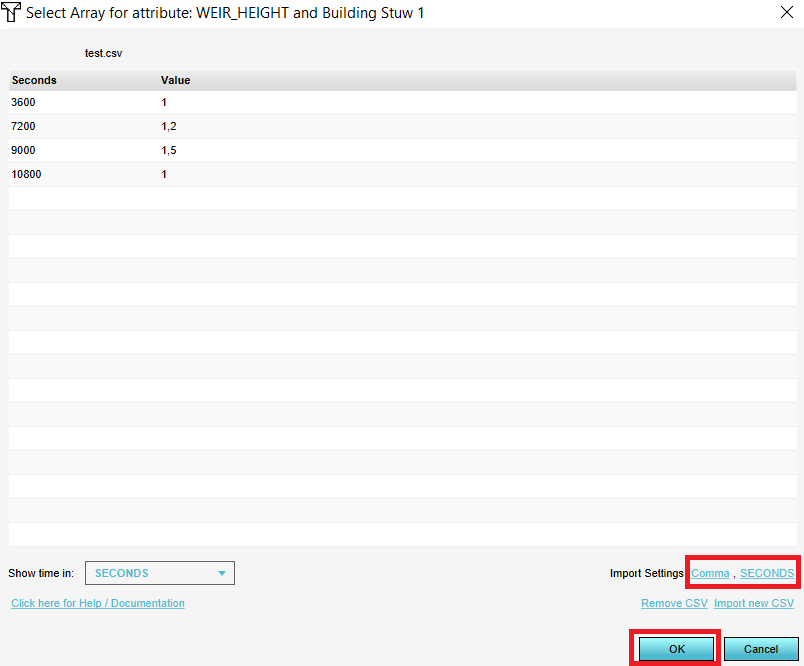
File:Change_settings_csv_import.PNG | |||
</gallery> | </gallery> | ||
Revision as of 09:03, 4 September 2020
How to import a time sequence with a CSV:
- In the Water Overlay Wizard, go to step 2 and find the Construction you would like to enter a time sequence for.
- Click on the Dynamic button for the desired attribute.
- In the new panel that pops up, click on Import CSV
CSV
A CSV file to import a time sequence should look as follows:
3600,0.03
7200,0
9000,0.03
10800,0.06
On each row, the first value is the time, and the second value is the value to be used.
Notes
- When importing a CSV for a time sequence, it's possible to indicate whether the time is in seconds, minutes, or hours. The Tygron Platform then automatically converts the time to the correct data for the model.
- It is also possible to upload multiple CSV files at once by selecting multiple files from your file folder


