Demo Watershed Project Future Design
Revision as of 10:52, 16 July 2020 by Godelief@tygron.com (talk | contribs) (Created page with "===Future design=== ''In the following steps the project will be extended with a few building blocks and a waterbody to see how this influences the Watershed areas.'' # Click...")
Future design
In the following steps the project will be extended with a few building blocks and a waterbody to see how this influences the Watershed areas.
- Click on the Future design tab and click on the house icon in the Action bar.
- Click on the Apply button to build the plan. This plan is called a measure. Notice a few houses and a waterbody are being constructed and the overlays are recalculated.
- Click Next until you reach step 2. In step 2, check the option Discharge remaining water and take note of the min area m2 option in the wizard. With this option checked, water terrains that are larger than the set minimal area size are now also taken into account as unique discharge areas.
- Click several times on Next in the wizard, until you can Finish the wizard.
- After finishing the wizard, the overlays will be recalculated. Notice the area near the question mark is now also included in the Watershed Overlay. Go back to the configuration wizard and uncheck the Discharge remaining water option for the next steps.
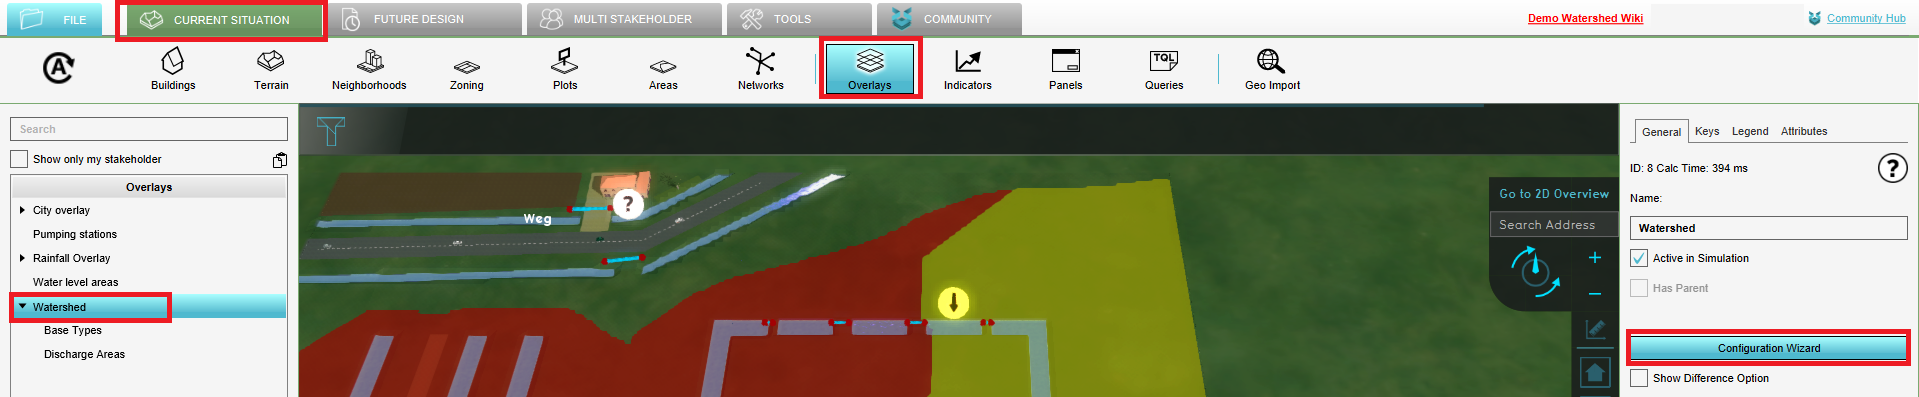
Step 1. Open the Watershed configuration wizard.

Step 2.Check the Discharge remaing water option in the wizard.
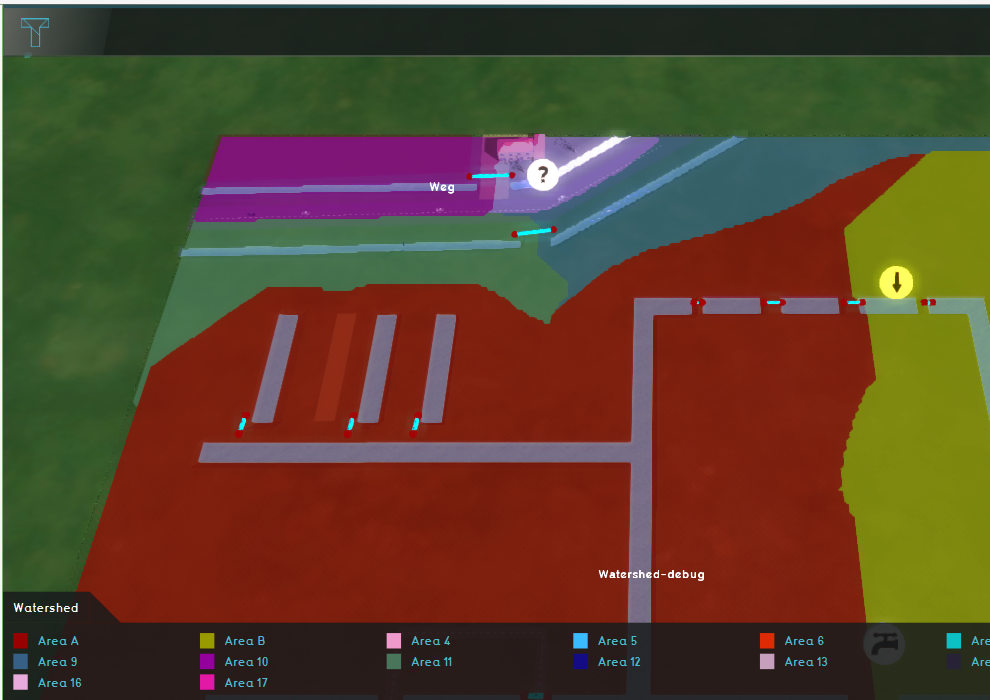
Step 4. The calculated watershed areas.

