How to create a GeoShare Viewer
A GeoShare Viewer allows for the sharing of geographical data, most notably the results of calculations, via an easily sharable url without requiring the recipient to have an account for the Tygron Platform. Instead, the results are presented as a web viewer.
How to create a GeoShare Viewer:
- In the Ribbon, click on the GeoShare link in the upper right.
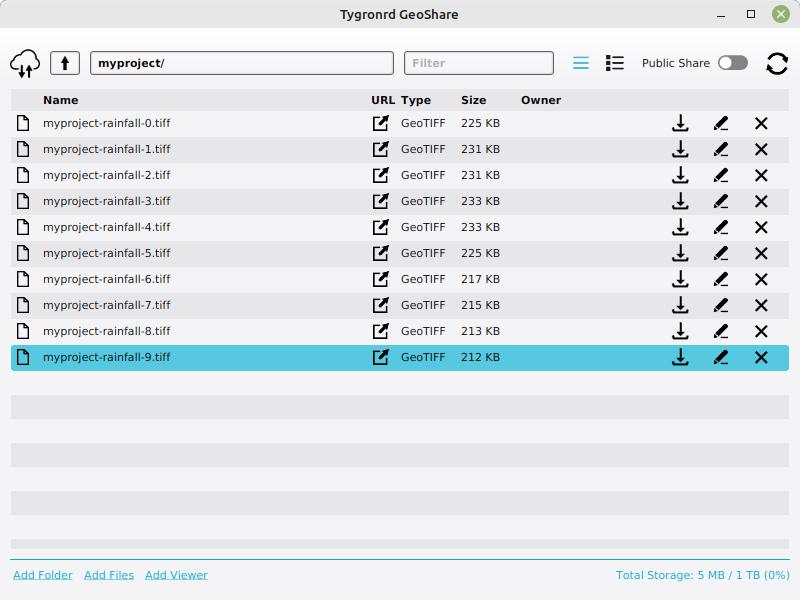
- With the GeoShare opened, navigate to a folder that contains the data to be part of the viewer, such as GeoTIFFs or GeoPackages.
- At the bottom of the GeoShare, click on "Add Viewer"
- In the prompt which appears, enter the desired name for the viewer
- In the next prompt, select the desired GeoTIFF(s)
- Click the link to open the viewer in a web browser, then copy the URL from the address bar to share it.
-
-
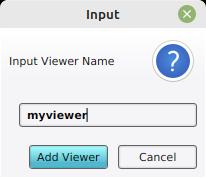 Provide a name for the GeoShare Viewer
 -
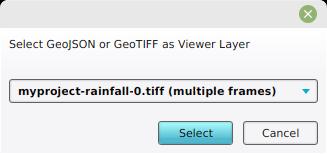 Provided option to add multiple GeoTIFFs at once.
 -
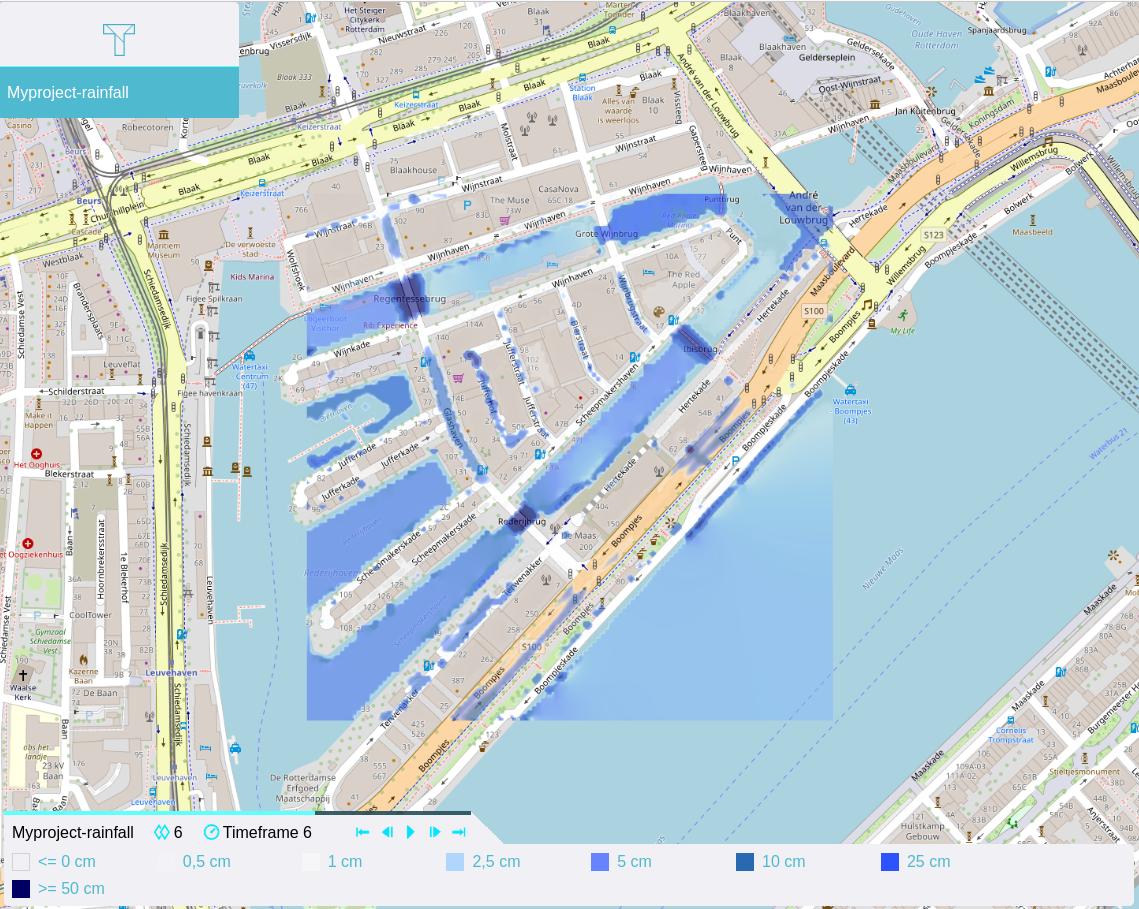 GeoShare Viewer with play button to animate GeoTIFFs.


Multiple timeframes
Grid Overlays with multiple timeframes are automatically recognized during the GeoShare layer-add step. This is recognized using the following naming convention: name-##.format. Use this naming convention when uploading GeoTIFFs that represent multiple timeframes.