How to set dynamic breach height
Revision as of 13:30, 15 April 2019 by Rudolf@tygron.nl (talk | contribs) (Created page with "Breaches can be set to have a dynamic breach height, so that over time the DEM is heightened or lowered. This can allow a breach to appear or worsen at a later point durin...")
Breaches can be set to have a dynamic breach height, so that over time the DEM is heightened or lowered. This can allow a breach to appear or worsen at a later point during the simulated period. It can also allow a breach to be closed over time, or a levee to appear after a set period.
How to set a dynamic breach height for an existing breach.:
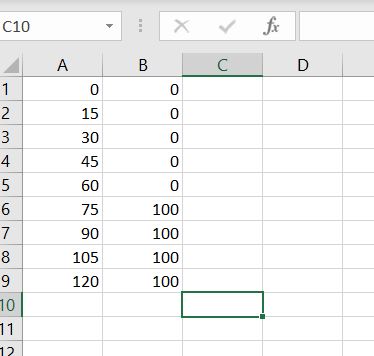
- Prepare a CSV file with the desired timing data for the breach height.
- Open the configuration wizard of the Flooding Overlay.
- Continue to the step concerning breaches.
- Select the breach the breach height of which should be set dynamically.
- Set the breach height's mode to dynamic, and select 'Select'. This will open the CSV importing tool.
- Select 'Import new CSV', and select the CSV file with the desired timing data.
- Answers the questions related to your data format, so that the file can be interpreted correctly.
- The imported values now appear in the CSV importing tool. The CSV importing tool can now be closed.
- The configuration wizard of the Flooding Overlay can now also be closed.
