How to import a SketchUp model in ArcGIS Pro: Difference between revisions
Jump to navigation
Jump to search
(Created page with "Below the steps on how to import a SketchUp model in ArcGIS Pro {{editor steps|title=import a SketchUp model in ArcGIS Pro|Download a SketchUp model from for example the 3D w...") |
No edit summary |
||
| (8 intermediate revisions by 3 users not shown) | |||
| Line 1: | Line 1: | ||
Below the steps on how to import a SketchUp model in ArcGIS Pro | Below the steps on how to import a SketchUp model from the [https://3dwarehouse.sketchup.com/?hl=nl 3D warehouse from SketchUp] in ArcGIS Pro. | ||
{{editor steps|title=import a SketchUp model in ArcGIS Pro|Download a SketchUp model from for example the 3D warehouse | {{editor steps|title=import a SketchUp model from the 3D warehouse in ArcGIS Pro | ||
|Download a SketchUp model from for example the 3D warehouse as a KMZ file. | |||
|In ArcGIS Pro click in the Map tab on Add Data and select the KMZ file. | |||
|Click in the Analysis tab on Tools and search for the tool: KML to layer. | |||
|Choose the KML layer as input file and choose an output location and name. Run the tool. | |||
|A new layer file is added to the project. Choose the multipatch layer and right click on the Multipatches layer and choose properties. | |||
|Select the Elevation tab and select ''On the ground'' and then Ok to place the model on the surface terrain. | |||
}} | |||
<gallery mode="nolines"> | |||
File:Add_data.jpg|Add the KMZ data | |||
File:Kml_to_layer.JPG|Search for the KML to Layer tool | |||
File:Sketchup_layer.JPG|Fill in the fields of the KML to Layer tool and click on Run | |||
File:Properties.JPG|Select the properties of the Multipatches layer | |||
File:Elevation.JPG|Choose Elevation; on the ground and click Ok | |||
</gallery> | |||
Below the steps on how to correctly export a SketchUp model for creating a [[SLPK]] file. | |||
{{editor steps|title=export a SketchUp model | |||
|Save the SketchUp model as a SketchUp 2015 SKP file. | |||
|If you would like to have the objects as separate geometries in the Platform, then explode the model. | |||
|Then export the 3D model as a AutoCAD 2004 or release 14 file and make sure to check the Faces for exporting. | |||
| After the file is exported, [[How to import a DWG file in ArcGIS Pro|import the DWG file in ArcGIS Pro]]. | |||
}} | |||
{|class="wikitable" style="margin: auto; background-color:#ffffcc;" | |||
| [[How_to_create_an_SLPK_file|<<Back to SLPK manual]] | |||
|} | |||
[[Category:How-to's]] | |||
Latest revision as of 15:19, 30 January 2024
Below the steps on how to import a SketchUp model from the 3D warehouse from SketchUp in ArcGIS Pro.
How to import a SketchUp model from the 3D warehouse in ArcGIS Pro:
- Download a SketchUp model from for example the 3D warehouse as a KMZ file.
- In ArcGIS Pro click in the Map tab on Add Data and select the KMZ file.
- Click in the Analysis tab on Tools and search for the tool: KML to layer.
- Choose the KML layer as input file and choose an output location and name. Run the tool.
- A new layer file is added to the project. Choose the multipatch layer and right click on the Multipatches layer and choose properties.
- Select the Elevation tab and select On the ground and then Ok to place the model on the surface terrain.
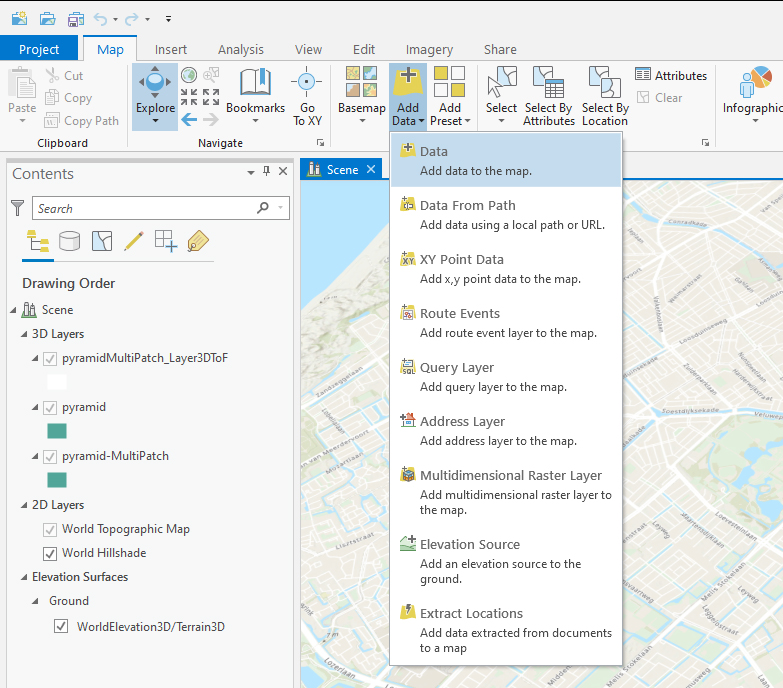
Add the KMZ data
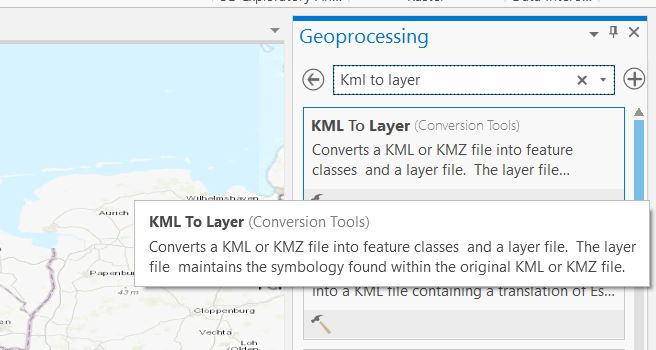
Search for the KML to Layer tool

Fill in the fields of the KML to Layer tool and click on Run
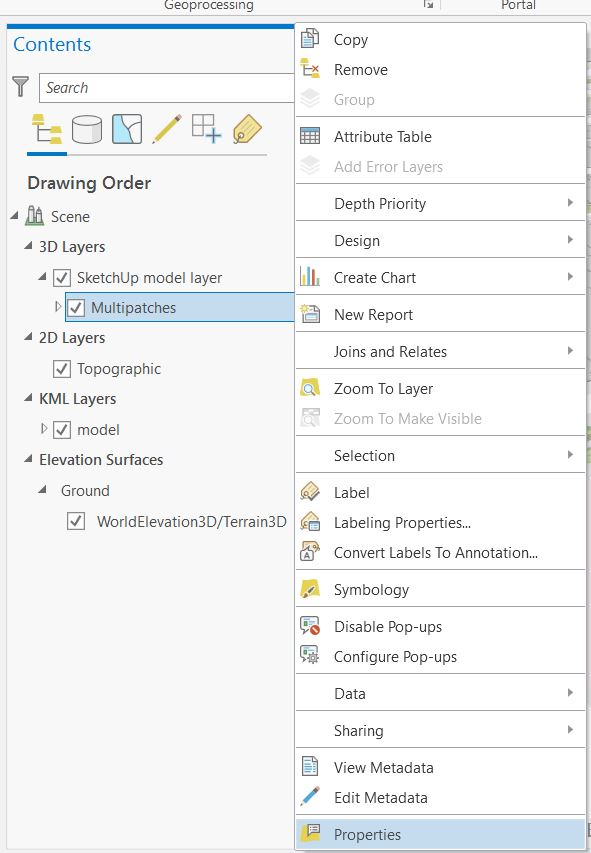
Select the properties of the Multipatches layer
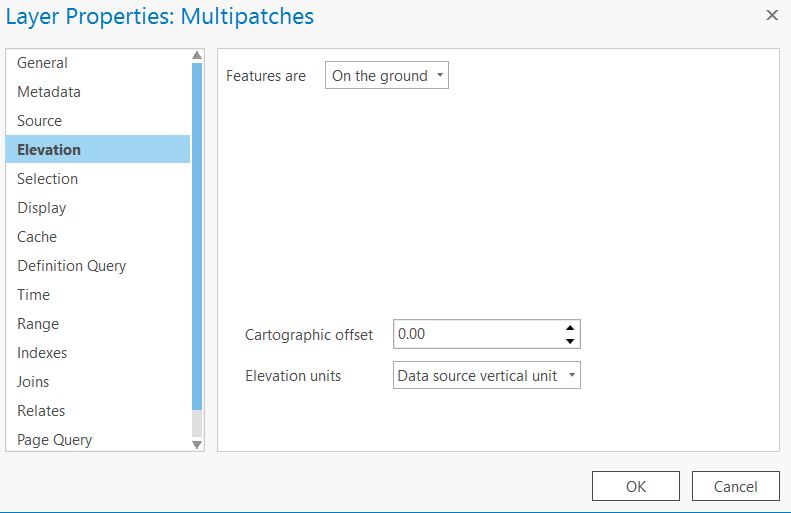
Choose Elevation; on the ground and click Ok


Below the steps on how to correctly export a SketchUp model for creating a SLPK file.
How to export a SketchUp model:
- Save the SketchUp model as a SketchUp 2015 SKP file.
- If you would like to have the objects as separate geometries in the Platform, then explode the model.
- Then export the 3D model as a AutoCAD 2004 or release 14 file and make sure to check the Faces for exporting.
- After the file is exported, import the DWG file in ArcGIS Pro.
| <<Back to SLPK manual |