How to create a Template Project: Difference between revisions
No edit summary |
No edit summary |
||
| Line 40: | Line 40: | ||
{{article end | {{article end | ||
|howtos= | |howtos= | ||
* [[How to share a Template Project with other users in your domain]] | * [[How to share a Template Project with other users in your domain]]= | ||
|seealso= | |seealso= | ||
* [[Template Project]] | * [[Template Project]] | ||
}} | }} | ||
Revision as of 16:33, 28 February 2023
After creating a Project, it may be desirable to apply the implemented calculation models and tools to other Projects and locations as well. For these situations, it's possible to turn a Project into a Template Project, so that when a new Project is created, the previously created models and tools are immediately added to the new Project.
Creating a Template Project consists of 2 steps: tweaking the content of the existing Project to be free of location- and use-case specific information, and flagging the Project to be usable as a Template Project.
Cleaning the existing Project
- Start with a project you want to use as a template
- Create a copy by saving the project under a different name
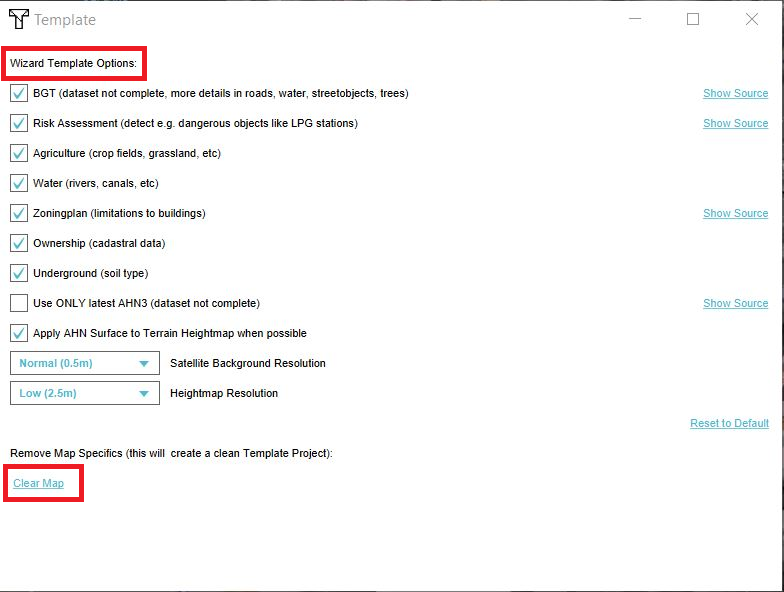
- Go in the Editor menu to Tools > Template > Template settings
- Set the desired data sources for new projects based on this template
- Clear map. Warning: this will remove all items with a geometry from your project, which cannot be undone (the reason for step 2).
- When the map is cleared, remove any elements that are non-generic
- Save and close the project
In the template settings screen, the data sources that should be used by default when using this template, can be set. For example AHN3 can be selected so that the AHN3 is always used when creating a project based on that template.
Clear map
The map needs to be cleared, so the project size will be small. This will ensure that the creation of a new project based on the template will be as fast as possible. The clear map option is a permanent setting and cannot be undone. Therefore, it is recommended to make a copy of your project by saving it under a different name.
Remove non-generic elements
When the map is cleared, remove elements that are non-generic, for example, stakeholder names. The stakeholder Municipality is named after the municipality belonging to the project area. If the template project is created for The Hague, the stakeholder is called Municipality The Hague. If you apply the template on a project in Amsterdam, the stakeholder will use the previous name combined with the new name, which will result in Municipality The Hague Amsterdam. Therefore, in the template project, remove the part where it says The Hague, so the stakeholder in the template project will be named just Municipality. This way the new name in the Amsterdam project will become Municipality Amsterdam.
Setting the Project as a Template
- Log in to the main menu (make sure you have domain-admin rights)
- Go to Options and select Projects
- Click on the check box named "Template" to mark the project as a template
Setting a project as a template can only be done by users with Domain Administrator rights. When a project has been turned into a template project, the read and write permissions will change. This is to ensure that nobody accidentally edits the project template. The permissions will be set to either none or read, so the project cannot be edited anymore. By default only the creator can read the template and the template is not shared with other users within your domain. Please refer to the next paragraph on how to make templates available for a domain.

