Rainfall Overlay tutorial: Difference between revisions
Jump to navigation
Jump to search
No edit summary |
|||
| Line 5: | Line 5: | ||
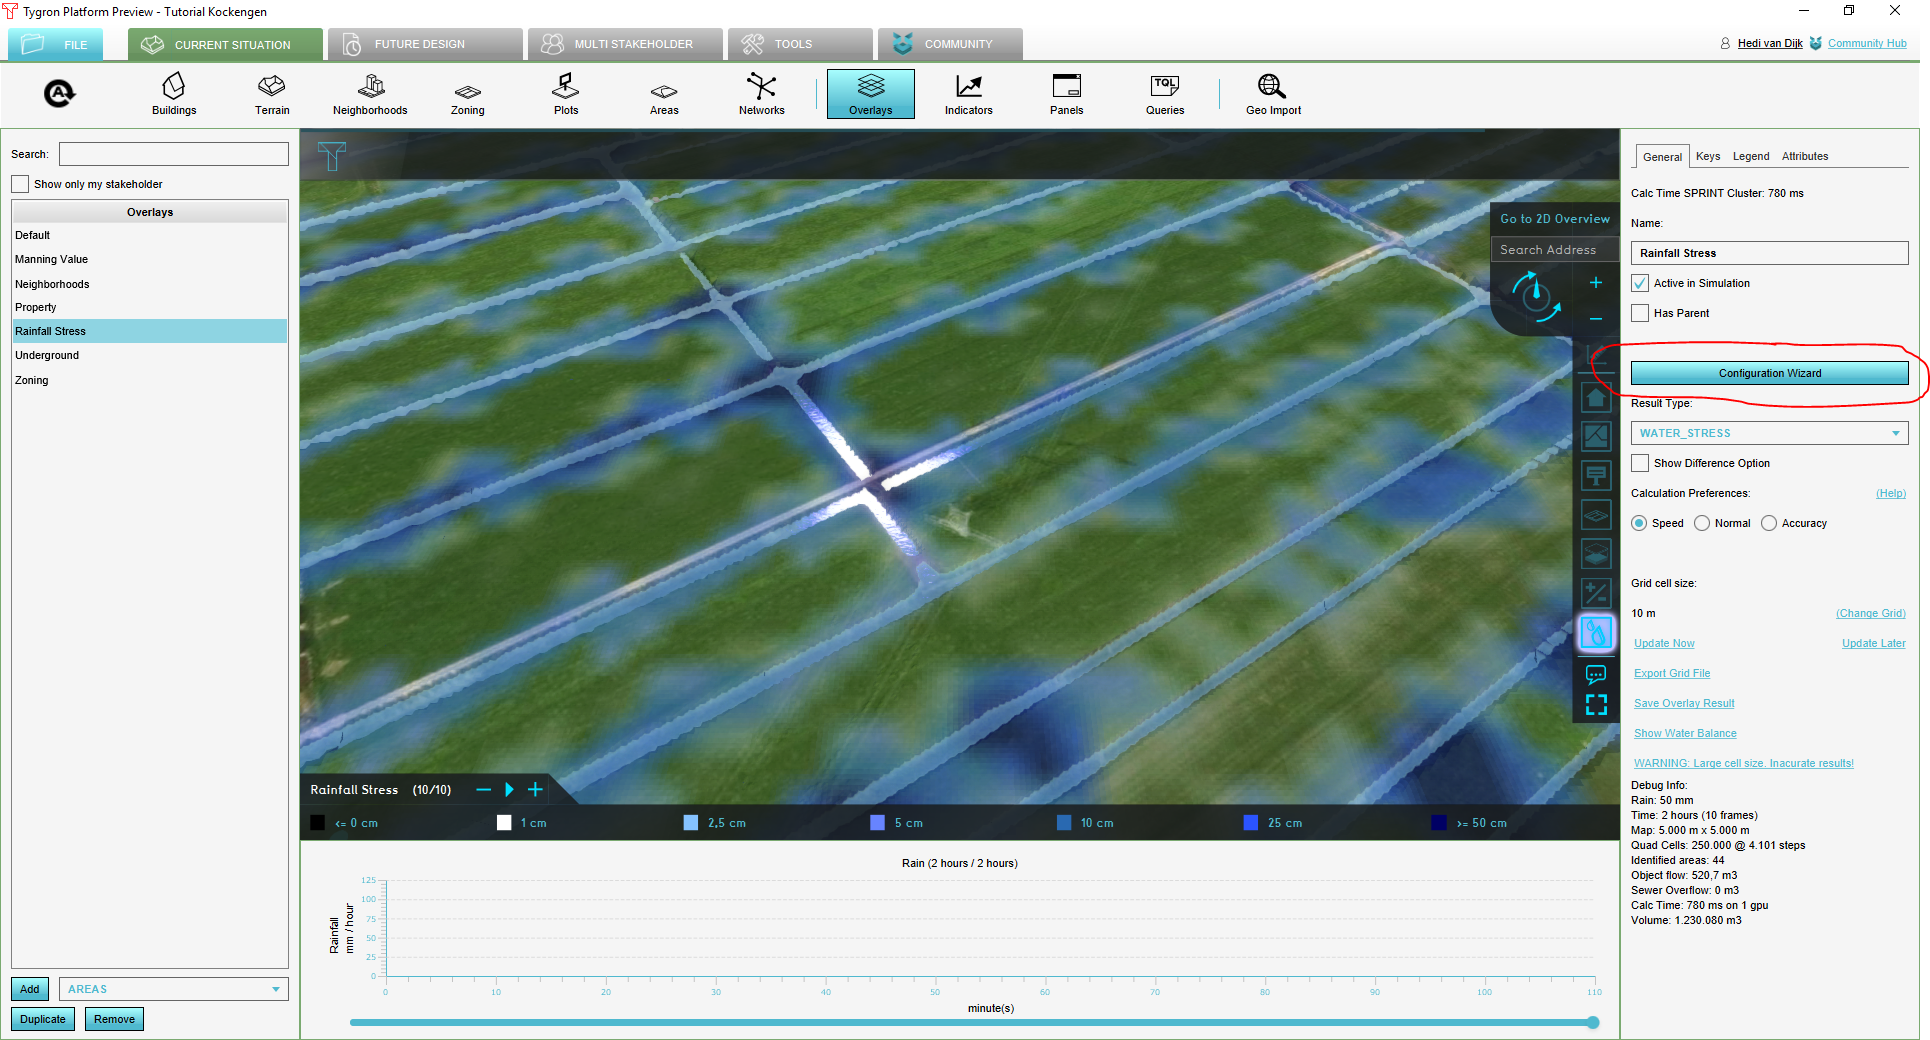
Open the Tygron Engine and start the project Kockengen Tutorial. The project will appear: | Open the Tygron Engine and start the project Kockengen Tutorial. The project will appear: | ||
[[File:Kockengen_figure01.PNG|800px]] | [[File:Kockengen_figure01.PNG|800px]] | ||
Revision as of 11:14, 6 June 2018
Getting Started
- Contact Tygron Support to request the Kockengen Tutorial project
- Open the Tygron Engine, logon with your user name and password and open the project Kockengen Tutorial
- Download and unpack the content of this zip-file on your desktop: [1]
Open the Tygron Engine and start the project Kockengen Tutorial. The project will appear:

Adding a Rainfall Overlay
In this step you will add a Rainfall Overlay. Follow these steps:
- Go to Overlays, in the Geo Data ribbon and select Add Rainfall. The rainfall overlay appears on the left-side-panel. And in the overlay bar on the right side of the map:
- On the right side panel, you find four tabs: General, Keys, Legend and Attributes. Take a moment to familiarize yourself with these tabs.
- General contains the most common information necessary to interpret the rainfall overlay.
- In Keys you can relate 'Keys' of the rainfall overlays to attribute information stored in the 3D world.
- Legend allows you to customize your legend
- Attributes contains the settings of your overlay.
- Click on the Configuration Wizard button. With the Rainfall Overlay Wizard, you can configure your water system, this includes:
- The setup of the weather boundary condition
- Definition of the water system, including water level areas (peilgebieden) and sewer districts
- Setting of hydrological parameters
