How to import a 3D model in ArcGIS Pro
Revision as of 11:00, 25 February 2020 by Godelief@tygron.nl (talk | contribs) (Created page with "See the steps below to import other 3D files like OBJ, DAE, 3DS, FLT or WRL, see the in ArcGIS Pro. {{editor steps|title=import 3D files in ArcGIS Pro|In ArcGIS Pro go to the...")
See the steps below to import other 3D files like OBJ, DAE, 3DS, FLT or WRL, see the in ArcGIS Pro.
How to import 3D files in ArcGIS Pro:
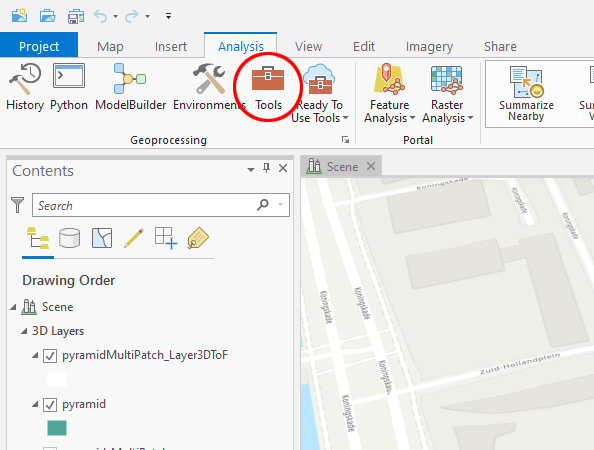
- In ArcGIS Pro go to the "Analysis" Tab and select "Tools".
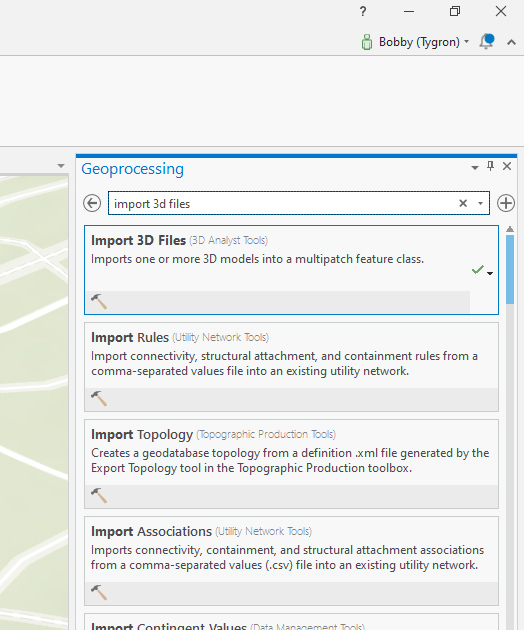
- On the right pane select the "Import 3D Files" tool or type it in the search bar to find it.
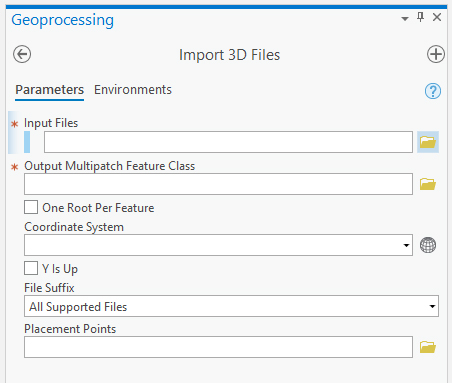
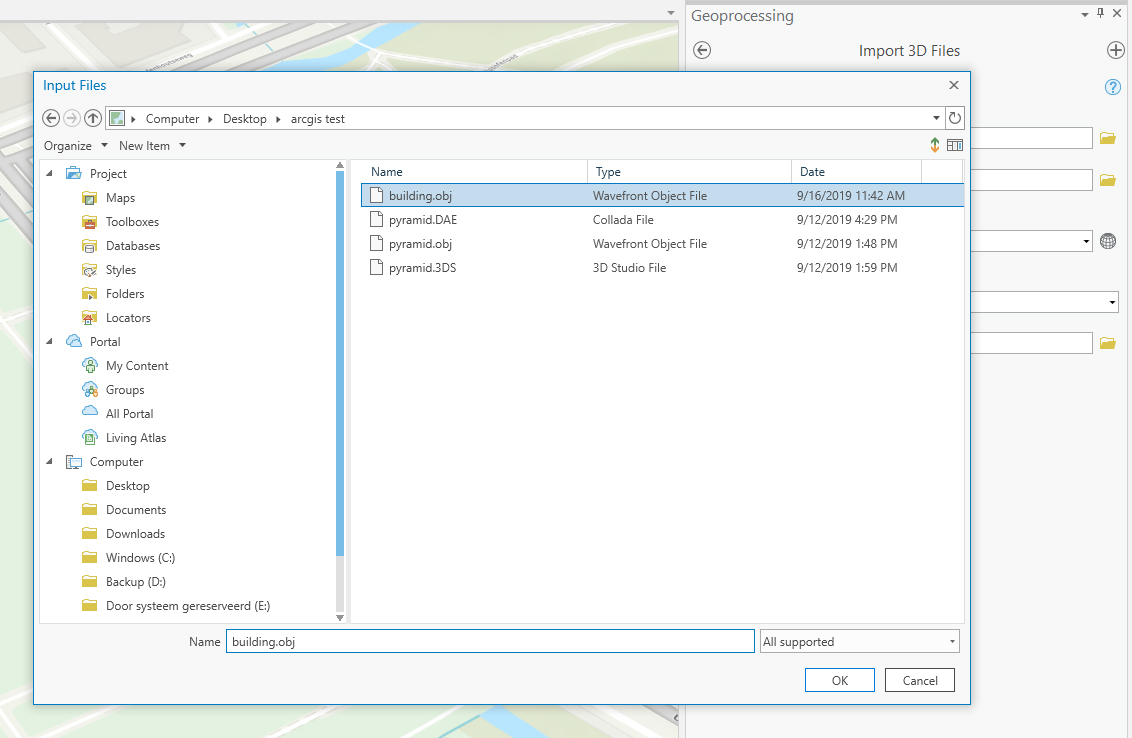
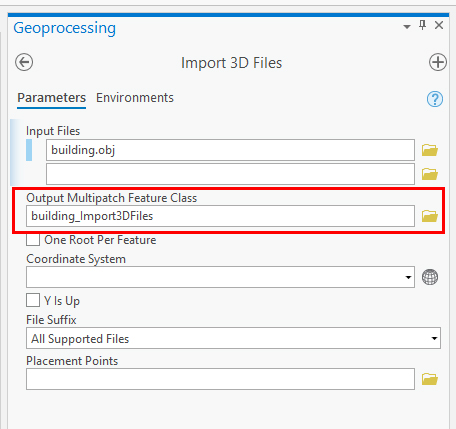
- In the "Input files" field click on the folder icon next to the field and browse to the 3D file you want to import
- A name will be automatically generated in the "Output Multipatch Feature Class" field.
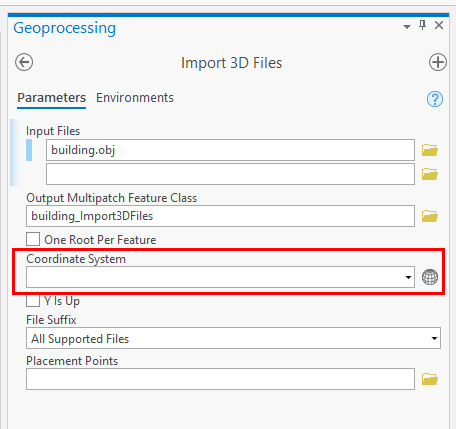
- Select a Coordinate system from the dropdown menu or select an other system by clicking on the grid sphere icon next to the field.
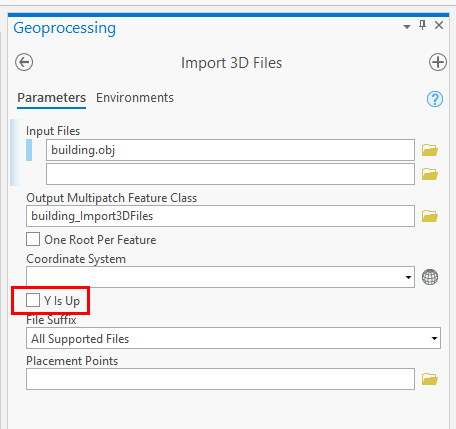
- Select "Y is Up" only if your 3d model was exported from a package wich uses Z is up.
- Click on "Run" at the lower right of the pane.
- After it is finished ArcGIS Pro will have created a Multipatch feature which can be located on the Contents Pane on the left. Note that your original 3D imported file is also present, but if you want to create a SLPK file use the multipatch layer for further conversion to SLPK.
Step 1
Step 2
Step 3a
Step 3b
Step 4
Step 5
Step 6


