How to add a dynamic traffic model
Dynamic traffic model
A dynamic model changes (over time), according to changes made in the project.
An example of a dynamic traffic model is a model in where is calculated how the traffic intensity changes when building a certain amount of houses. Effectively the TRAFFIC_FLOW attribute of the roads will be updated with a new value, when building houses in the Tygron Platform.
To create such a model, first create a Geojson file with the roads that will be changed by a certain Action or Measure and import the file.
In an Excel file, the calculation for how much and when the traffic intensity changes has to be made. This file can be uploaded as either an indicator or panel. The indicator or panel explanation text in this case is not relevant. The Excel is only used to define the model and import it in the Tygron Platform.

The Excel implementation of a simple dynamic traffic model, consists of the following consecutive steps:
- Retrieval of the original traffic density in Area X -
SELECT_ATTRIBUTE_WHERE_NAME_IS_TRAFFIC_FLOW_AND_AREA_IS_X
- Calculation in an excel file, with the new traffic density as outcome -
original traffic density + change
- Output of the new traffic density for constructions in Area X -
UPDATE_BUILDING_TRAFFIC_FLOW_WHERE_AREA_IS_X
- Select the Geo Data header
- Select the Geo Import bar
- Notice that a Geo Data Wizard window appears
- Select the type 'Areas' in the Geo Data Wizard
- Select the 'Import a GeoJson file' option in step 1
- Select the GeoJson file you wish to add in step 1
- View the features of the selected GeoJson file in step 2
- Select the 'No Filtering' option in step 3
- Select 'Import a New Area with attributes' in step 4
- Select an option on how you want to name the features in step 5
- Ensure that the attribute TRAFFIC_FLOW is activated in the list of attributes in step 6
- Select 'Finish' in step 7
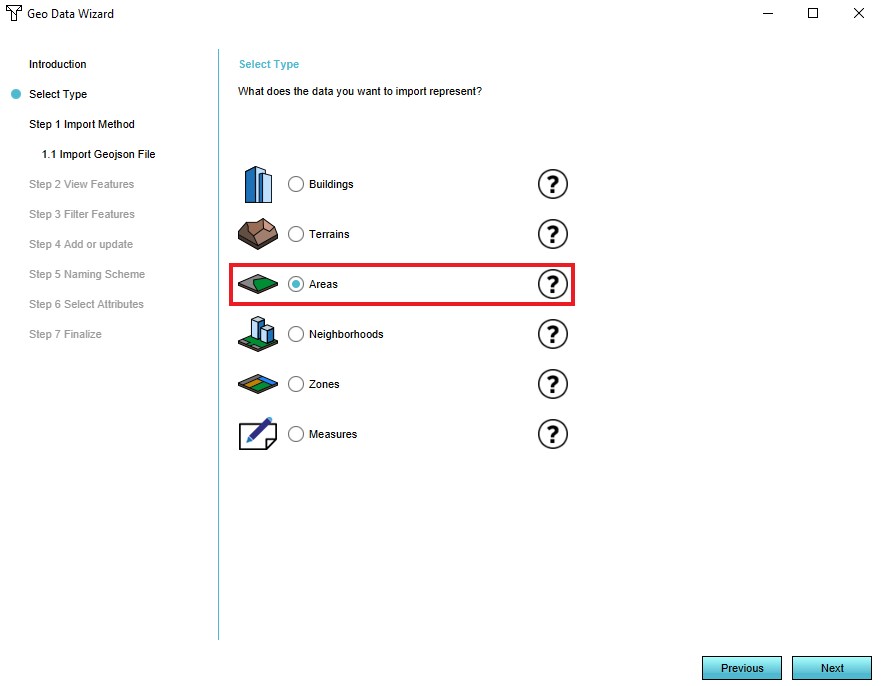
4. Select the type 'Areas'
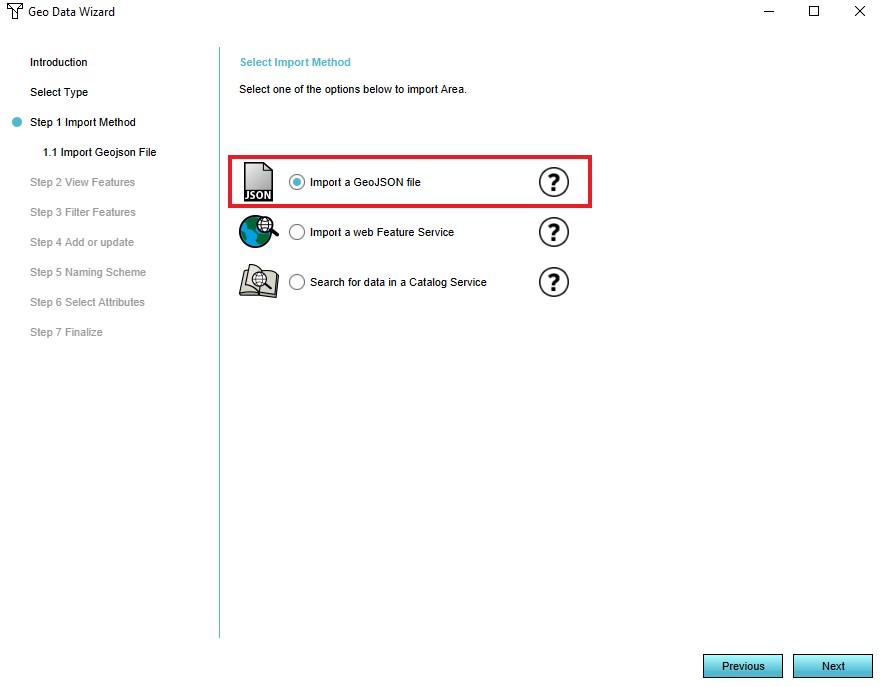
5. Select the 'Import a GeoJson file' option
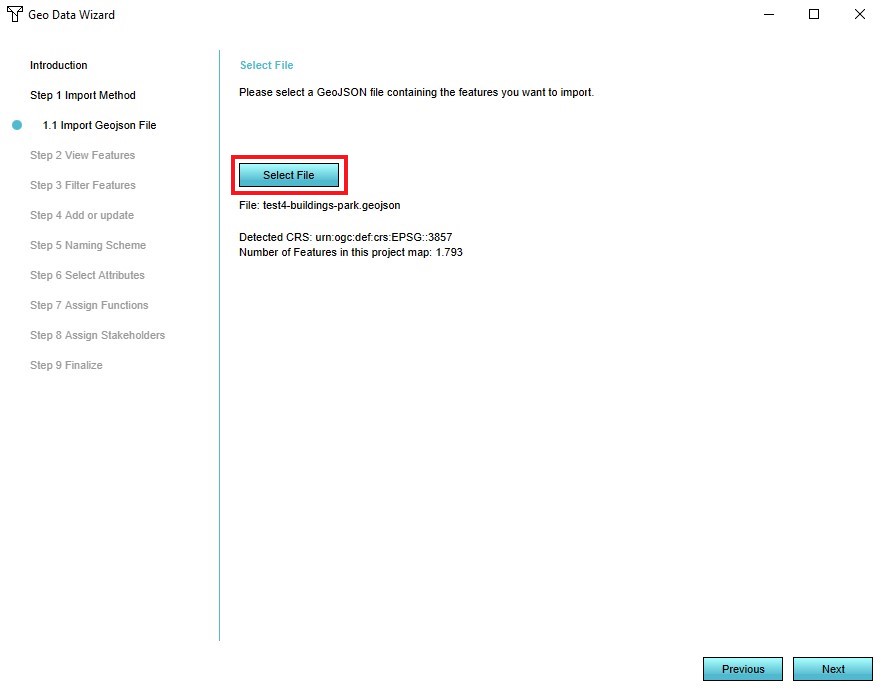
6. Select the GeoJson file you wish to add
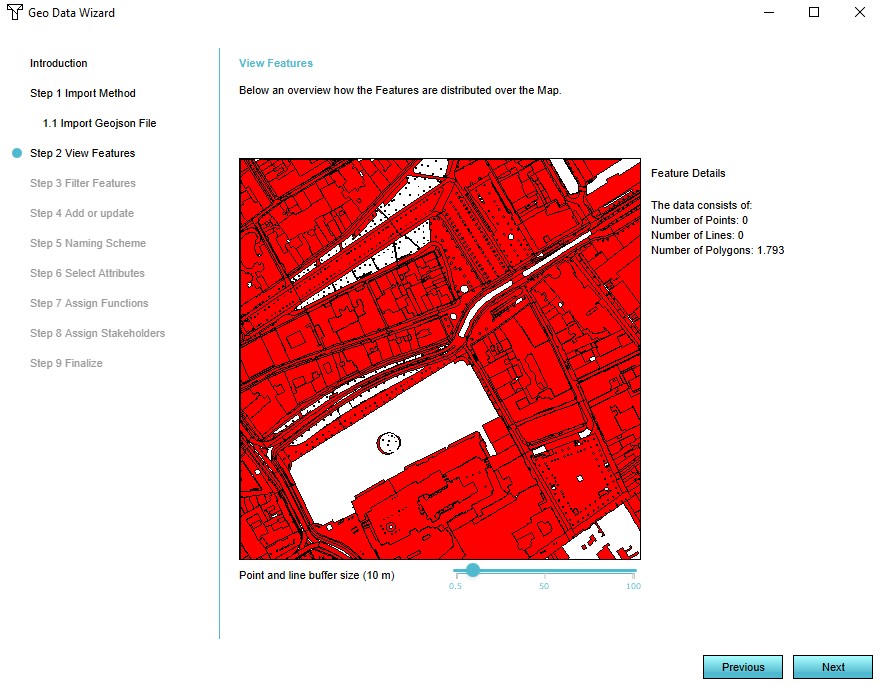
7. View the features of the selected GeoJson file
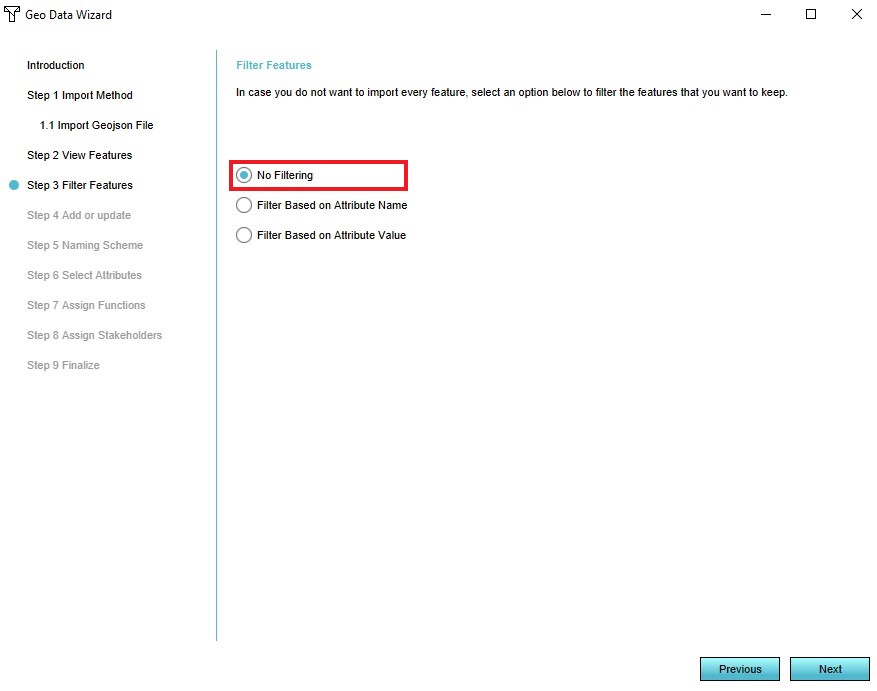
8. Select the 'No filtering' option

9. Select 'Import a New Area with attributes'
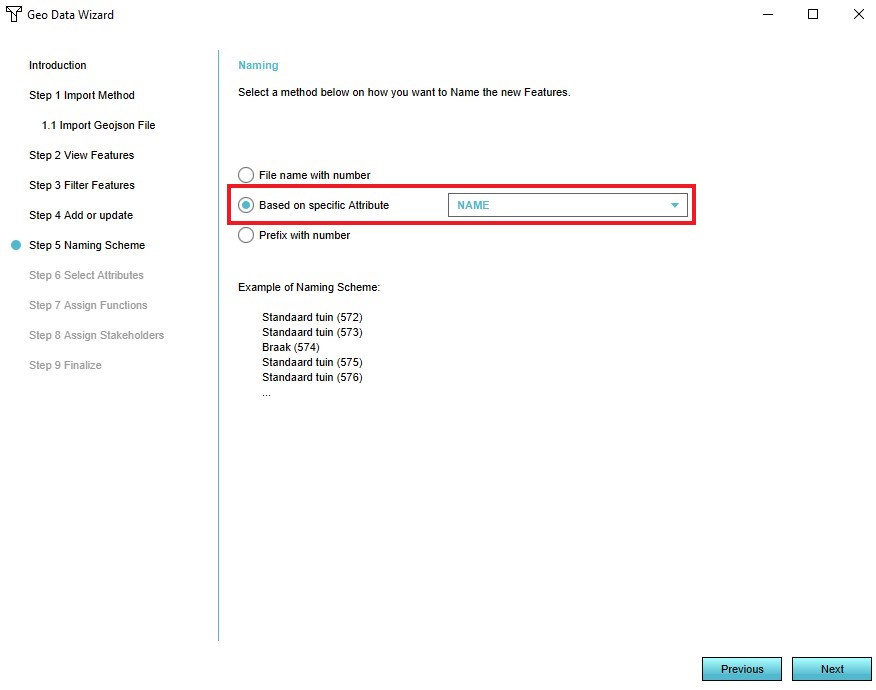
10. Choose how you want to name the features

11. Select the TRAFFIC_FLOW attribute
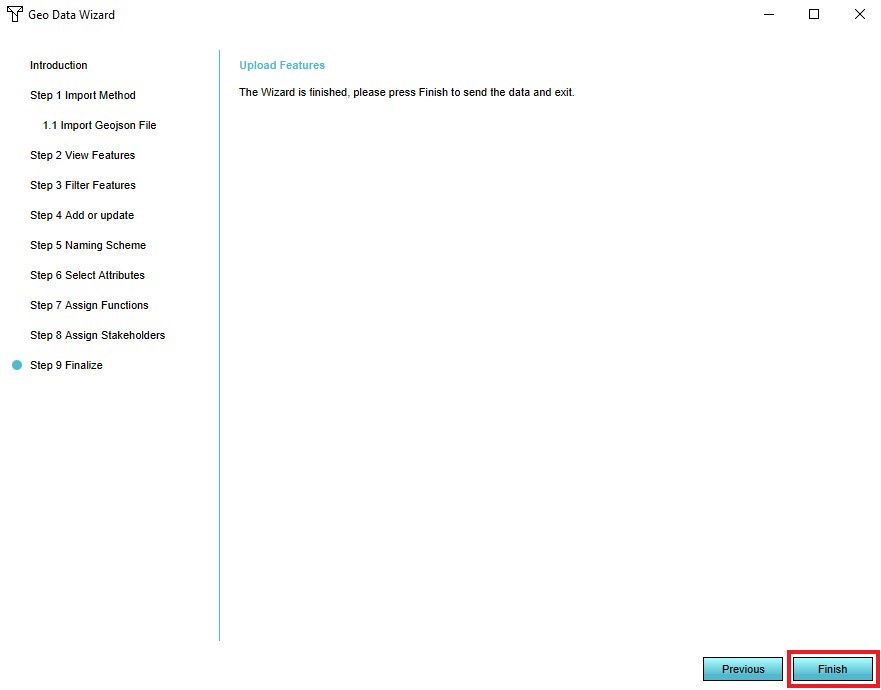
12. Select 'Finish'


- Select the Indicators header
- Select the Indicators bar or Panels bar depending on what is needed
- Select the type 'Add Excel Indicator' option or 'Add Excel Panel' in the dropdown menu
- Select 'Select Excelsheet' in the right panel
- Select 'Import New Excelsheet' in the popup window
- Choose an excelsheet and select 'Apply'
- Rename the added indicator in the 'Name' and 'Short Name' fields on the right panel
- Select the color to be used in the progression panel
- Select to activate the indicator, if desired
- Add a proper description
- Highlight 'Excel File Name' on the left panel
- Select the 'Upload' button
- Select the file to upload in the 'Choose your file' panel
- Select Indicators > recalculate Indicators