How to create a Basic Mode Project: Difference between revisions
Jump to navigation
Jump to search
No edit summary |
No edit summary |
||
| Line 1: | Line 1: | ||
For some [[Project]]s, especially at broader regional levels, the [[Basic Mode]] may provide more appropriate performance while still being well-suited for a broad range of use-cases and calculations. However, | For some [[Project]]s, especially at broader regional levels, the [[Basic Mode]] may provide more appropriate performance while still being well-suited for a broad range of use-cases and calculations. However, you must select [[Basic Mode]] already during [[New Project Wizard|Project creation]]. | ||
{{editor location steps|mode=[[Main menu]]|New Project}} | {{editor location steps|mode=[[Main menu]]|New Project}} | ||
Latest revision as of 09:52, 7 July 2026
For some Projects, especially at broader regional levels, the Basic Mode may provide more appropriate performance while still being well-suited for a broad range of use-cases and calculations. However, you must select Basic Mode already during Project creation.
Main menu → New Project
How to create a Basic Mode Project:
- In the main menu, opt to create a new Project.
- Enter the name for the Project as usual.
- Select a language and unit system as usual.
- For the Detail level, select Basic.
- Click on "Create new Project", and progress through the rest of the Project creation process as usual.
-
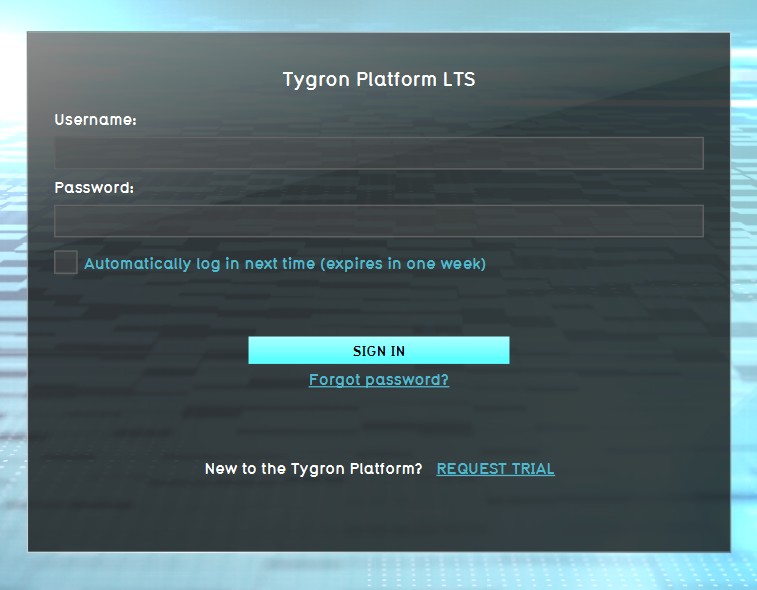 1. Log in to client.
 -
 2. Select new project in the Main Menu.
 -
 3. After naming your project, select Basic for Detail Level.
 -
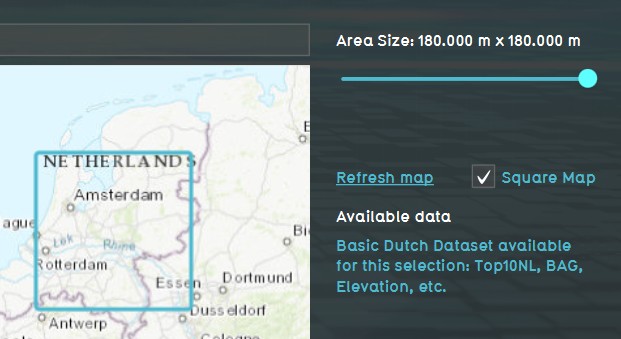 4. Use the Map Wizard to select the Basic Mode map size and location of your project.


Notes
- When using a Project Template to create a new Project, the new Project will inherit its Detail level from the Project Template. Meaning that the new project also inherits whether it is Basic Mode from its template.