Main Menu: Difference between revisions
removed link to non-existent log-in panel page |
No edit summary |
||
| (177 intermediate revisions by 8 users not shown) | |||
| Line 1: | Line 1: | ||
In the {{software}}, the main menu is the first screen after the [[log in]] panel and [[End Users License Agreement]] (EULA). Depending on their access rights, users can make top-level basic choices from this menu. | |||
<br> | <br> | ||
<!--[[File:MainMenu1.jpg|left|thumb|400px|{{software}} main menu]]<br clear=all>--> | |||
<!--[[File:MainMenu1.jpg|left|thumb|400px| | |||
<gallery mode=nolines> | <gallery mode=nolines> | ||
File: | File:EULA_page.jpg|{{software}} End Users License Agreement | ||
File: | File:Log_in_2019.jpg|{{software}} log in panel | ||
File: | File:Main_page_2019.jpg|{{software}} main menu | ||
</gallery> | </gallery> | ||
==Elements of the | ==Elements of the {{software}} main menu== | ||
The main menu screen of the {{software}} application contains the same basic elements for each user, independent of the user access level. | |||
[[File: | [[File:Main_menu_2020.jpg|400px|left|thumb|{{software}} Main Menu with elements highlighted]] | ||
<br clear=all> | <br clear=all> | ||
===Left menu bar=== | ===Left menu bar=== | ||
[[File: | [[File:Left_menu_bar_2026.jpg|left|200px|]] | ||
: The left menu bar is | : The left menu bar is a vertical area containing all options available for the user's access level. The higher the access level, the more (sub) menu options will be displayed here. Sub menus are: Editor, Sessions and Advanced. | ||
<br clear=all> | <br clear=all> | ||
===Headlines panel=== | ===Headlines panel=== | ||
[[File: | [[File:Headlines_2019.png|right|400px]] | ||
On the lower half of the screen, near the middle, a large panel is displayed, called the Headlines panel. On this panel major news updates are shared with the users. These can refer to anything Tygron-related. Also heads-up messages about maintenance on the servers are shared in this panel. | |||
<br clear=all> | <br clear=all> | ||
===Updates panel=== | ===Updates panel=== | ||
[[File: | [[File:Updates_panel_2019.png|left|200px]] | ||
Located on the lower half of the screen, on the right, is the Updates panel. On this panel small notifications are posted, usually of a more technical nature, such as when the server was rebooted for the last time. | |||
<br clear=all> | <br clear=all> | ||
=== | ===Server information=== | ||
[[File: | [[File:Version_2019.png|right|150px]] | ||
Near the bottom of the screen, under the Headlines panel, a string of text informs the user what the current server build is. This can be useful when a new build is anticipated, or when an issue needs to be reported. | |||
<br clear=all> | <br clear=all> | ||
=== | ===Personal info and Sign Out=== | ||
[[File: | [[File:Personal_info_and_sign_out.jpg|thumb|right|200px|Sign out button]] | ||
On the top right corner of the Main Menu, the name of the user, the type of license and the number of projects within the domain is displayed. Selecting the dropdown menu here provides you with additional information about your domain like the domain name, the number of saved projects, the number of new projects and the license type. Also, the user can log out of the {{software}} with the log out button below. Please note that this also removes the 'Auto log in' check and pre-filled user name. | |||
<br clear=all> | <br clear=all> | ||
==Sub menus of the main menu== | ==Sub menus of the main menu== | ||
On the left side of the screen, in the left menu bar, depending on the access level, several sub menus are accessible. | |||
=== | ===Editor=== | ||
[[File: | [[File:Editor_section.jpg|200px|left]]<br/> | ||
<br/> | |||
The [[Editor]] section is for creating or editing projects. | |||
[[File:List_of_Projects_2026.jpg|200px|thumb|right|List of Projects, with search bar]] | |||
====New Project==== | |||
Selecting this option will lead the user to the [[New Project Wizard]]. | |||
====Edit project==== | |||
Selecting this option leads the user to a list of available projects for editing. | |||
:'''Search Field''' - The Search Field will help a user find the project needed for editing. | |||
:'''Recent Projects''' - Recent projects displays a list of projects recently edited. | |||
====Project information==== | |||
:'''Name ''' - The Project Name will help a user identify the project needed for editing. | |||
:'''E-mail ''' - The E-mail displays the address of the user who created the project. | |||
<br clear=all> | <br clear=all> | ||
<br/> | |||
=== | =====Selecting a Project===== | ||
[[File: | [[File:Project_Overview_Start_Session_2026.jpg|thumb|300px|left|Session Overview before starting session in Editor]]<br clear=all> | ||
When a project is selected, the details of the project will be displayed, such as the Project name, Size, Owner, Last Activity, Permissions and Versions. Also a small map of the project area is displayed, and a Start Editing (or Join Session) button is available. Clicking this button will let the user start (or Join) the selected session in the [[editor]]. | |||
<br/> | |||
<br/> | |||
<br/> | |||
<br/> | |||
===Sessions=== | |||
[[File:Sessions_section_2026.jpg|left|200px]] | |||
This section offers two modes to start a session of a project; Sessions and Join. | |||
<br/> | |||
<br/> | |||
<br/> | |||
<br clear=all> | <br clear=all> | ||
==== | ====Sessions==== | ||
: '' | [[File:Sessions_2026.jpg|200px|thumb|right|Sessions sub menu]] | ||
: '''Start Single''' - Starts Single lets the user run a session without other users connected to the session. | |||
: '''Start Multi''' - Selecting this option leads to a new panel on the left side with available projects. | |||
Start Multiple will start a session where more users can join in, and even multiple instances of the same project can be started with this mode. | |||
: '''Load''' - The Load option lets a user load in a previously saved session, to continue where the previous session was saved and exited. | |||
<br clear=all> | |||
====Join==== | ====Join==== | ||
: | [[File:Join_Session_2026.jpg|200px|thumb|right|Join sub menu]] | ||
The Join mode lets the user join a session that is already running on the server. | |||
<br clear=all> | |||
=== | ===Advanced=== | ||
[[File: | [[File:Advanced_2026.jpg|left|200px]] | ||
<br clear=all> | <br clear=all> | ||
The Advanced section contains options not exclusively linked to only the "Editor" or "Sessions" modes. | |||
===Options=== | ====Options==== | ||
[[File: | [[File:Advanced_options.jpg|right|200px|thumb|List of available advanced options]] | ||
By selecting "Options" the user will be able to change account settings, manage projects/ users/ domains, or view the activity monitor, depending on the access level of the account being used. | |||
:'''Test my hardware''' - This option will test if the hardware in use will run the {{software}}, and on which recommended settings the application should run. | |||
:'''My account''' - In this area, users can adjust their personal account information, such as their name and password. Also all projects created by this user will be listed here. | |||
:'''Legal Notices''' - This section lists all legal disclaimers and notices from both Tygron and all third parties involved with the product. | |||
:'''Active Sessions''' - A list of all active sessions within the same domain. It is also possible to terminate any active session, for example if a session becomes unresponsive and blocks access to the project in the editor. | |||
:'''Projects''' - A list of projects that are created/ available within the domain. In this section it is possible to delete any redundant projects from the domain. This allows users to test new ideas without consuming the project budget linked to the license in use. | |||
:'''Users''' - This section allows for the creation of new [[Account Management|users]], and for management of the existing users within a domain. Add a user by clicking the Add user option and fill in the requested information. | |||
<br clear=all> | <br clear=all> | ||
==== | ====GeoShare Mode==== | ||
[[File: | [[File:GeoShare_2026.jpg|thumb|left|200px|Geo Share panel (opened on Public Share)]] | ||
"GeoShare Mode" enables the user to open the Geo Share of the domain directly. Please note that the main client will be closed. You can also open the Geo Share directly in a project session, where the client will remain active. | |||
= | {{article end | ||
|seealso= | |||
* [[Administration]] | |||
* [[Account Management]] | |||
* [[Editor]] | |||
* [[Viewer]] | |||
* [[How to archive a Project]] | |||
* [[GeoShare]] | |||
}} | |||
Latest revision as of 09:38, 15 July 2026
In the Tygron Platform, the main menu is the first screen after the log in panel and End Users License Agreement (EULA). Depending on their access rights, users can make top-level basic choices from this menu.
-
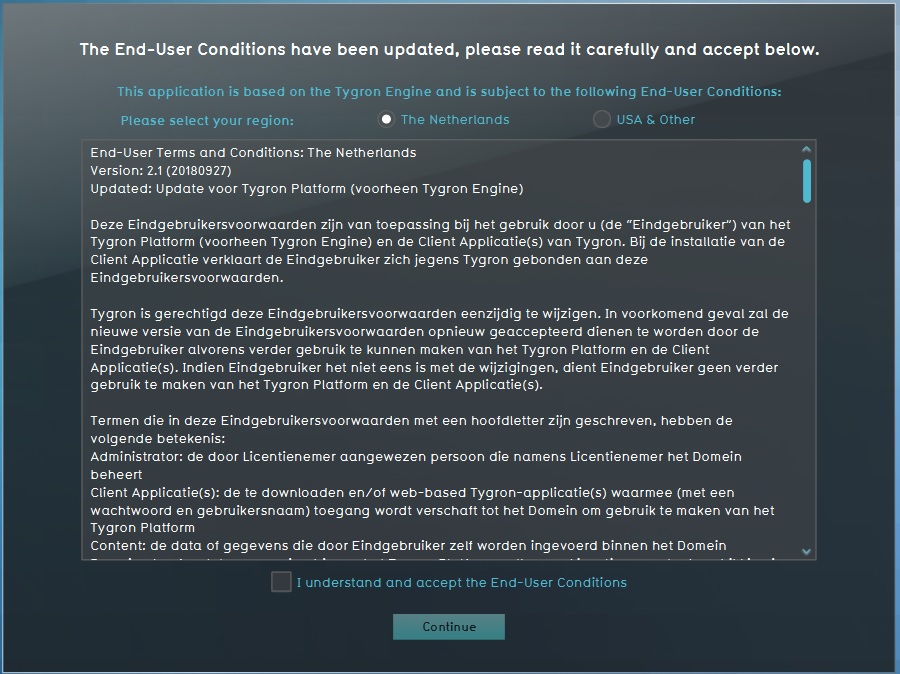 Tygron Platform End Users License Agreement
 -
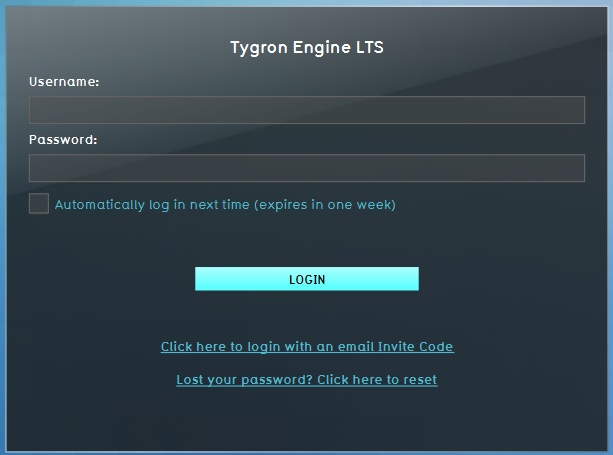 Tygron Platform log in panel
 -
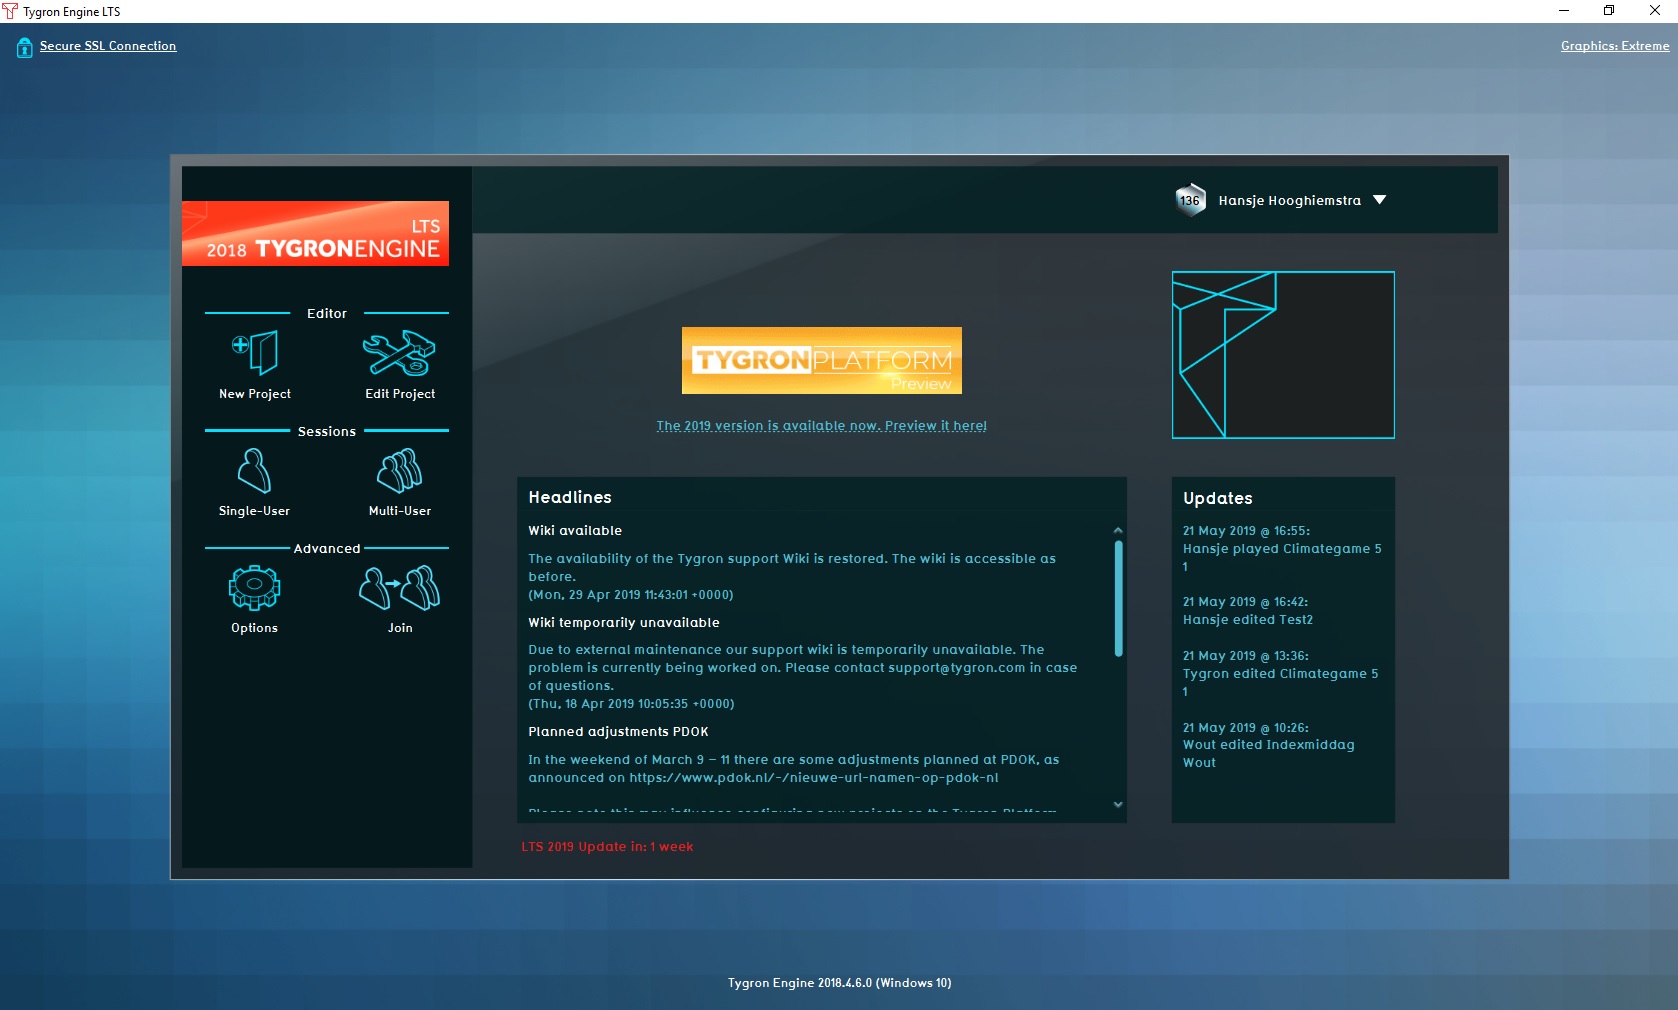 Tygron Platform main menu


Elements of the Tygron Platform main menu
The main menu screen of the Tygron Platform application contains the same basic elements for each user, independent of the user access level.

Left menu bar

- The left menu bar is a vertical area containing all options available for the user's access level. The higher the access level, the more (sub) menu options will be displayed here. Sub menus are: Editor, Sessions and Advanced.
Headlines panel

On the lower half of the screen, near the middle, a large panel is displayed, called the Headlines panel. On this panel major news updates are shared with the users. These can refer to anything Tygron-related. Also heads-up messages about maintenance on the servers are shared in this panel.
Updates panel

Located on the lower half of the screen, on the right, is the Updates panel. On this panel small notifications are posted, usually of a more technical nature, such as when the server was rebooted for the last time.
Server information

Near the bottom of the screen, under the Headlines panel, a string of text informs the user what the current server build is. This can be useful when a new build is anticipated, or when an issue needs to be reported.
Personal info and Sign Out

On the top right corner of the Main Menu, the name of the user, the type of license and the number of projects within the domain is displayed. Selecting the dropdown menu here provides you with additional information about your domain like the domain name, the number of saved projects, the number of new projects and the license type. Also, the user can log out of the Tygron Platform with the log out button below. Please note that this also removes the 'Auto log in' check and pre-filled user name.
Sub menus of the main menu
On the left side of the screen, in the left menu bar, depending on the access level, several sub menus are accessible.
Editor

The Editor section is for creating or editing projects.

New Project
Selecting this option will lead the user to the New Project Wizard.
Edit project
Selecting this option leads the user to a list of available projects for editing.
- Search Field - The Search Field will help a user find the project needed for editing.
- Recent Projects - Recent projects displays a list of projects recently edited.
Project information
- Name - The Project Name will help a user identify the project needed for editing.
- E-mail - The E-mail displays the address of the user who created the project.
Selecting a Project

When a project is selected, the details of the project will be displayed, such as the Project name, Size, Owner, Last Activity, Permissions and Versions. Also a small map of the project area is displayed, and a Start Editing (or Join Session) button is available. Clicking this button will let the user start (or Join) the selected session in the editor.
Sessions

This section offers two modes to start a session of a project; Sessions and Join.
Sessions

- Start Single - Starts Single lets the user run a session without other users connected to the session.
- Start Multi - Selecting this option leads to a new panel on the left side with available projects.
Start Multiple will start a session where more users can join in, and even multiple instances of the same project can be started with this mode.
- Load - The Load option lets a user load in a previously saved session, to continue where the previous session was saved and exited.
Join

The Join mode lets the user join a session that is already running on the server.
Advanced

The Advanced section contains options not exclusively linked to only the "Editor" or "Sessions" modes.
Options

By selecting "Options" the user will be able to change account settings, manage projects/ users/ domains, or view the activity monitor, depending on the access level of the account being used.
- Test my hardware - This option will test if the hardware in use will run the Tygron Platform, and on which recommended settings the application should run.
- My account - In this area, users can adjust their personal account information, such as their name and password. Also all projects created by this user will be listed here.
- Legal Notices - This section lists all legal disclaimers and notices from both Tygron and all third parties involved with the product.
- Active Sessions - A list of all active sessions within the same domain. It is also possible to terminate any active session, for example if a session becomes unresponsive and blocks access to the project in the editor.
- Projects - A list of projects that are created/ available within the domain. In this section it is possible to delete any redundant projects from the domain. This allows users to test new ideas without consuming the project budget linked to the license in use.
- Users - This section allows for the creation of new users, and for management of the existing users within a domain. Add a user by clicking the Add user option and fill in the requested information.
GeoShare Mode

"GeoShare Mode" enables the user to open the Geo Share of the domain directly. Please note that the main client will be closed. You can also open the Geo Share directly in a project session, where the client will remain active.