Camera: Difference between revisions
(→Free) |
|||
| Line 31: | Line 31: | ||
File:camera_circle.png|[[Camera#Circling camera|Circling camera]] | File:camera_circle.png|[[Camera#Circling camera|Circling camera]] | ||
</gallery> | </gallery> | ||
===Walk mode=== | ===Walk mode=== | ||
Revision as of 13:19, 7 February 2023
The Camera provides a particular view of project in the 3D Visualization. The user can choose between different camera modes. Each camera mode has a particular way of navigation controls attached to it.
The available camera modes are:
- Standard camera modes that you can control by using the mouse and allow interaction with the 3D Visualization.
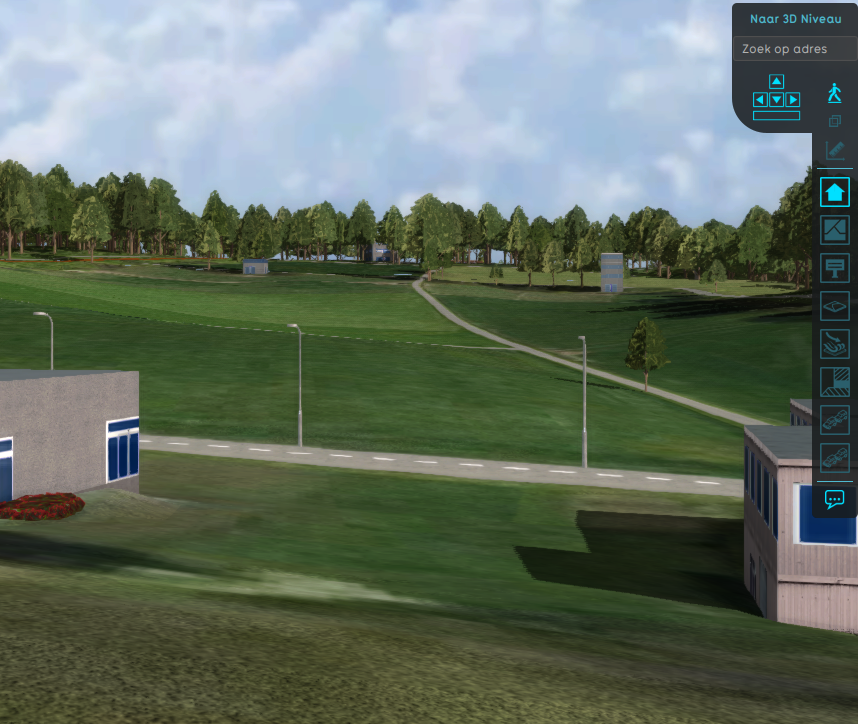
- Walking camera modes that allow you to take a close look and walk through the 3D Visualization from the perspective of a person.
- Automatic camera modes that guide the user through the 3D Visualization along predefined paths.
Standard
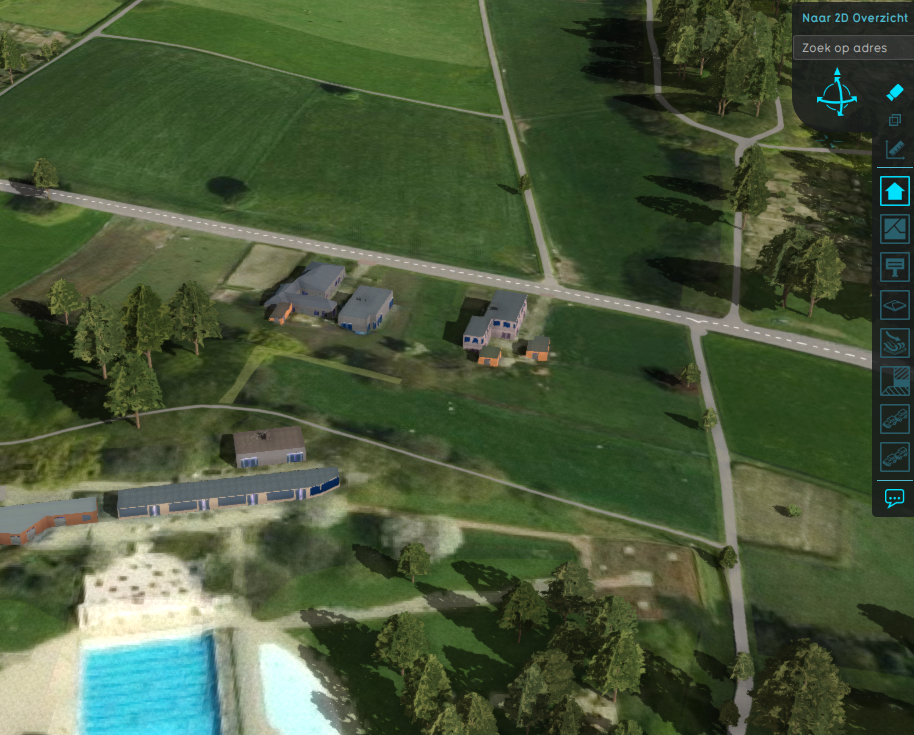
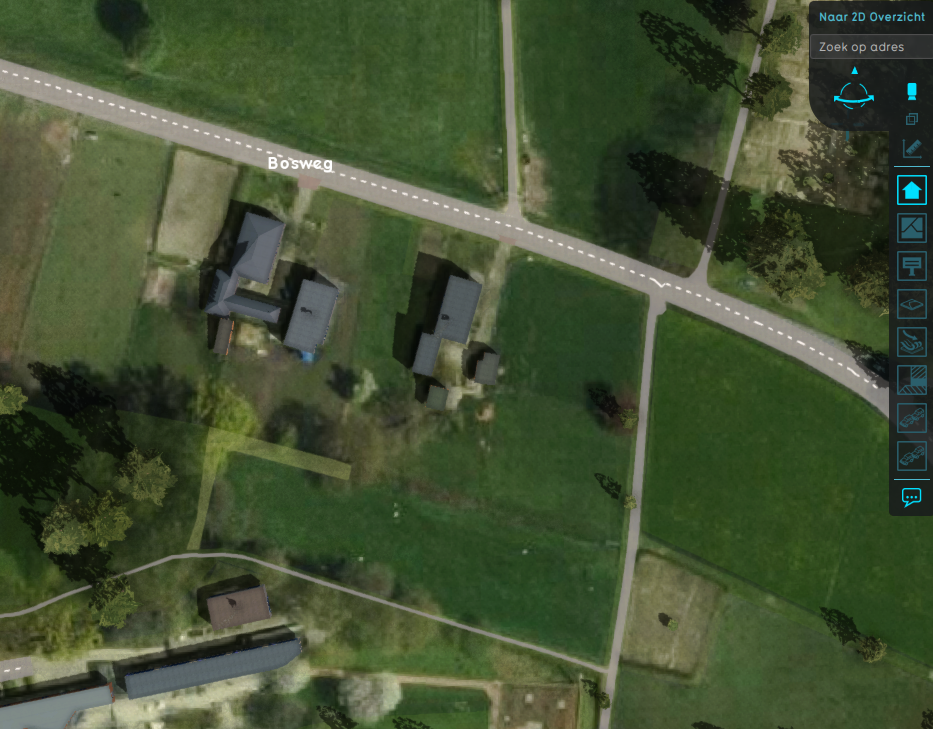
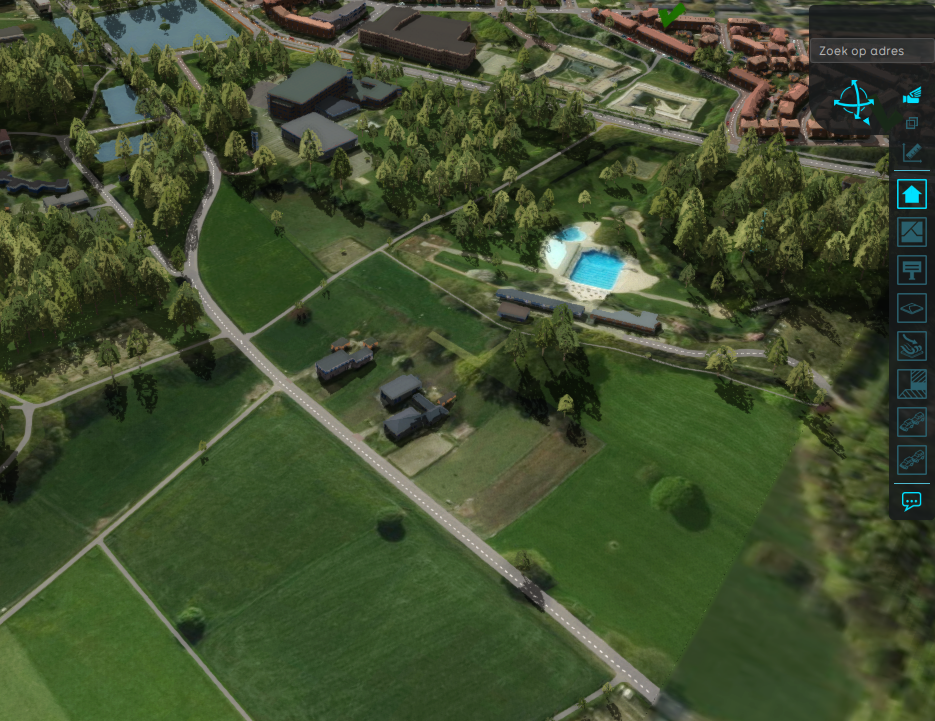
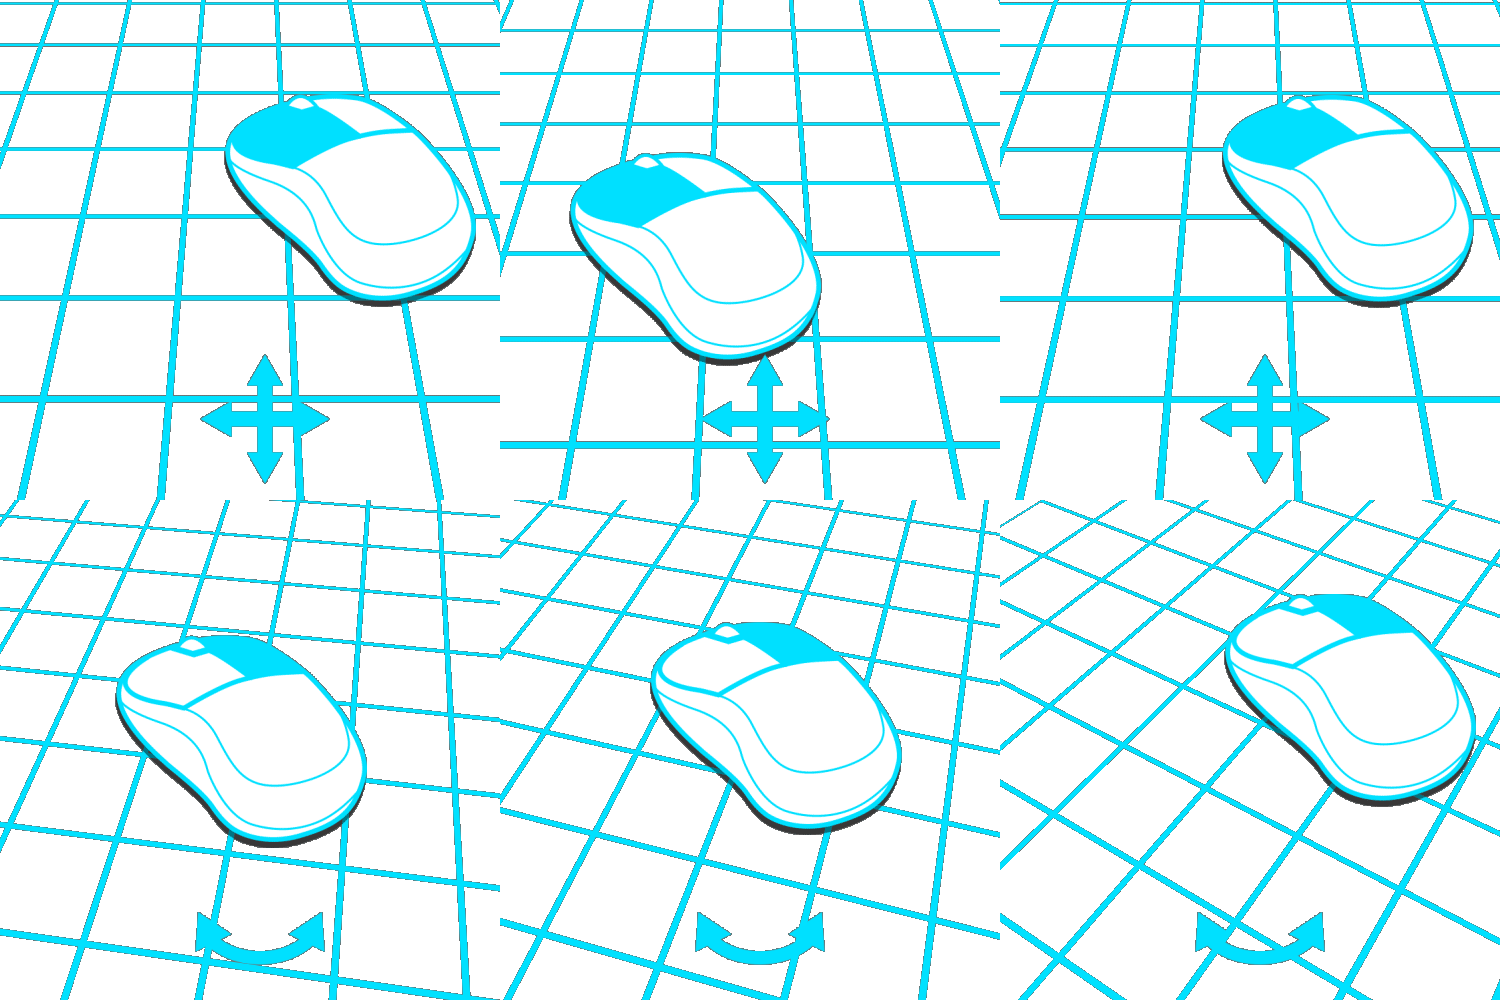
The available standard camera modes are:
You can switch between these modes by clicking on the corresponding icon in the navigation panel.
Walking
The available walking camera modes are:
You can switch between these modes by clicking on the space key on your keyboard. Walking camera modes are accessed by continuously zooming in while in the standard camera modes. Zooming out from the walking camera modes allow you to return to the previously selected standard camera mode.
Automatic
The available automatic camera modes are:
Walk mode
Walk mode can be activated by continuously zooming in when in either the Standard or Top-down camera mode.
- W-key and S-key
- Move forwards and backwards.
- A-key and D-key
- Turn left and right.
- Space-key
- Move the camera above or below the surface.
Automatic camera modes
Finally the automatic cameras
Cinematic
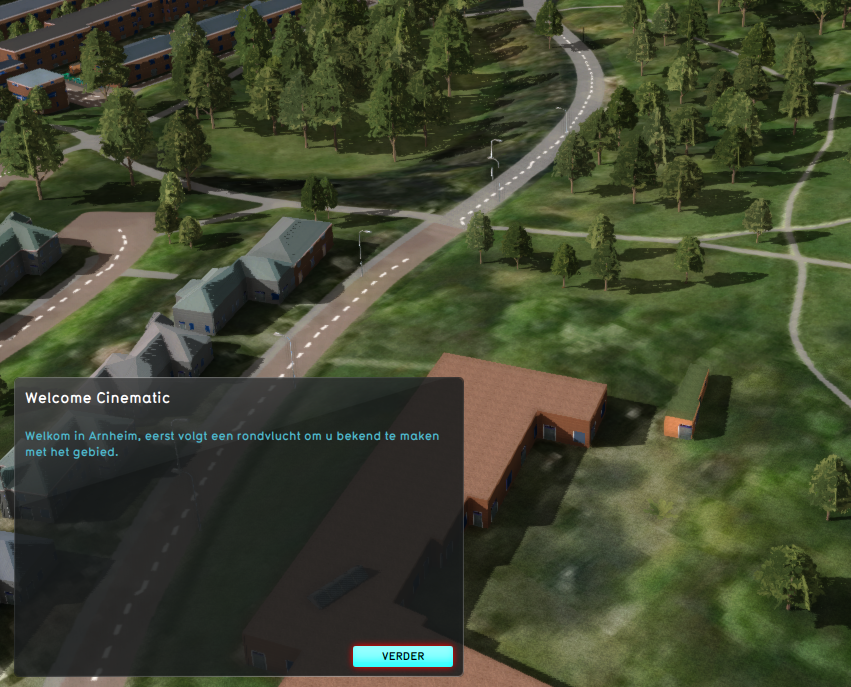
This camera mode is an automatic camera mode, which guides the user though the 3D Visualization of the project by flying from key-point to key-point of a predefined Cinematic. Optionally a text is presented to the user in the cinematic panel, which he/she can read and click to continue the cinematic. Optionally a user can skip this cinematic. This however has a consequence, potential events in upcoming key point s of a skipped cinematic will not be fired.
- Space-key
- Skip the cinematic.
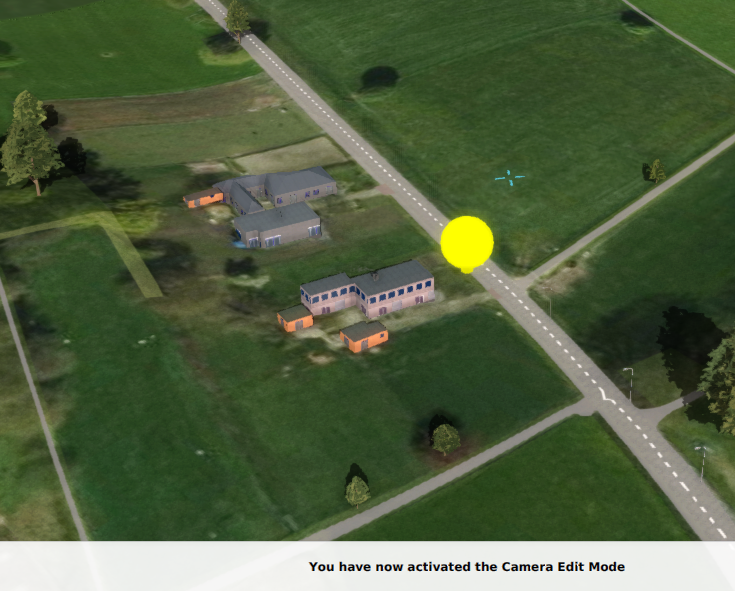
Cinematic Edit Camera
A Cinematic is edited using a particular camera mode, which uses and visualizes a focus point. This focus point can also be moved around in the 3D Visualization. It has the following controls:
- Left mouse button (hold) and move left or right
- Rotates the camera around the focus point
- Left mouse button (hold) and move forward or backward
- Look down or move away from the focus point.
- Right mouse button (hold)
- Move the focus point, base on the camera 's location.
- Right and Left mouse button (hold together)
- Move the camera up or down based on the focus point
- Scroll wheel up-down
- Rotate the camera around the viewing axis defined by the camera and the focus point
- Arrow keys Up and down
- Move the camera up or down based on the focus point
- Arrow keys left and right
- Rotates the camera around the focus point
- W-key and S-key
- Move the camera and focus point forward and backwards.
- A-key and D-key
- Move the camera and focus point left and right.
- Q-key and E-key
- Rotate the camera and focus left and right
- Z-key and X-key
- Move the camera up or down based on the focus point
Circling
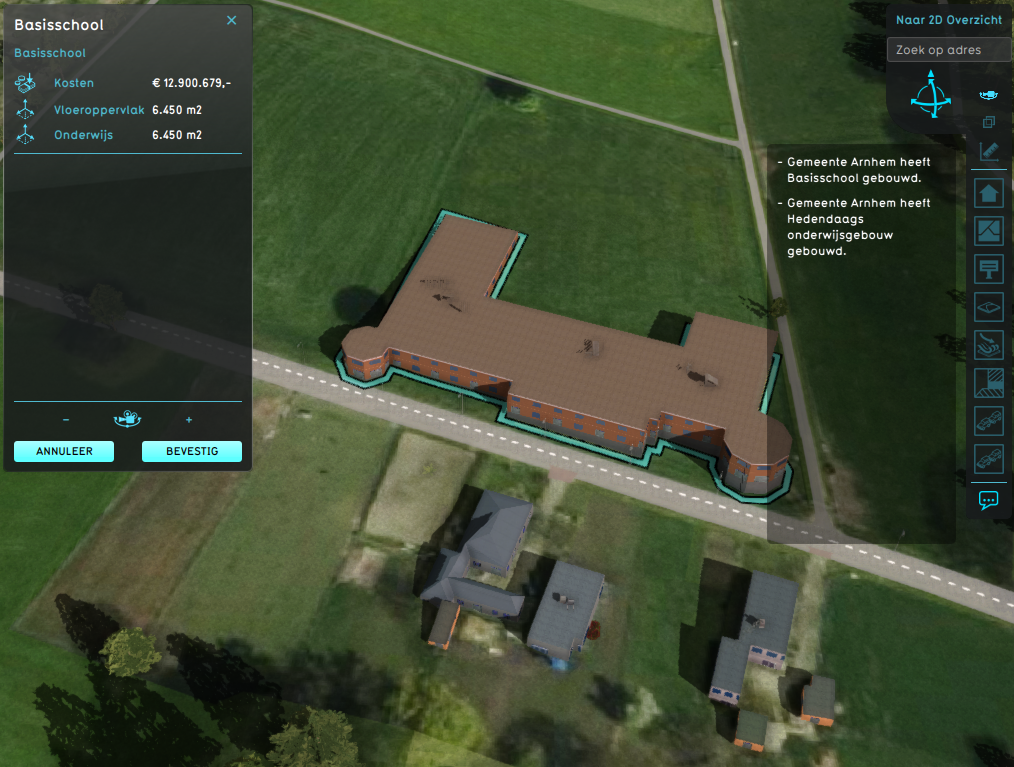
This camera mode is an automatic camera mode, which rotates the camera around the center point of a planned action in the Future Design.
- Scroll wheel up-down
- Moves the camera closer or further away from the planned action.
