Panels (interaction) tutorial: Difference between revisions
mNo edit summary |
No edit summary Tag: Reverted |
||
| Line 1: | Line 1: | ||
Panels can be accompanied by predefined “Answers”. When the end-user sees the panel, the answers are presented as buttons which the user can click. The buttons will fire events, and close the panel. | Panels can be accompanied by predefined “Answers”. When the end-user sees the panel, the answers are presented as buttons which the user can click. The buttons will fire events, and close the panel. | ||
Revision as of 11:50, 5 October 2022
Panels can be accompanied by predefined “Answers”. When the end-user sees the panel, the answers are presented as buttons which the user can click. The buttons will fire events, and close the panel.
Add a new text panel to the project. Name the panel “Answer Example”.
As content for the text panel, set “Add attribute to neighborhood?”
While the “Answer Example” panel is selected, click “Add Answer” at the bottom of the right panel.
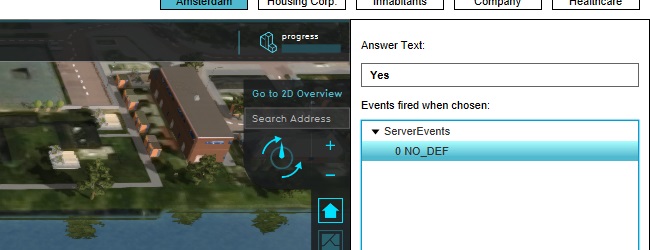
Change the name of the answer to “Yes”.
Select the “Yes” answer in the left panel. In the right panel, click on “Add Server Event”. A new “NO_DEF” event will be created. Select it.
At the bottom of the editor, a panel will appear where a specific event can be selected.
Select the event “NEIGHBORHOOD_SET_ATTRIBUTE”.
Select one of your neighborhoods. Remember which neighborhood will be adjusted.
Enter as attribute name “EXAMPLE_ATTRIBUTE”.
Enter as value “123456789”.
Click on “Commit” to save these properties for the event.
Place the panel in the 3D world so that it can be accessed by end-users.
Inspect the attributes of the neighborhood you selected for the event. Take note of the fact that “EXAMPLE_ATTRIBUTE” is not yet present as attribute for the neighborhood.
Click on the popup in the 3D world, and click on the answer “Yes”. A testrun will start.
Inspect the attributes of the neighborhood again. Take note of the fact that “EXAMPLE_ATTRIBUTE” is now present as attribute for the neighborhood.
Answers added to Template Excel panels will also make instances of those panels have those answers. When the answers have events bound to them, and the events have a parameter of the same spatial type as the type the Template Excel panel is applied on, those parameters of events are changed automatically to refer to the spatial element the instance refers to.
For example, if the answer defined above, which refers to a specific neighborhood to set an attribute for, is attached to a Template Excel panel which is applied on neighborhoods, the instance for the first neighborhood will have its event refer to the first neighborhood, the instance for the second neighborhood will have its event refer to the second neighborhood, and so on.
Tutorial completed
Congratulations. You have now completed this tutorial. In it, you have learned how to add buttons with events to panels.


