Heightmap Overlay: Difference between revisions
Jump to navigation
Jump to search
No edit summary |
|||
| Line 4: | Line 4: | ||
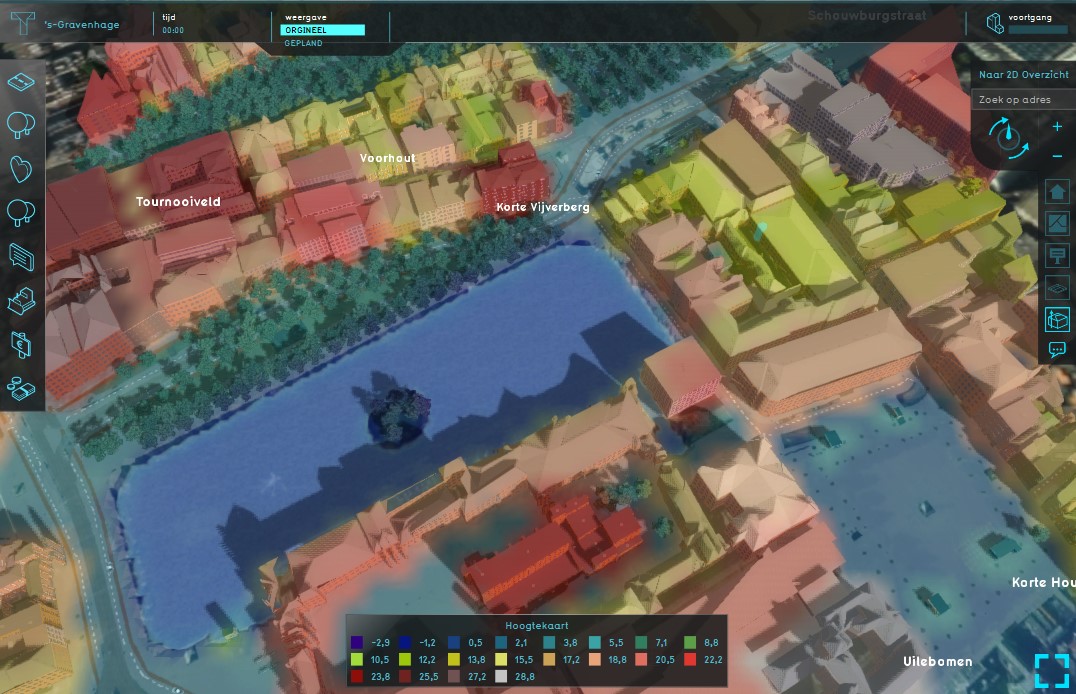
The Heightmap Overlay displays the height of the terrain. The overlay becomes available for all stakeholders when added to a project. | The Heightmap Overlay displays the height of the terrain. The overlay becomes available for all stakeholders when added to a project. | ||
<br clear=all> | <br clear=all> | ||
==Additional information displayed in hover panel== | |||
<br clear=all> | |||
==Adding and removing== | |||
{{Editor ribbon|header=Geo Data|bar=Overlays}} | |||
{{Editor steps|title=add the Heightmap Overlay|Select in the editor 'Geo Data' from the ribbon|Select 'Overlays' from the ribbon bar|Select the Heightmap Overlay from the drop down menu}} | |||
<br clear=all> | |||
{{Editor steps|title=remove the Heightmap Overlay|Select in the editor 'Geo Data' from the ribbon|Select 'Overlays' from the ribbon bar|Select the Heightmap Overlay from the list of active overlays on the left panel|Select 'remove' from the bottom of the left panel|Confirm the removal in the pop up confirmation message}} | |||
Revision as of 10:38, 21 November 2018
What the Heightmap Overlay is
The Heightmap Overlay displays the height of the terrain. The overlay becomes available for all stakeholders when added to a project.
Additional information displayed in hover panel
Adding and removing
How to add the Heightmap Overlay:
- Select in the editor 'Geo Data' from the ribbon
- Select 'Overlays' from the ribbon bar
- Select the Heightmap Overlay from the drop down menu
How to remove the Heightmap Overlay:
- Select in the editor 'Geo Data' from the ribbon
- Select 'Overlays' from the ribbon bar
- Select the Heightmap Overlay from the list of active overlays on the left panel
- Select 'remove' from the bottom of the left panel
- Confirm the removal in the pop up confirmation message
